
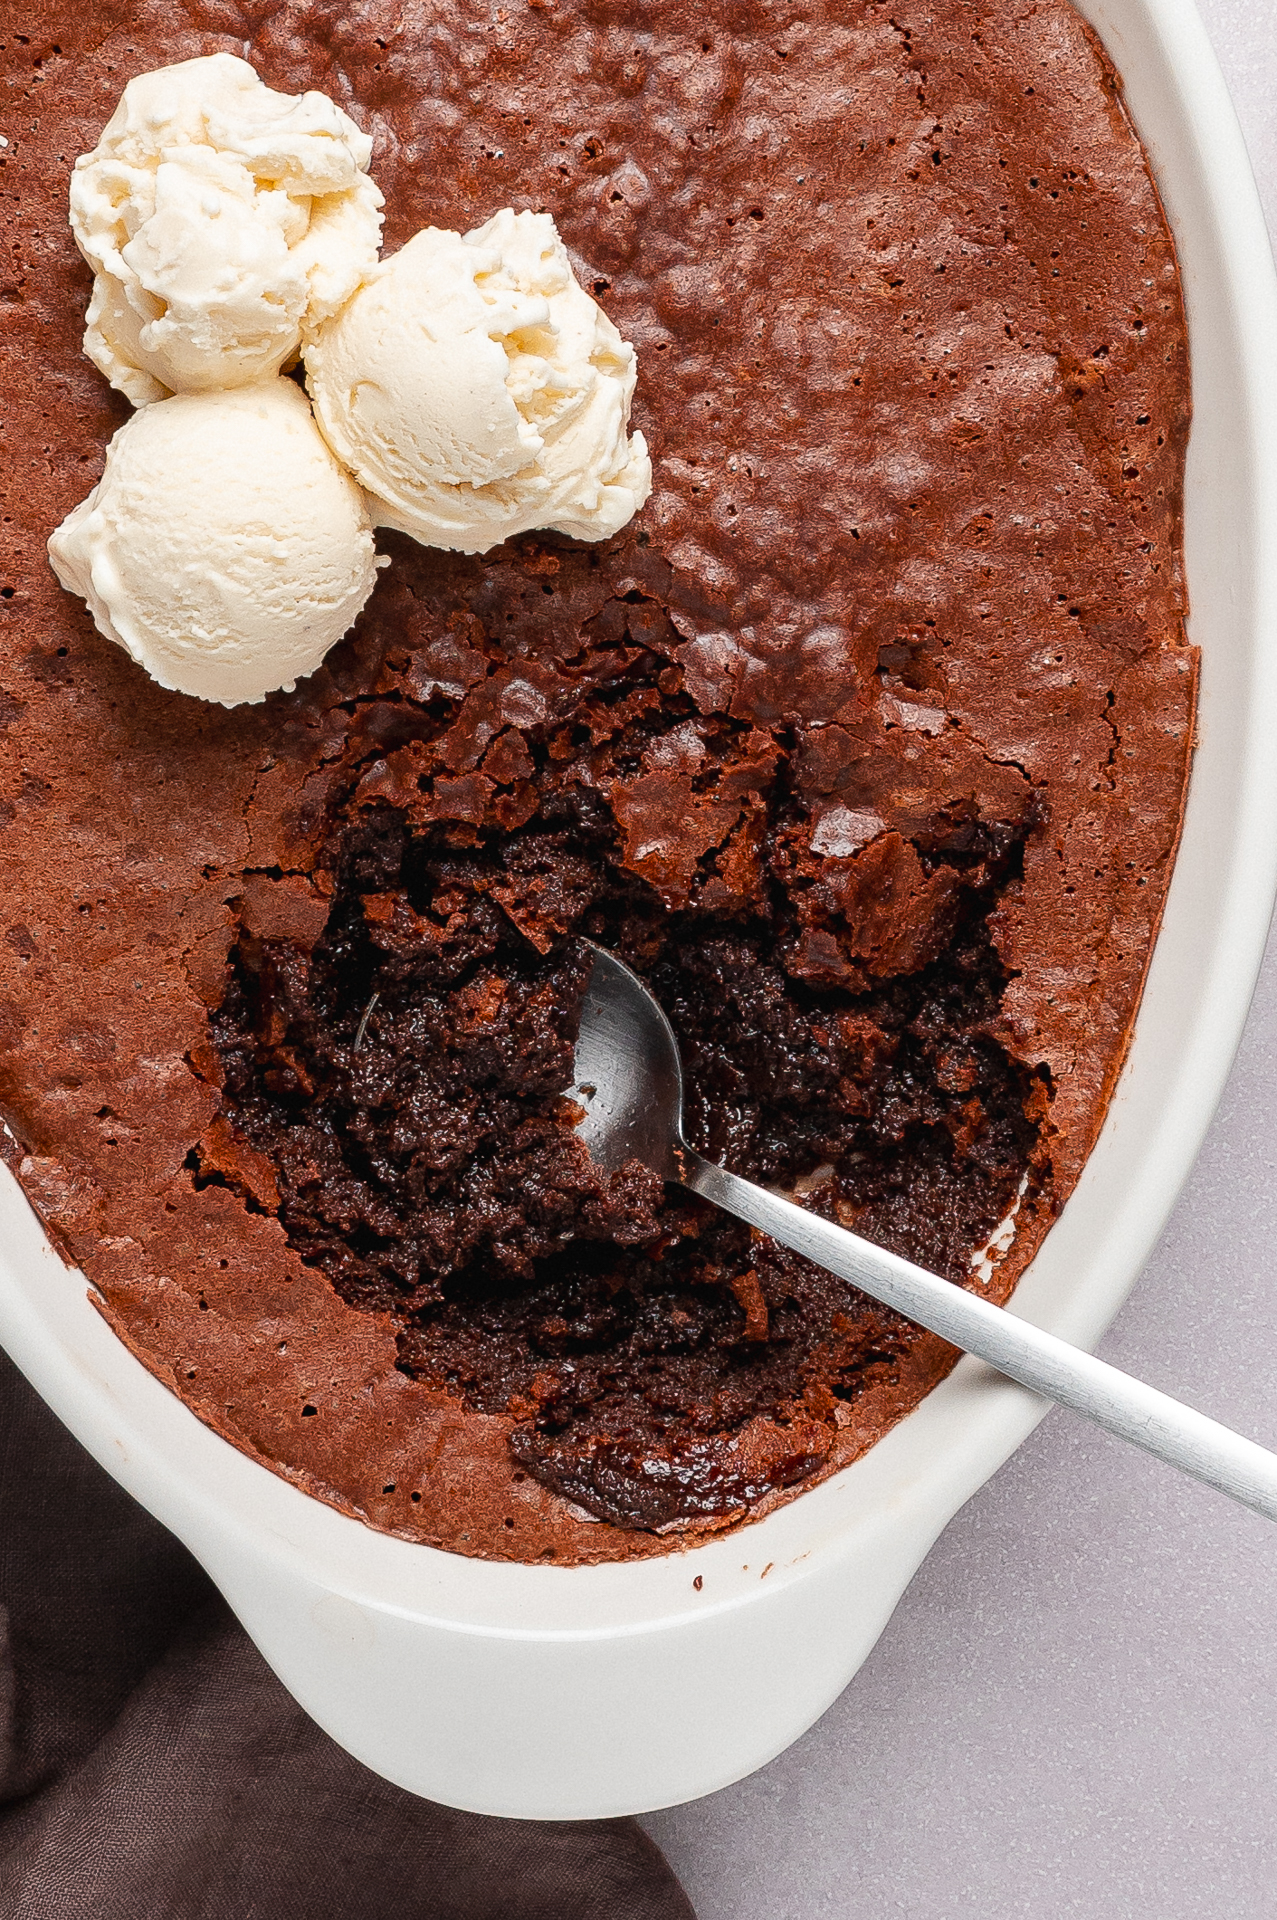
Some chocolate desserts are meant to be sliced into neat little squares. Ina Garten's brownie pudding is not one of them-and that is exactly what makes it so irresistible.
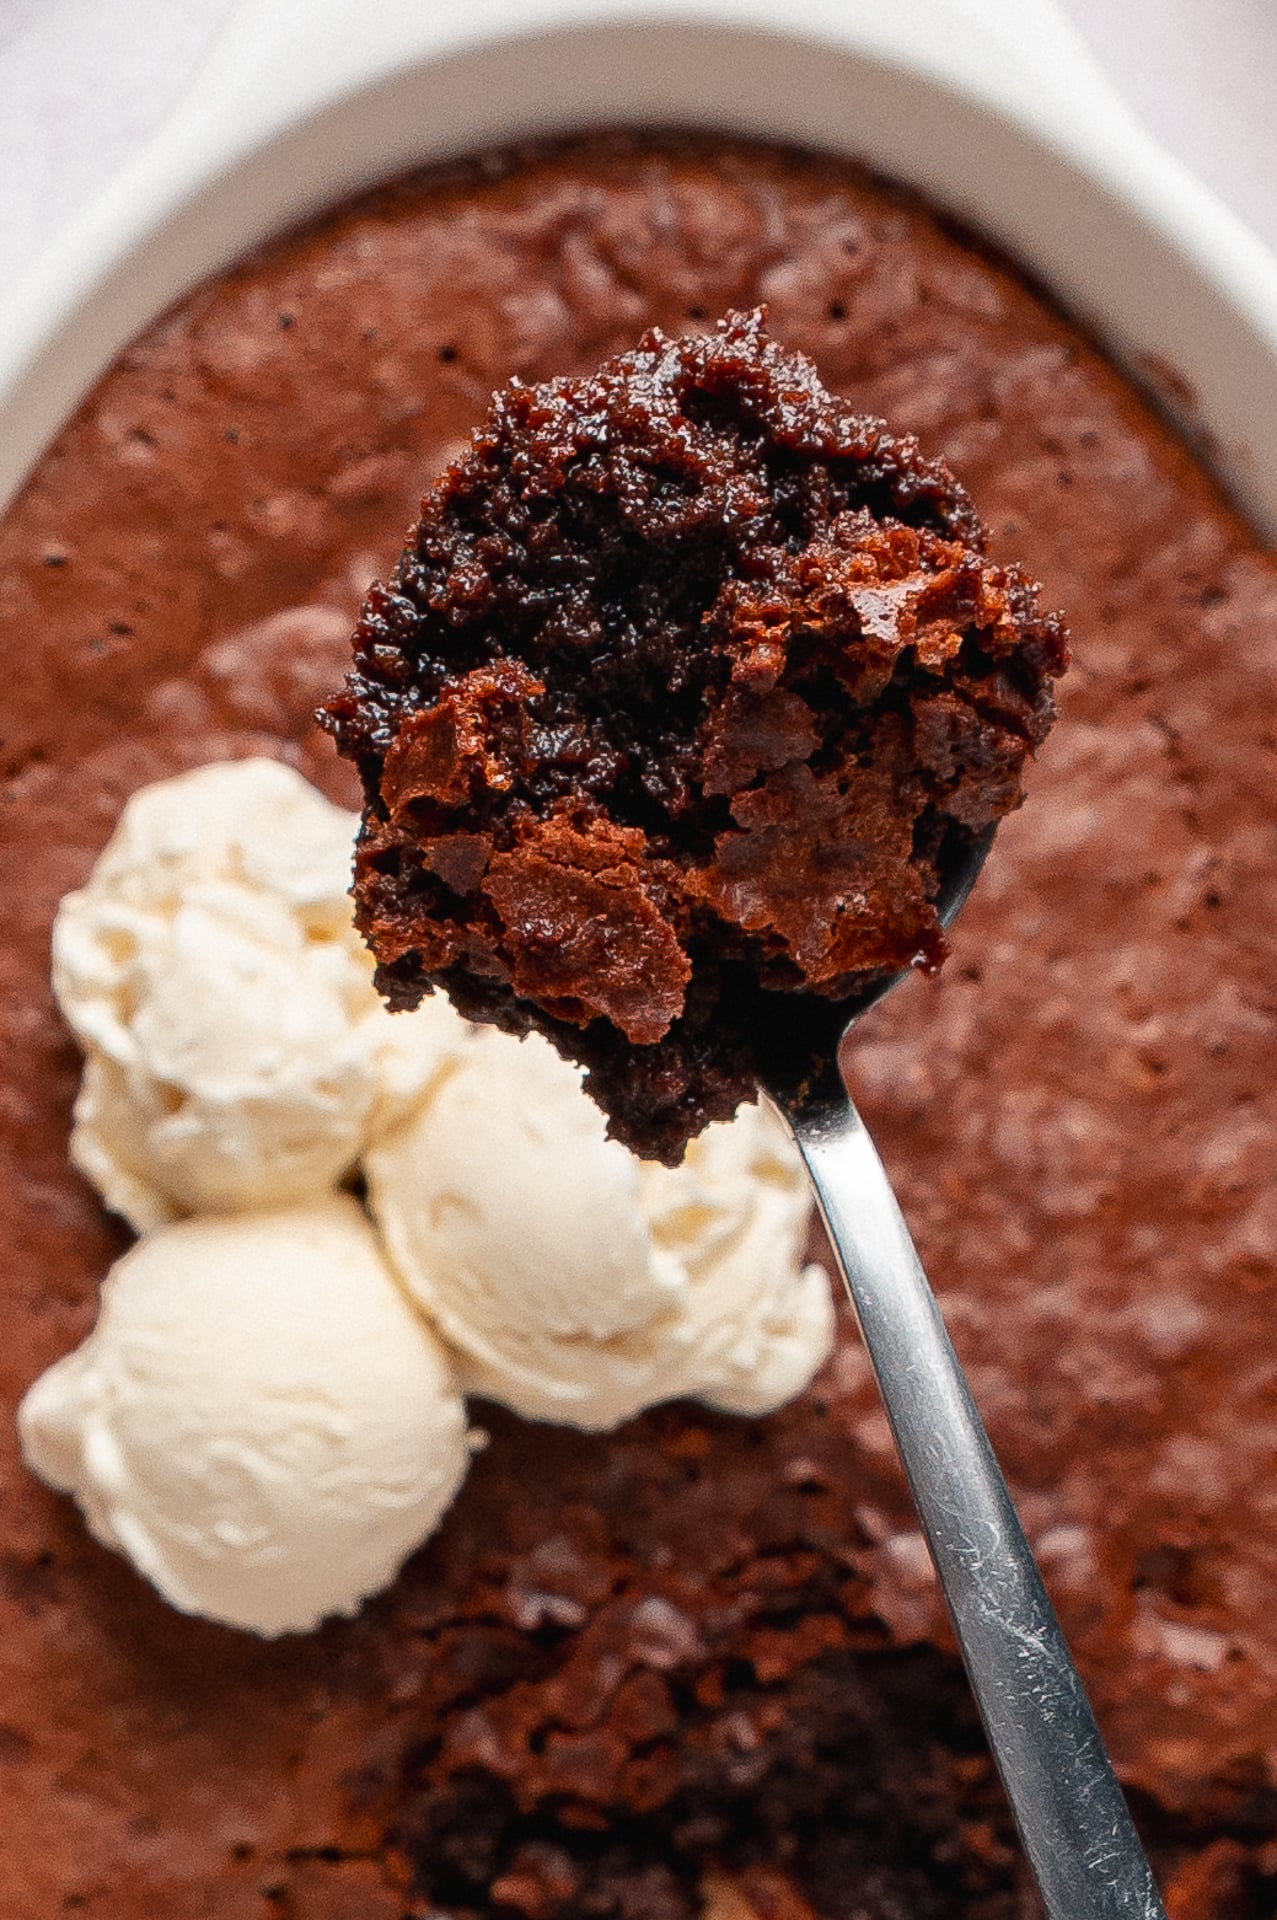
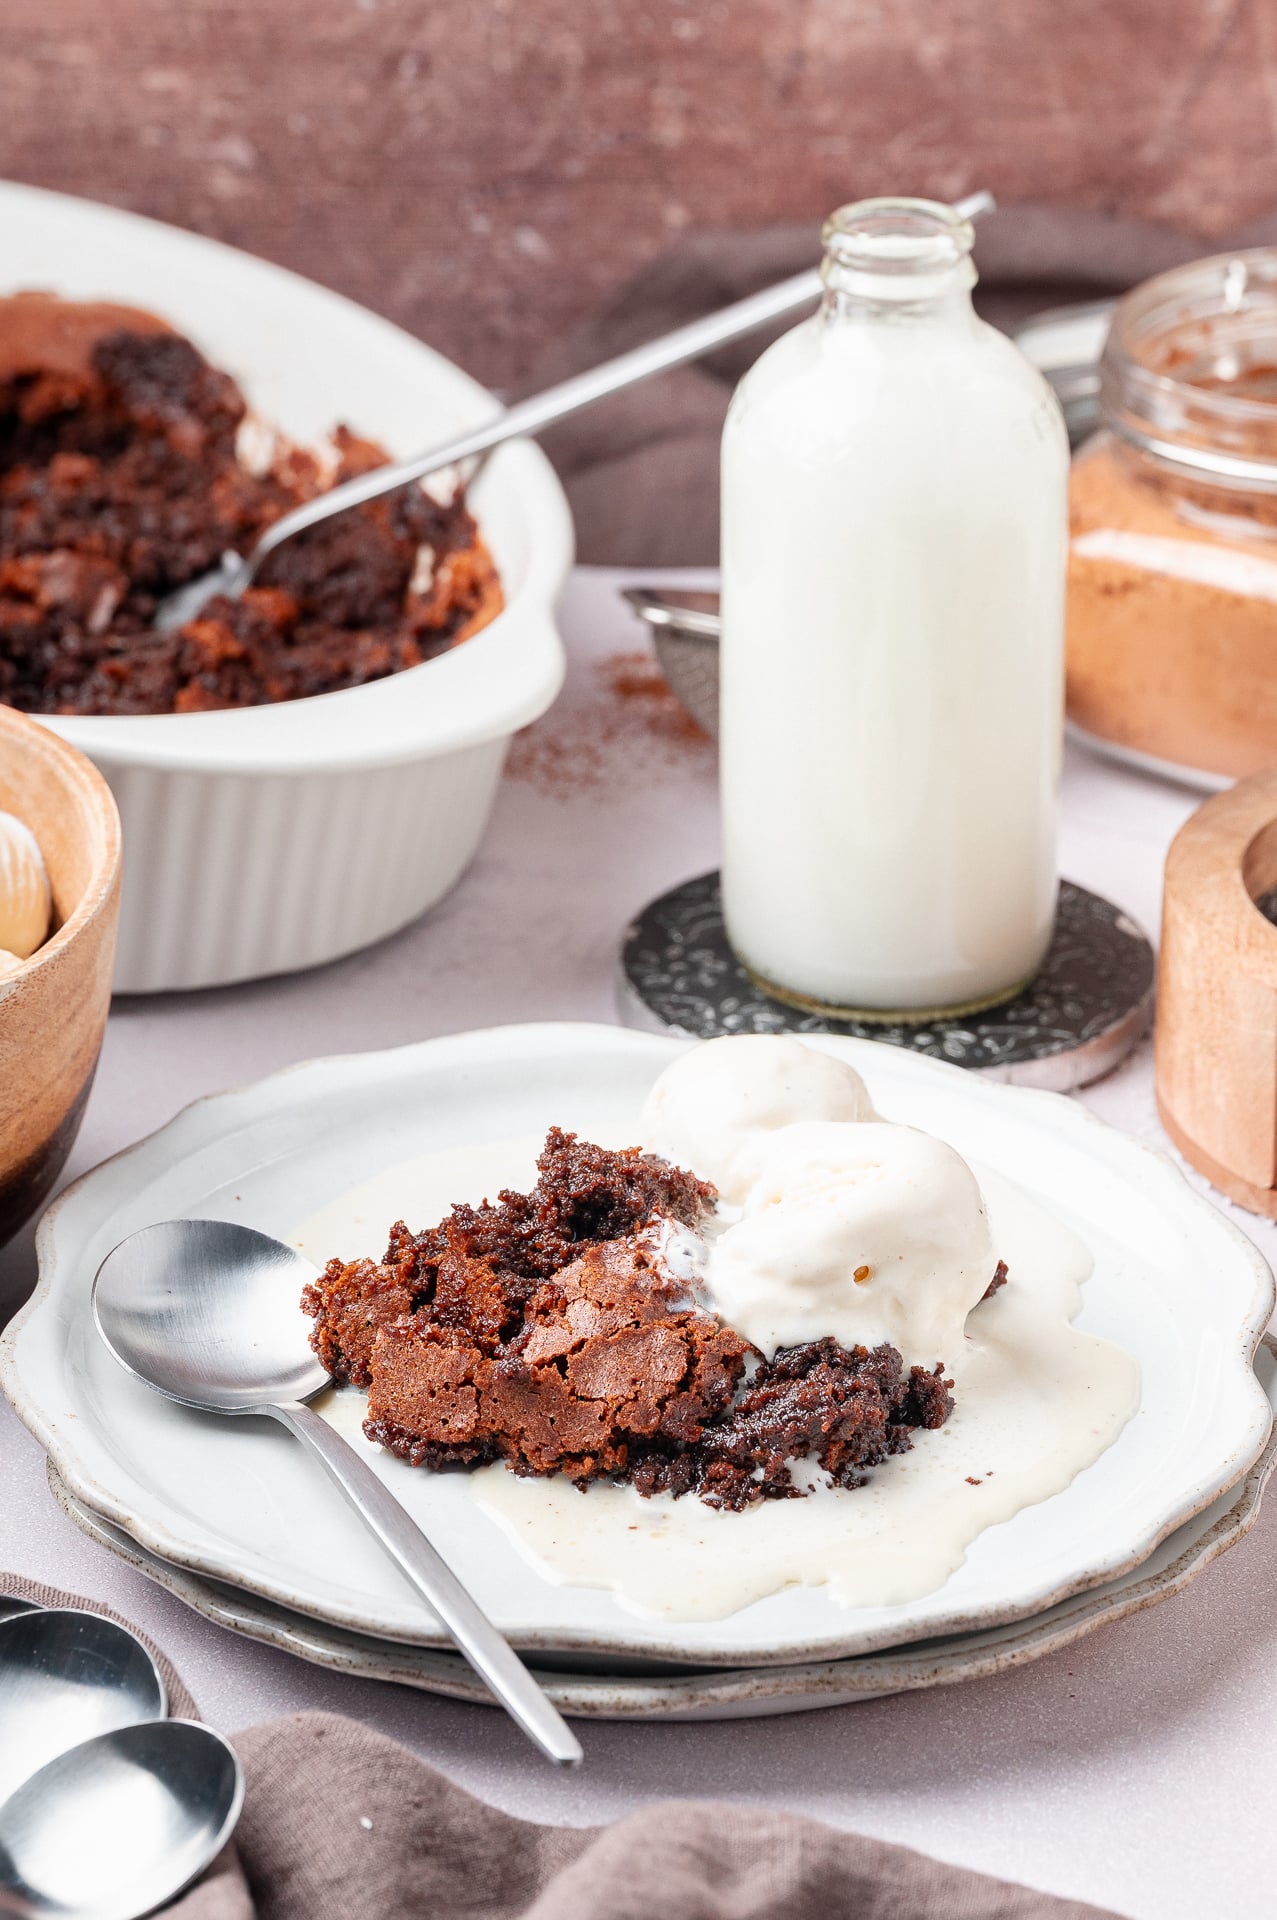
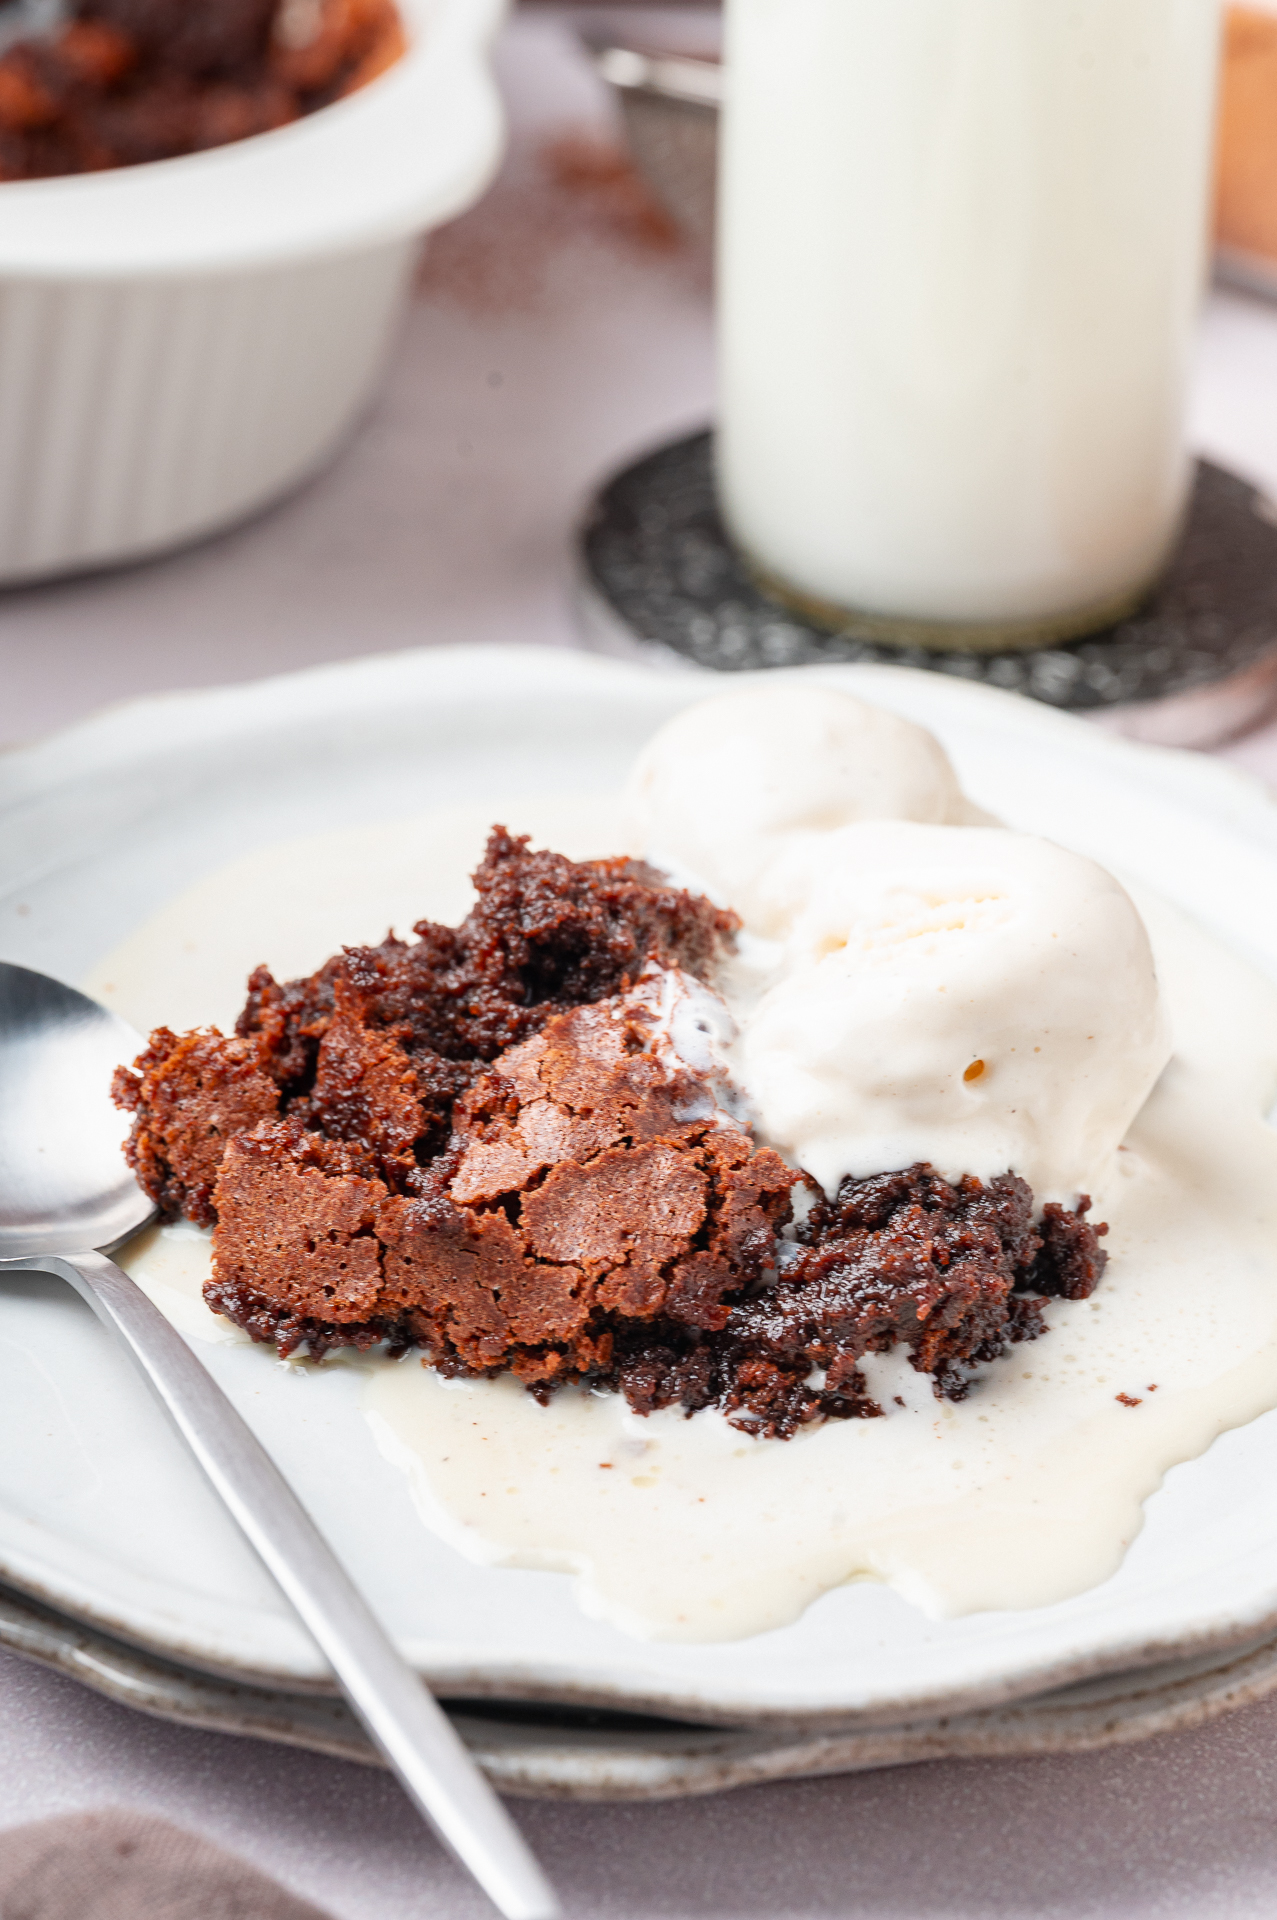
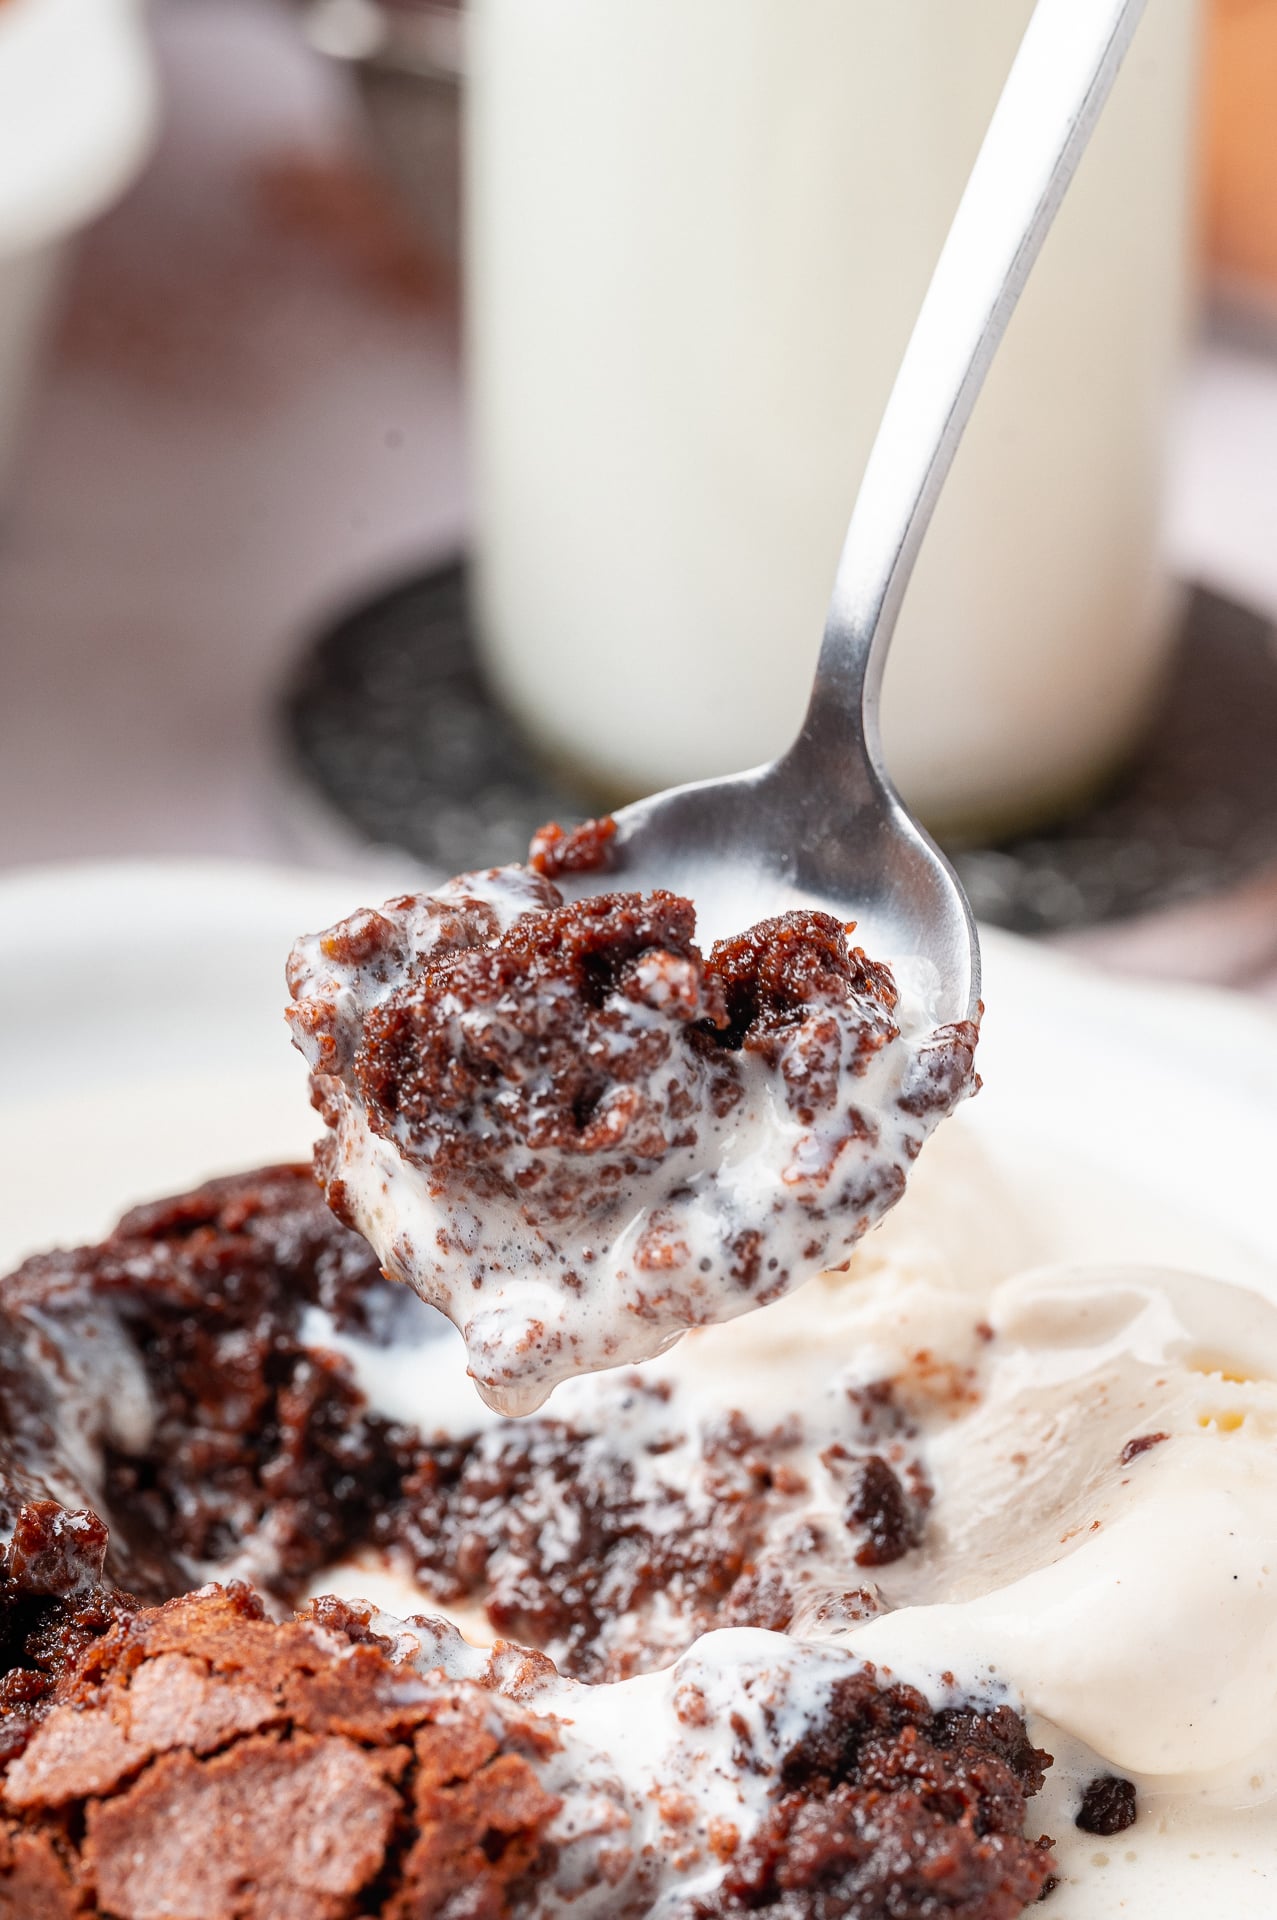
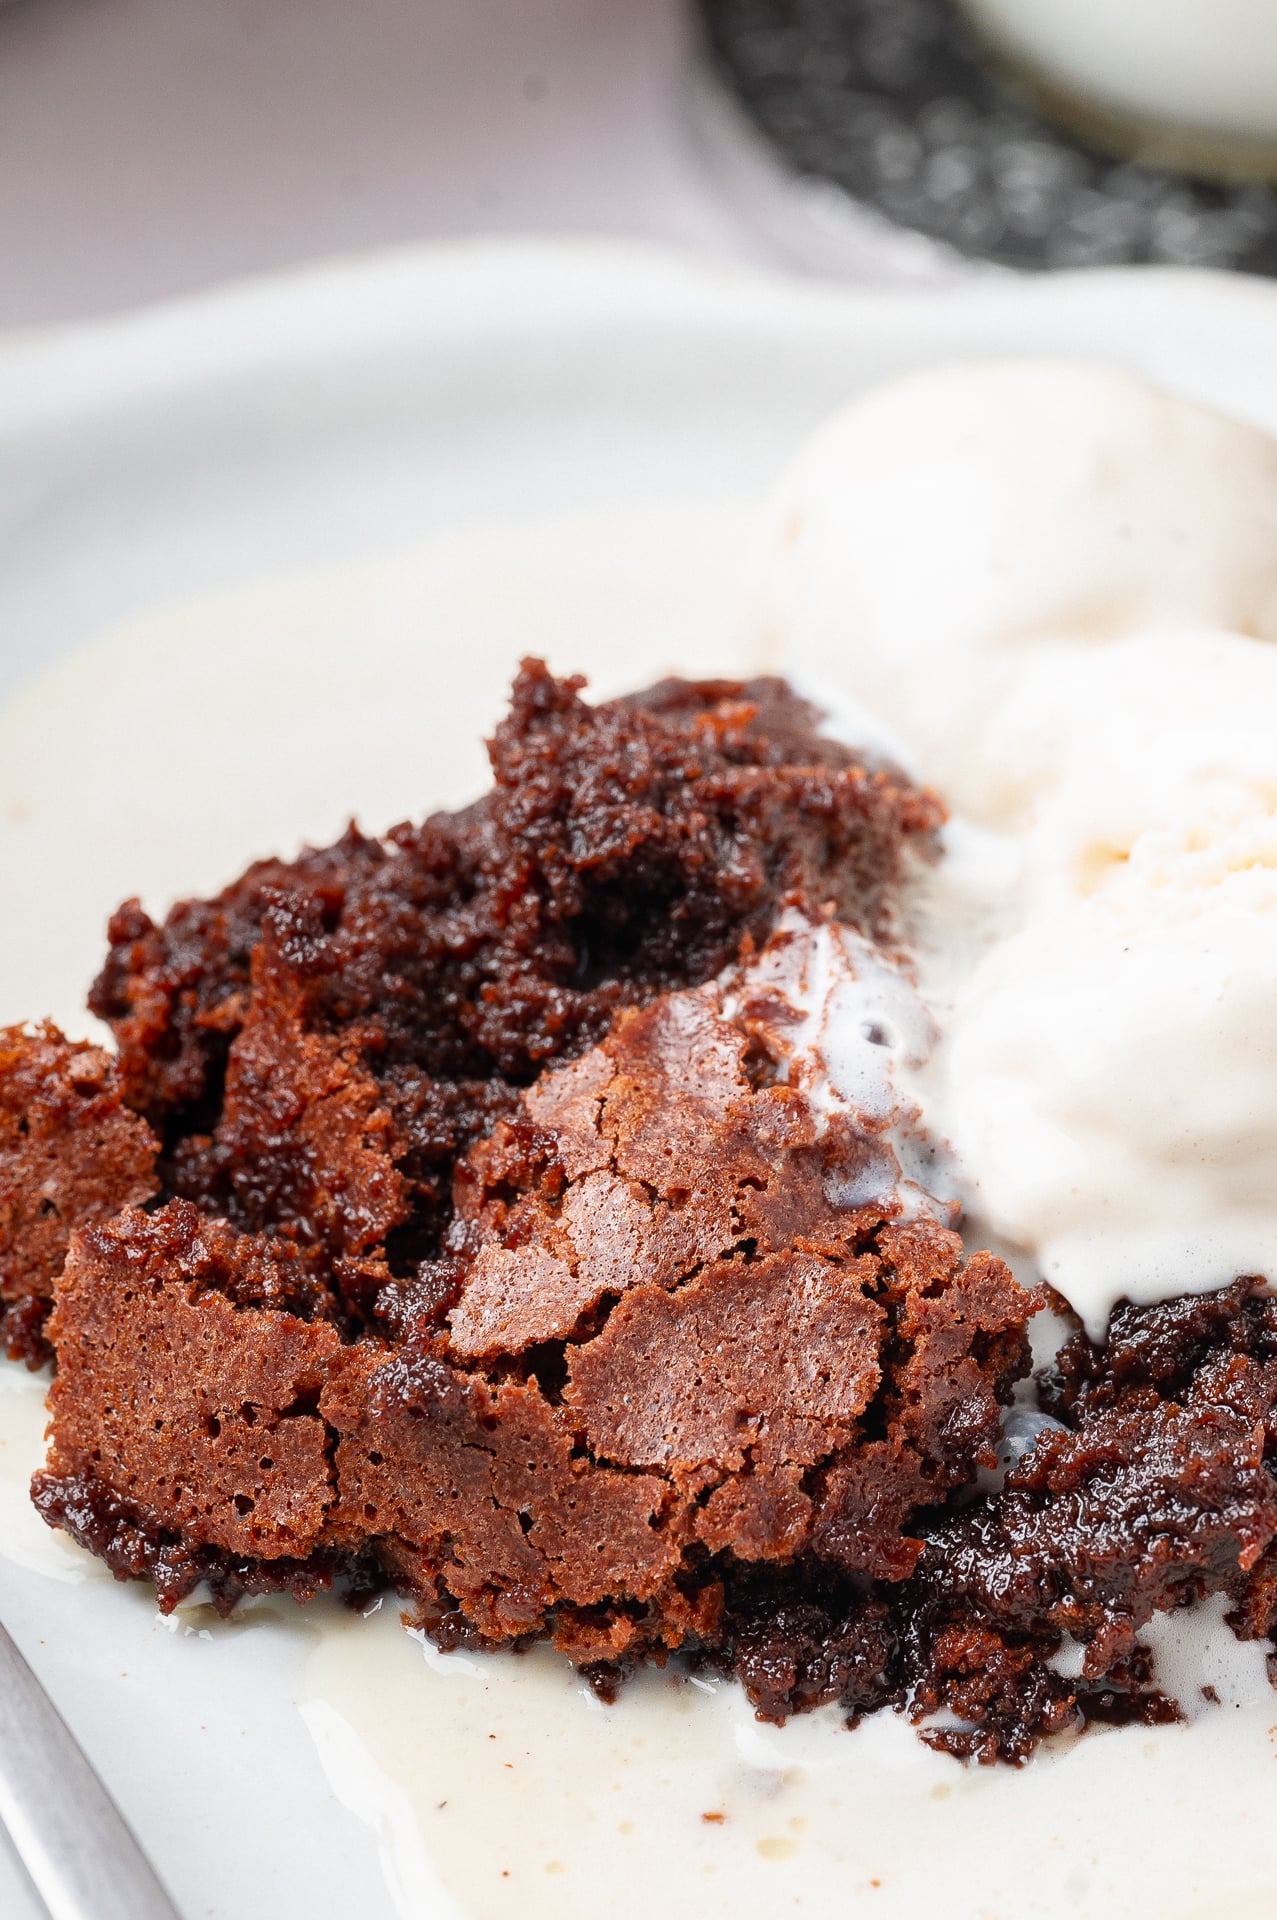
Break through the thin, crackly brownie crust with a spoon and you will find a warm, rich, intensely chocolatey center underneath. It is thicker than pudding but softer and more molten than a traditional brownie. Add a scoop of cold vanilla ice cream and you get that dreamy combination of warm chocolate, cool creaminess, crisp edges, and gooey pudding in every bite.
This is the kind of dessert that looks impressive enough for a dinner party or date night but requires only about 15 minutes of hands-on preparation. The ingredients are familiar, the method is simple, and the result feels much more special than an ordinary pan of brownies.
If rich chocolate desserts are always a hit at your house, save my American Flag Brownie Cake and No-Bake Mocha Icebox Cake for another sweet occasion.
In This Post
What Is Brownie Pudding?
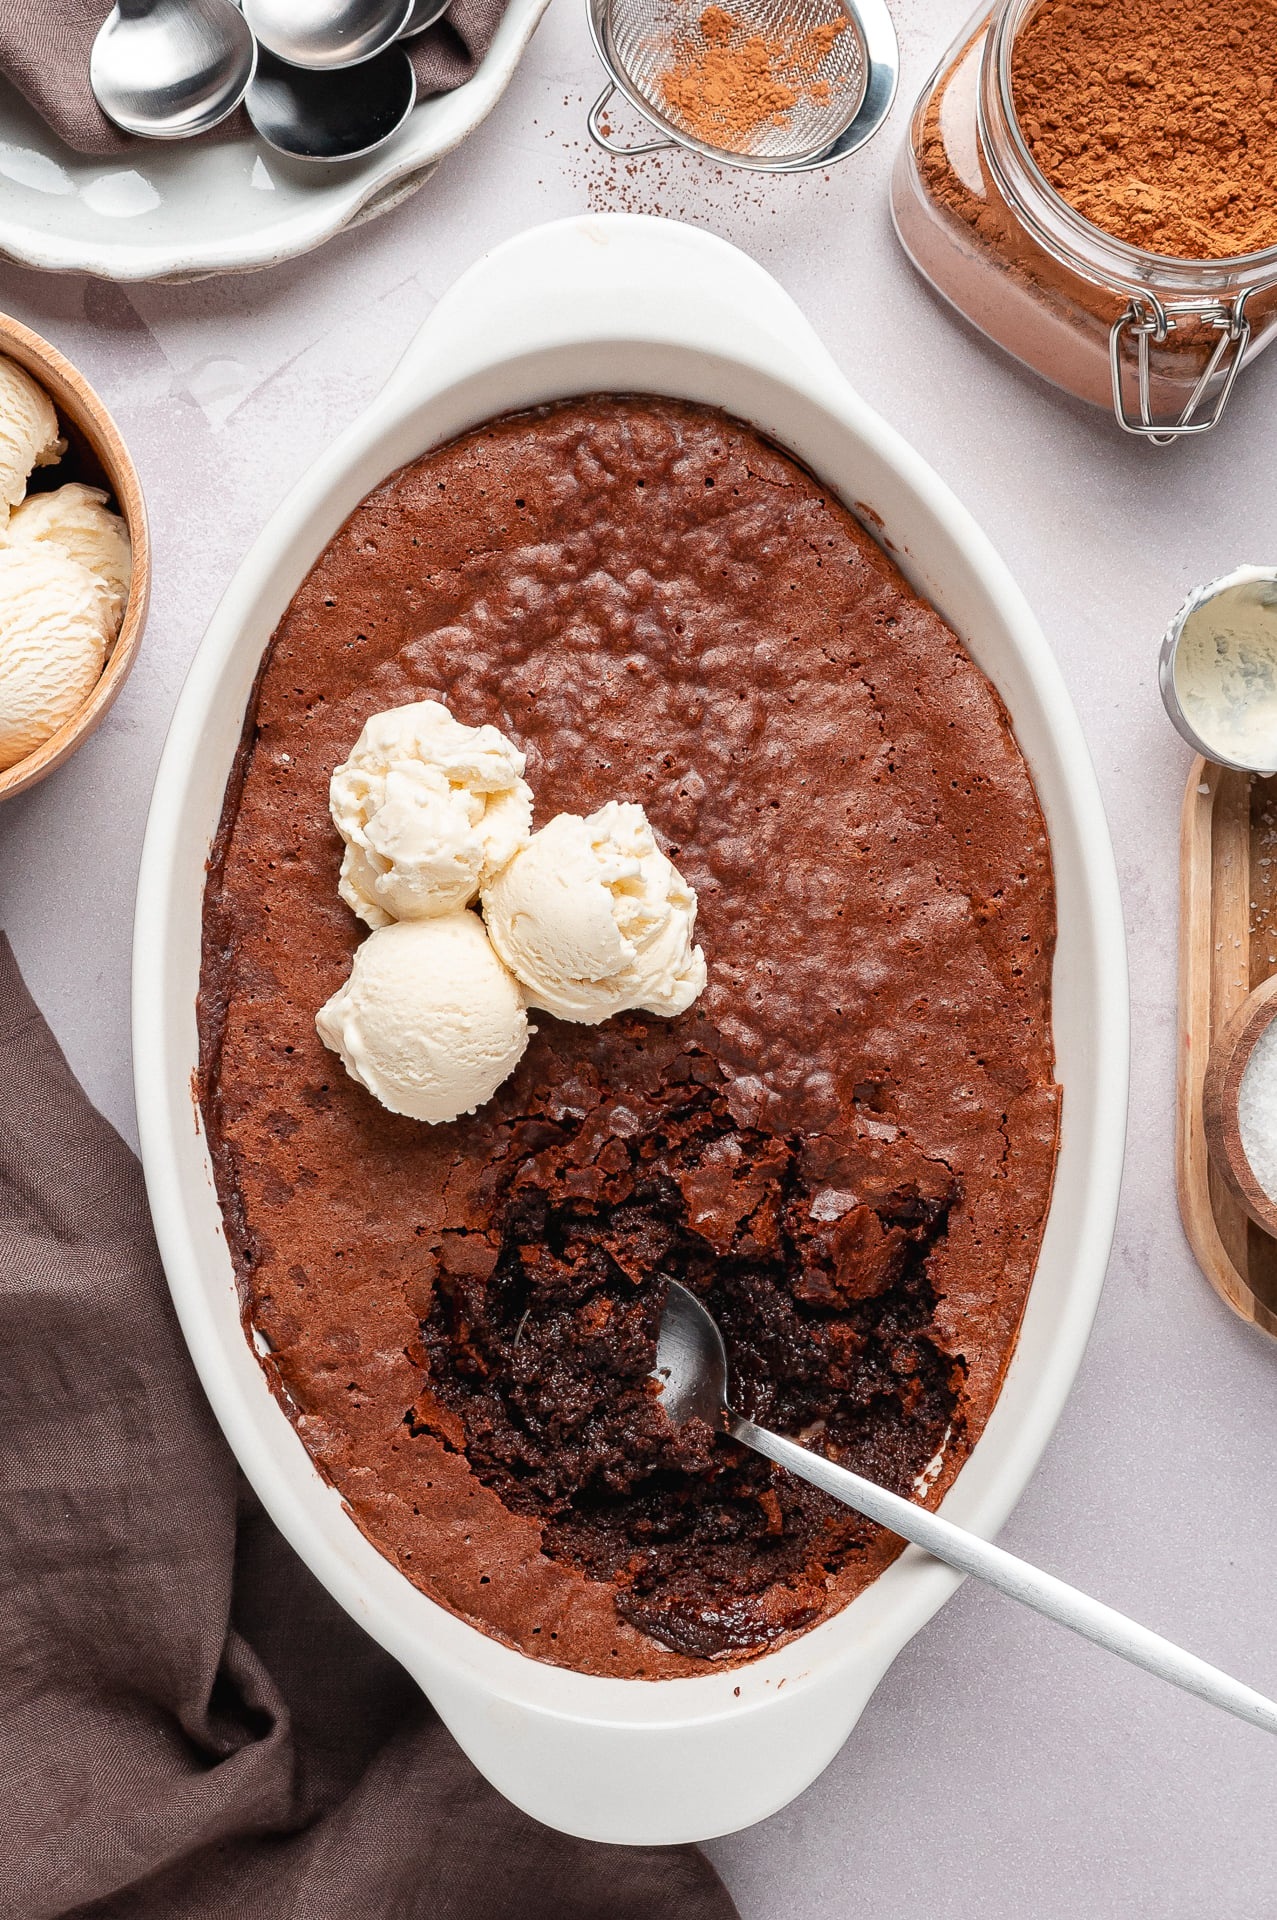
Brownie pudding is a warm baked chocolate dessert that falls somewhere between a fudgy brownie, molten lava cake, flourless chocolate cake, and old-fashioned baked pudding.
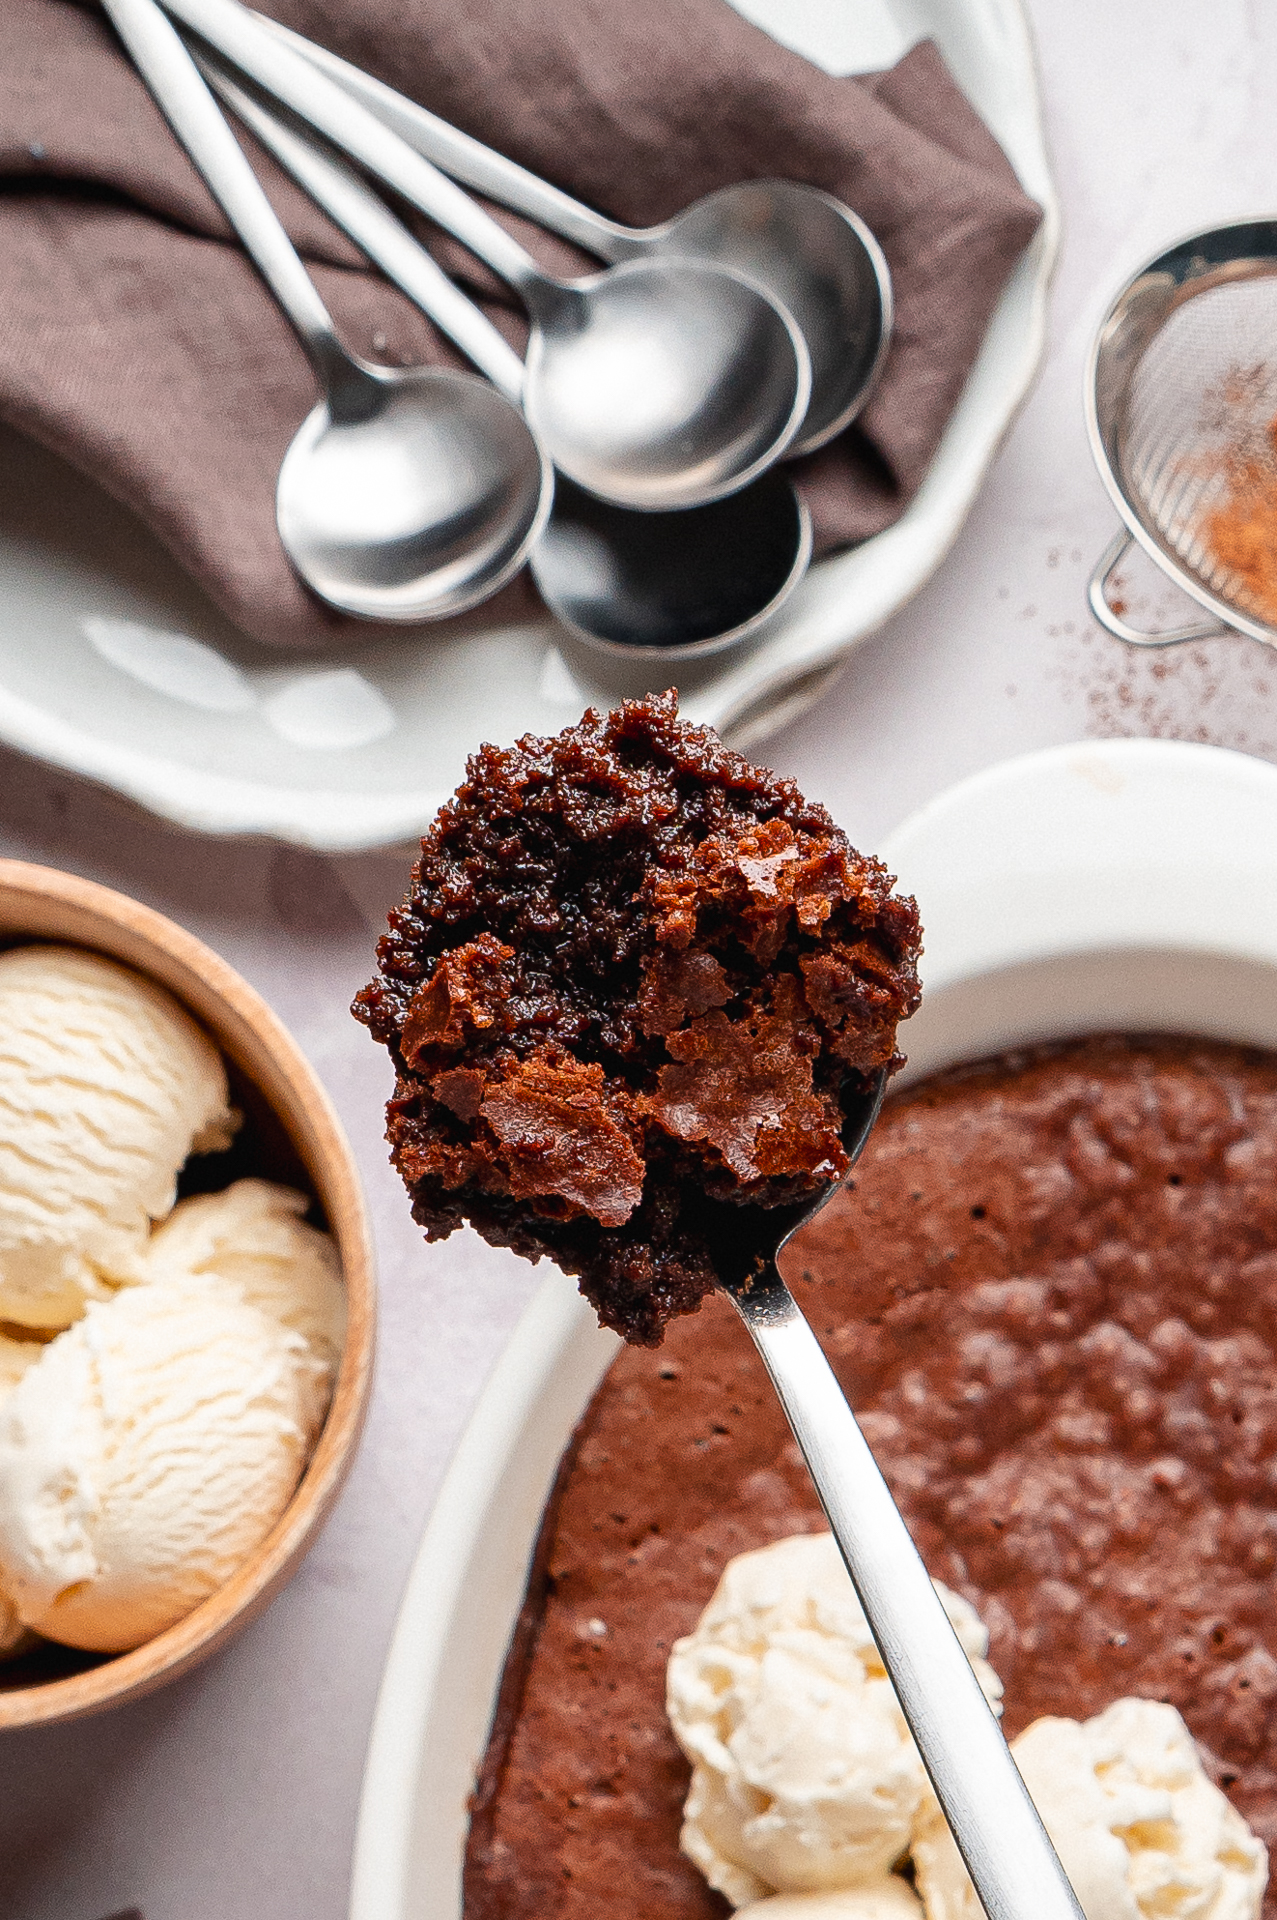
The top becomes crisp, shiny, and slightly chewy while the center remains soft enough to scoop. It is not intended to be cut into tidy bars. Instead, it is served warm from the baking dish with a large spoon.
The eggs and sugar are whipped until pale, thick, and airy, helping create the delicate crust. The small amount of flour gives the dessert just enough structure, while a hot-water bath prevents the edges from baking too quickly before the middle develops its signature pudding-like consistency.
About This Ina Garten Brownie Pudding Adaptation
Ina Garten's original brownie pudding was published in her 2008 cookbook, Barefoot Contessa Back to Basics. The original version calls for four extra-large eggs, one scraped vanilla bean, and an optional tablespoon of framboise raspberry liqueur. It is baked in a two-quart dish surrounded by hot water. The recipe gained renewed attention online in late 2025, introducing this comforting chocolate dessert to a new generation of home bakers. (Food Network)
This Hip Mama's Place adaptation makes a few practical changes:
- Vanilla bean paste replaces the scraped vanilla bean.
- Kosher salt is added to balance the sweetness.
- The optional liqueur is omitted from the basic recipe but included as a variation.
- Both cup and weight measurements are provided.
- Additional pan, water-bath, doneness, storage, and troubleshooting guidance is included.
For Ina Garten's original version, visit the official Food Network Brownie Pudding recipe. You can also find the recipe in Barefoot Contessa Back to Basics.
Why You Will Love This Brownie Pudding Recipe
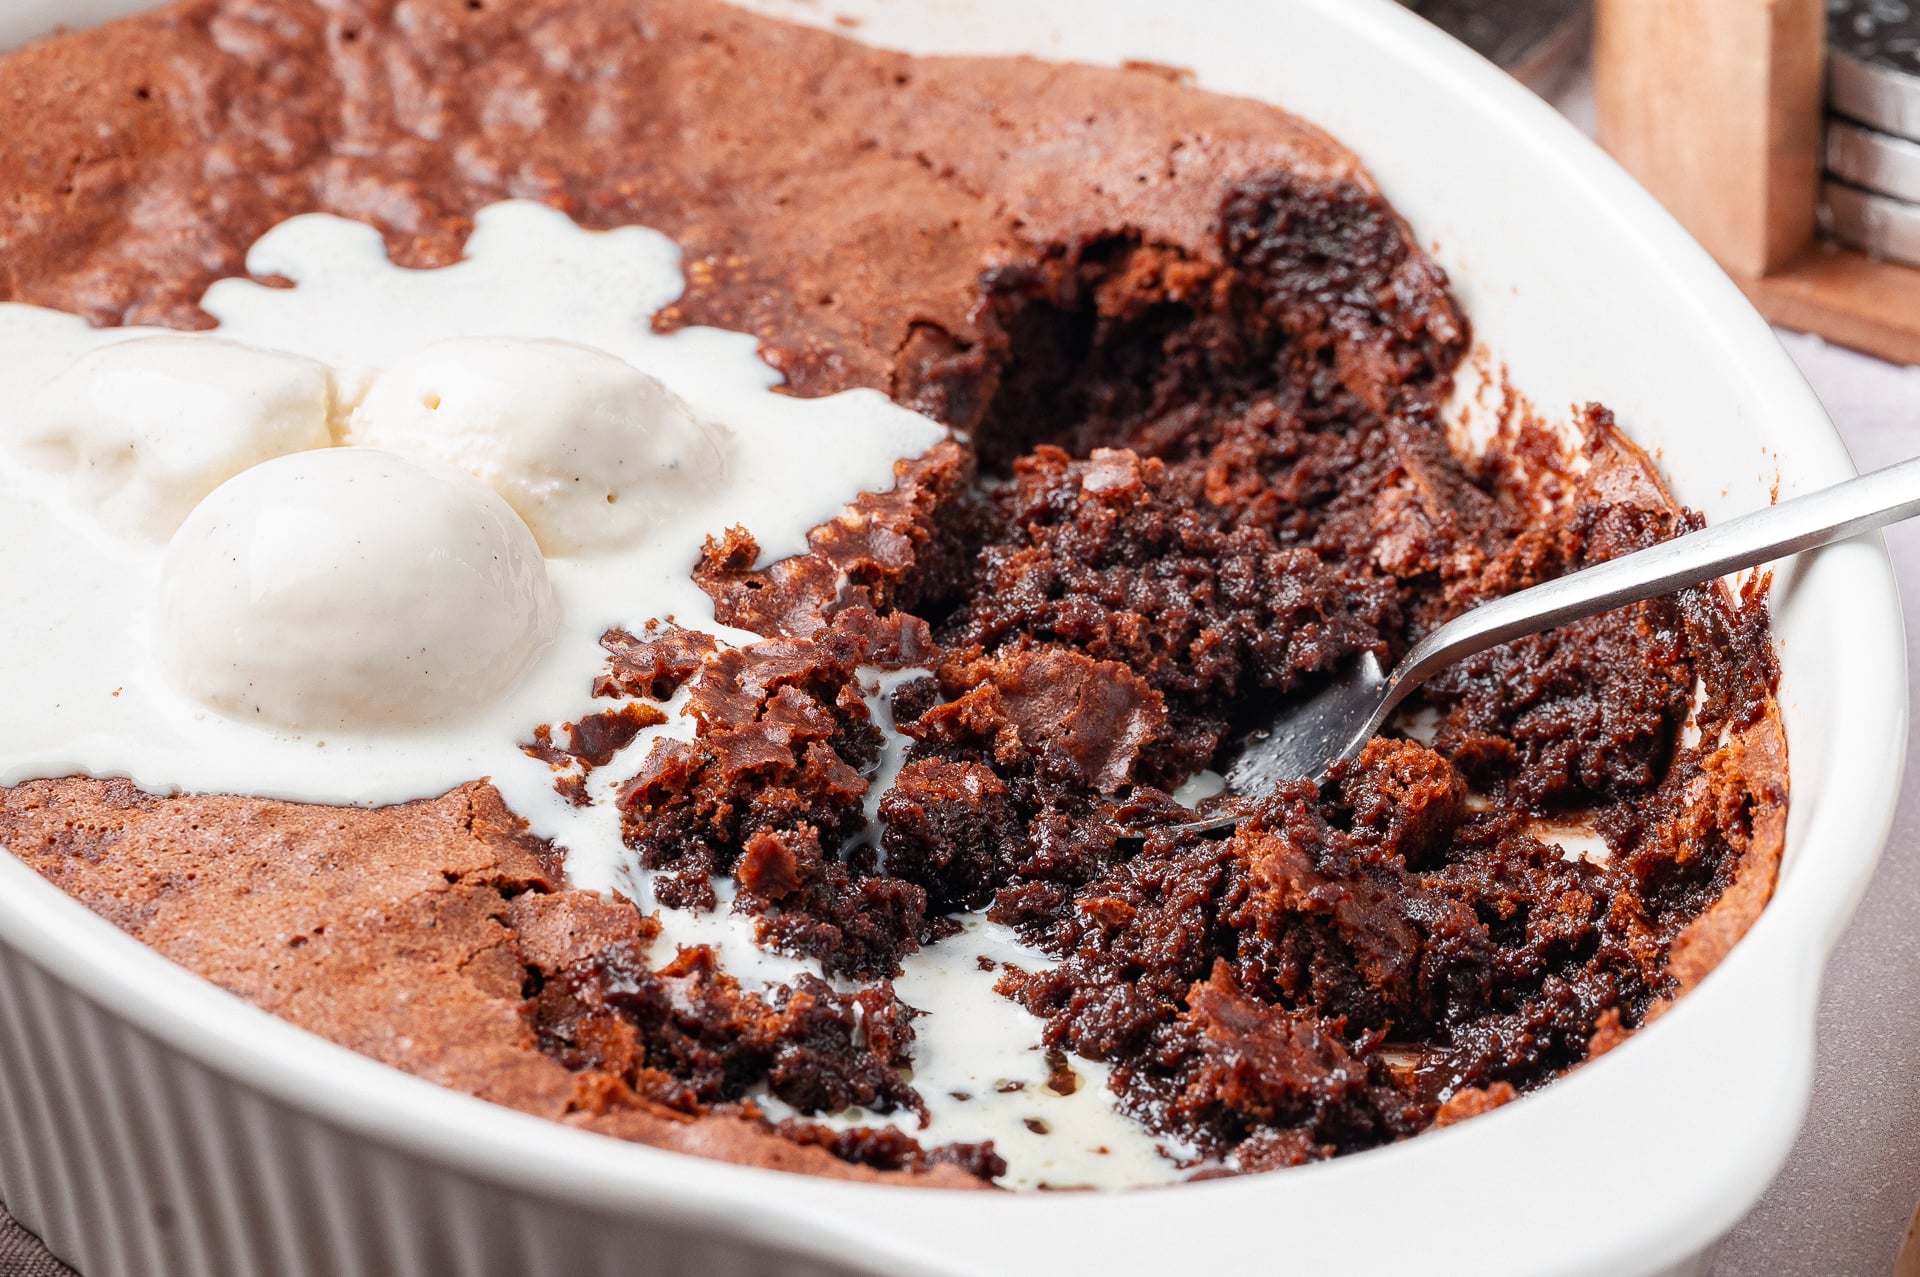
- The texture is incredible. You get a crisp brownie crust, fudgy middle, and soft pudding-like center in one dessert.
- Only 15 minutes of prep is needed. The stand mixer does most of the work.
- No chopped chocolate is required. Cocoa powder provides all the rich chocolate flavor.
- It is perfect for entertaining. Serve it family-style straight from the baking dish.
- It uses familiar ingredients. You may already have butter, eggs, sugar, cocoa powder, flour, salt, and vanilla in your kitchen.
- It can be dressed up or kept simple. Vanilla ice cream is classic, but berries, whipped cream, caramel, and flaky salt are also delicious.
Ingredients You Will Need
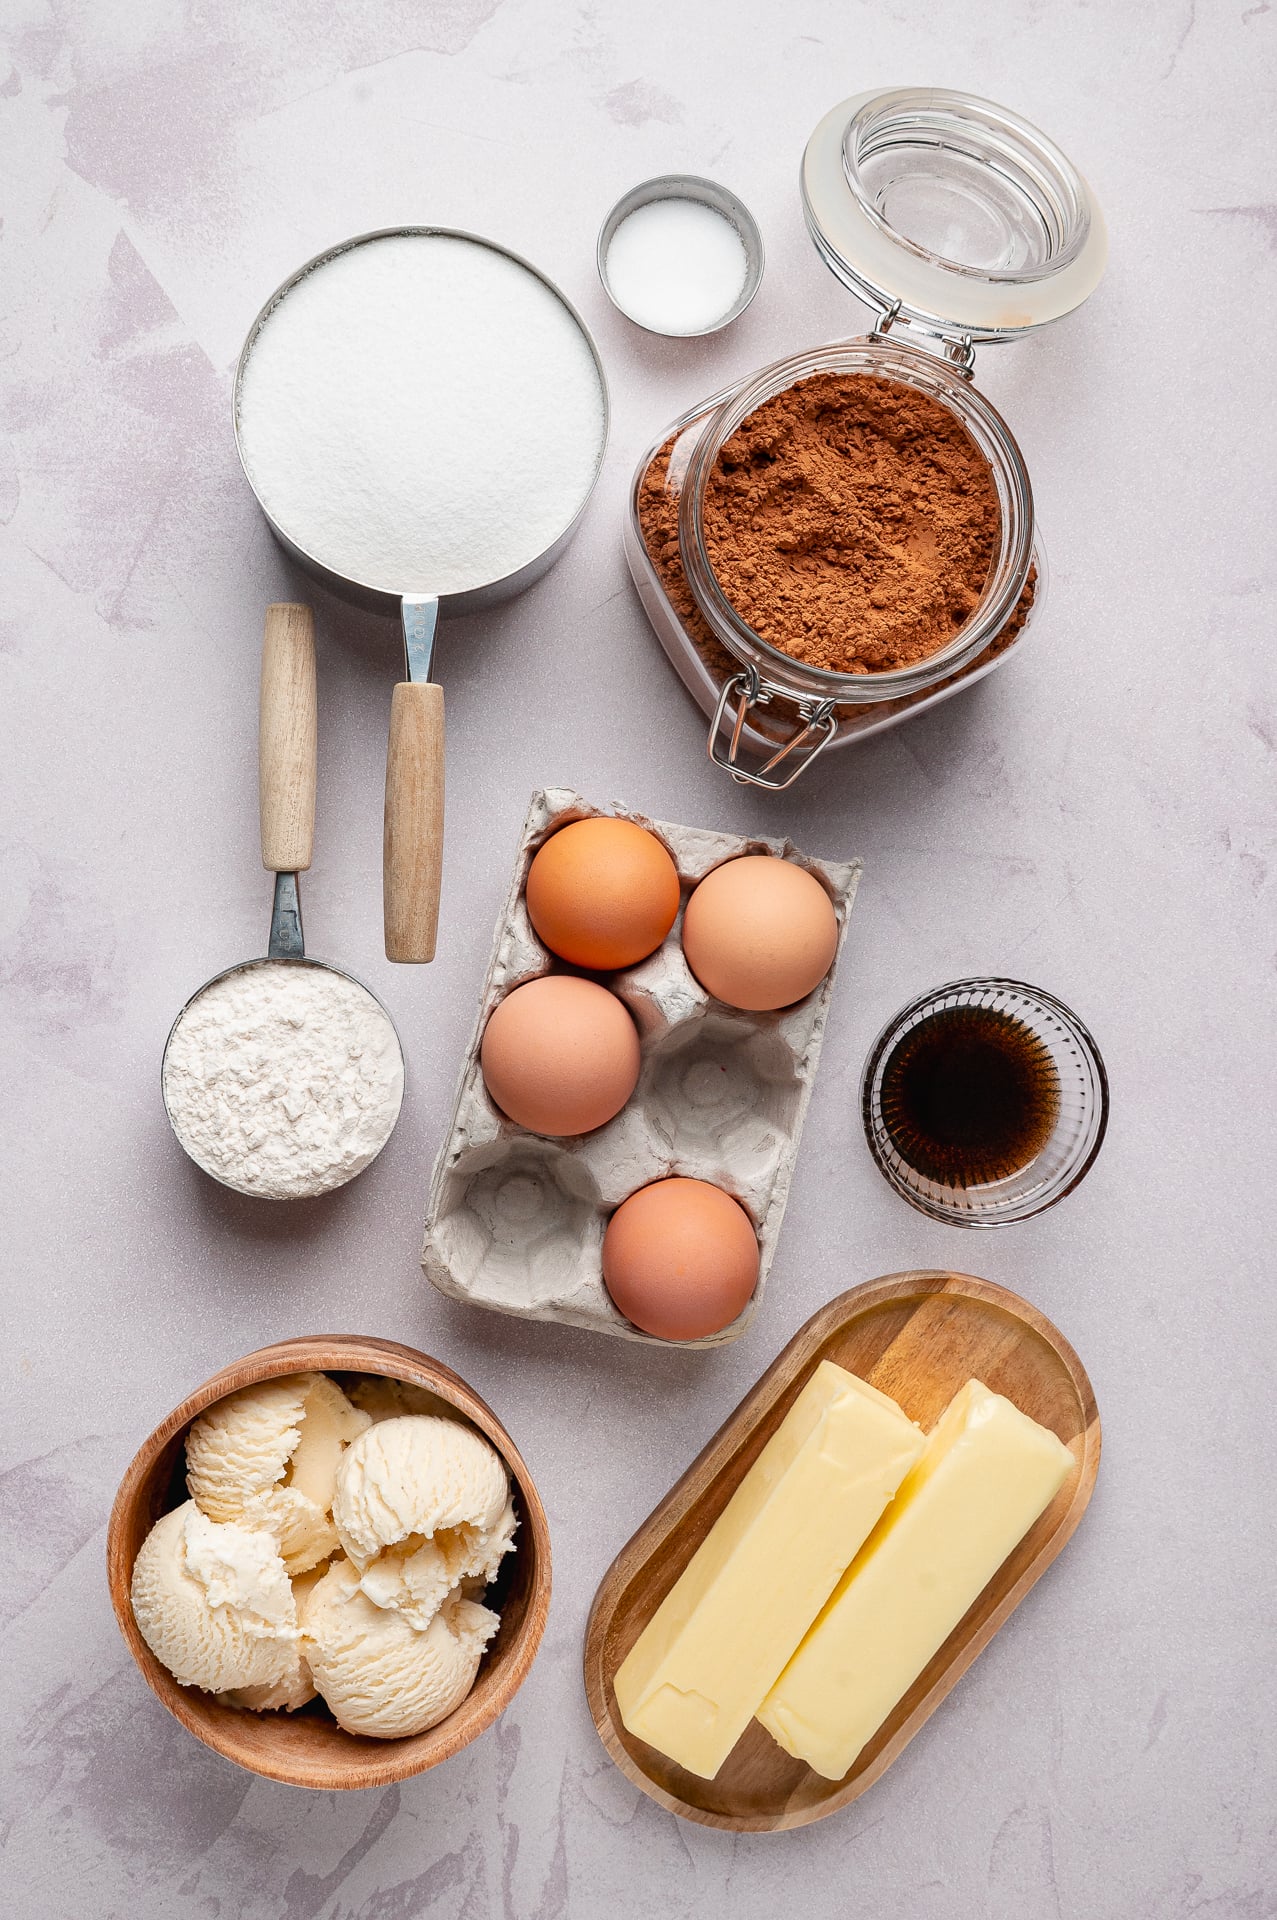
Unsalted Butter
Two sticks of melted butter give the pudding its rich flavor and luxurious texture. Let the melted butter cool for at least 10 minutes before adding it to the whipped eggs. Butter that is still very hot could deflate or partially cook the egg mixture.
You will also need a little extra softened butter for generously greasing the baking dish.
Eggs
The eggs provide structure and help create the airy, crackly brownie crust. They must be beaten with the sugar for several minutes, so room-temperature eggs work best.
Ina's original recipe specifies four extra-large eggs. Standard large eggs may also be used in this adaptation, but use extra-large eggs when you want to stay as close as possible to the original proportions.
To bring cold eggs to room temperature quickly, place the uncracked eggs in a bowl of lukewarm water for 5 to 10 minutes.
Granulated Sugar
Two cups of granulated sugar may sound generous, but the sugar contributes more than sweetness. It helps form the thin, glossy crust and keeps the center soft.
Rather than reducing the sugar on the first attempt, balance the dessert with good cocoa powder, kosher salt, vanilla ice cream, tart berries, or unsweetened whipped cream.
Unsweetened Cocoa Powder
Because cocoa is the only source of chocolate in this recipe, quality makes a noticeable difference. Use unsweetened cocoa powder rather than sweetened drinking chocolate or hot cocoa mix.
A high-quality option such as Ghirardelli unsweetened cocoa powder or another cocoa powder you already enjoy will work well.
All-Purpose Flour
Only one-half cup of flour is needed. This small quantity gives the dessert enough structure to hold together without turning it into a firm chocolate cake.
For the most accurate result, weigh 60 grams of flour. When using measuring cups, spoon the flour into the cup and level the surface rather than packing it down.
Kosher Salt
Salt is not included in Ina's original ingredient list, but it is especially helpful in such a rich, sweet dessert. One-half teaspoon sharpens the cocoa flavor and keeps the pudding from tasting one-dimensionally sweet.
Vanilla Bean Paste
Vanilla bean paste provides concentrated vanilla flavor and the pretty flecks associated with a whole vanilla bean, without requiring you to split and scrape one.
I like Nielsen-Massey vanilla bean paste, but any good-quality brand will work.
Vanilla Ice Cream
Brownie pudding is rich, so a scoop of cold vanilla ice cream creates the perfect contrast. It slowly melts into the warm pudding and becomes a creamy sauce.
For a fruity twist, try it with my No-Churn Strawberry Ice Cream.
Should You Use Natural or Dutch-Process Cocoa?
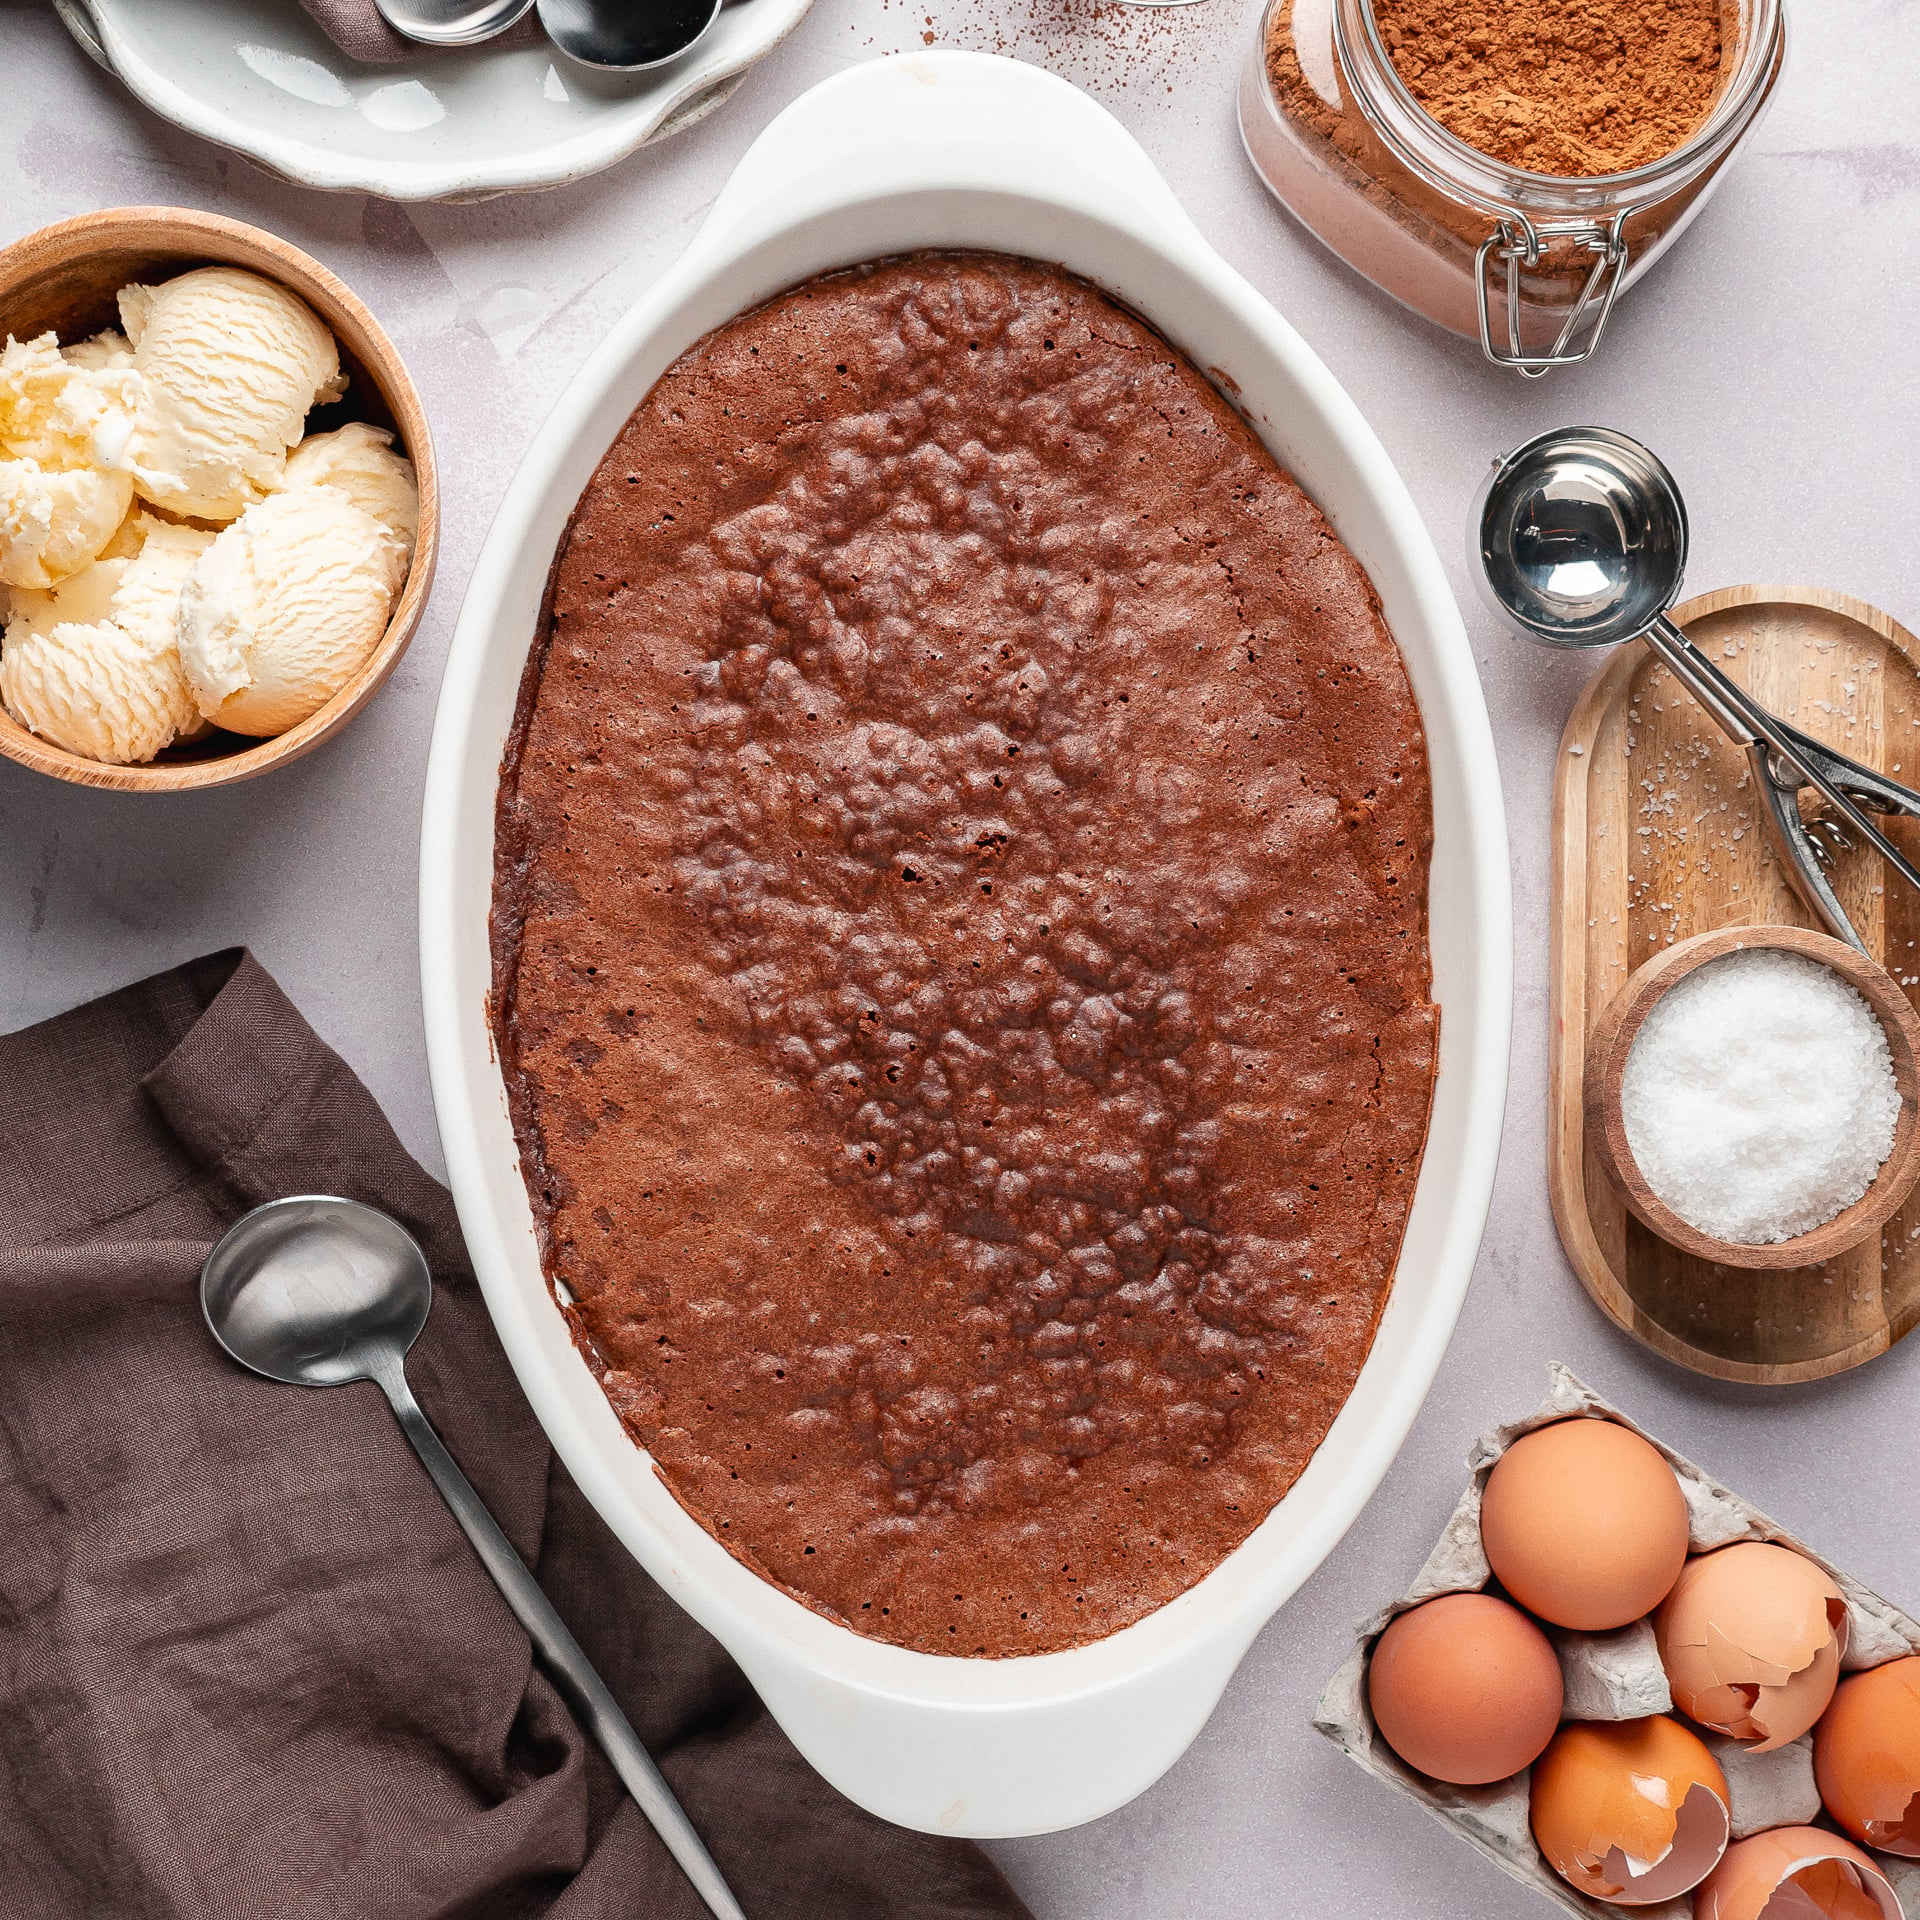
Either unsweetened natural cocoa powder or Dutch-process cocoa powder can be used in this recipe.
Because brownie pudding does not contain baking soda or baking powder, the acidity of the cocoa is not needed for a chemical leavening reaction. Your choice will primarily affect the color and flavor:
- Natural cocoa powder creates a slightly lighter color with a sharper, more traditional cocoa flavor.
- Dutch-process cocoa powder usually gives the pudding a darker appearance and smoother, rounder chocolate flavor.
Neither is automatically better. Choose the cocoa flavor you enjoy most.
Equipment Needed
You do not need a long list of specialty tools, but the correct pans and mixer make the process much easier.
- Stand mixer with paddle attachment
- Two-quart ceramic baking dish
- Large roasting pan
- Fine-mesh sifter
- Heat-resistant rubber spatula
- Large liquid measuring cup or pitcher for adding the hot water
- Oven thermometer, optional but helpful
What Size Baking Dish Is Best?
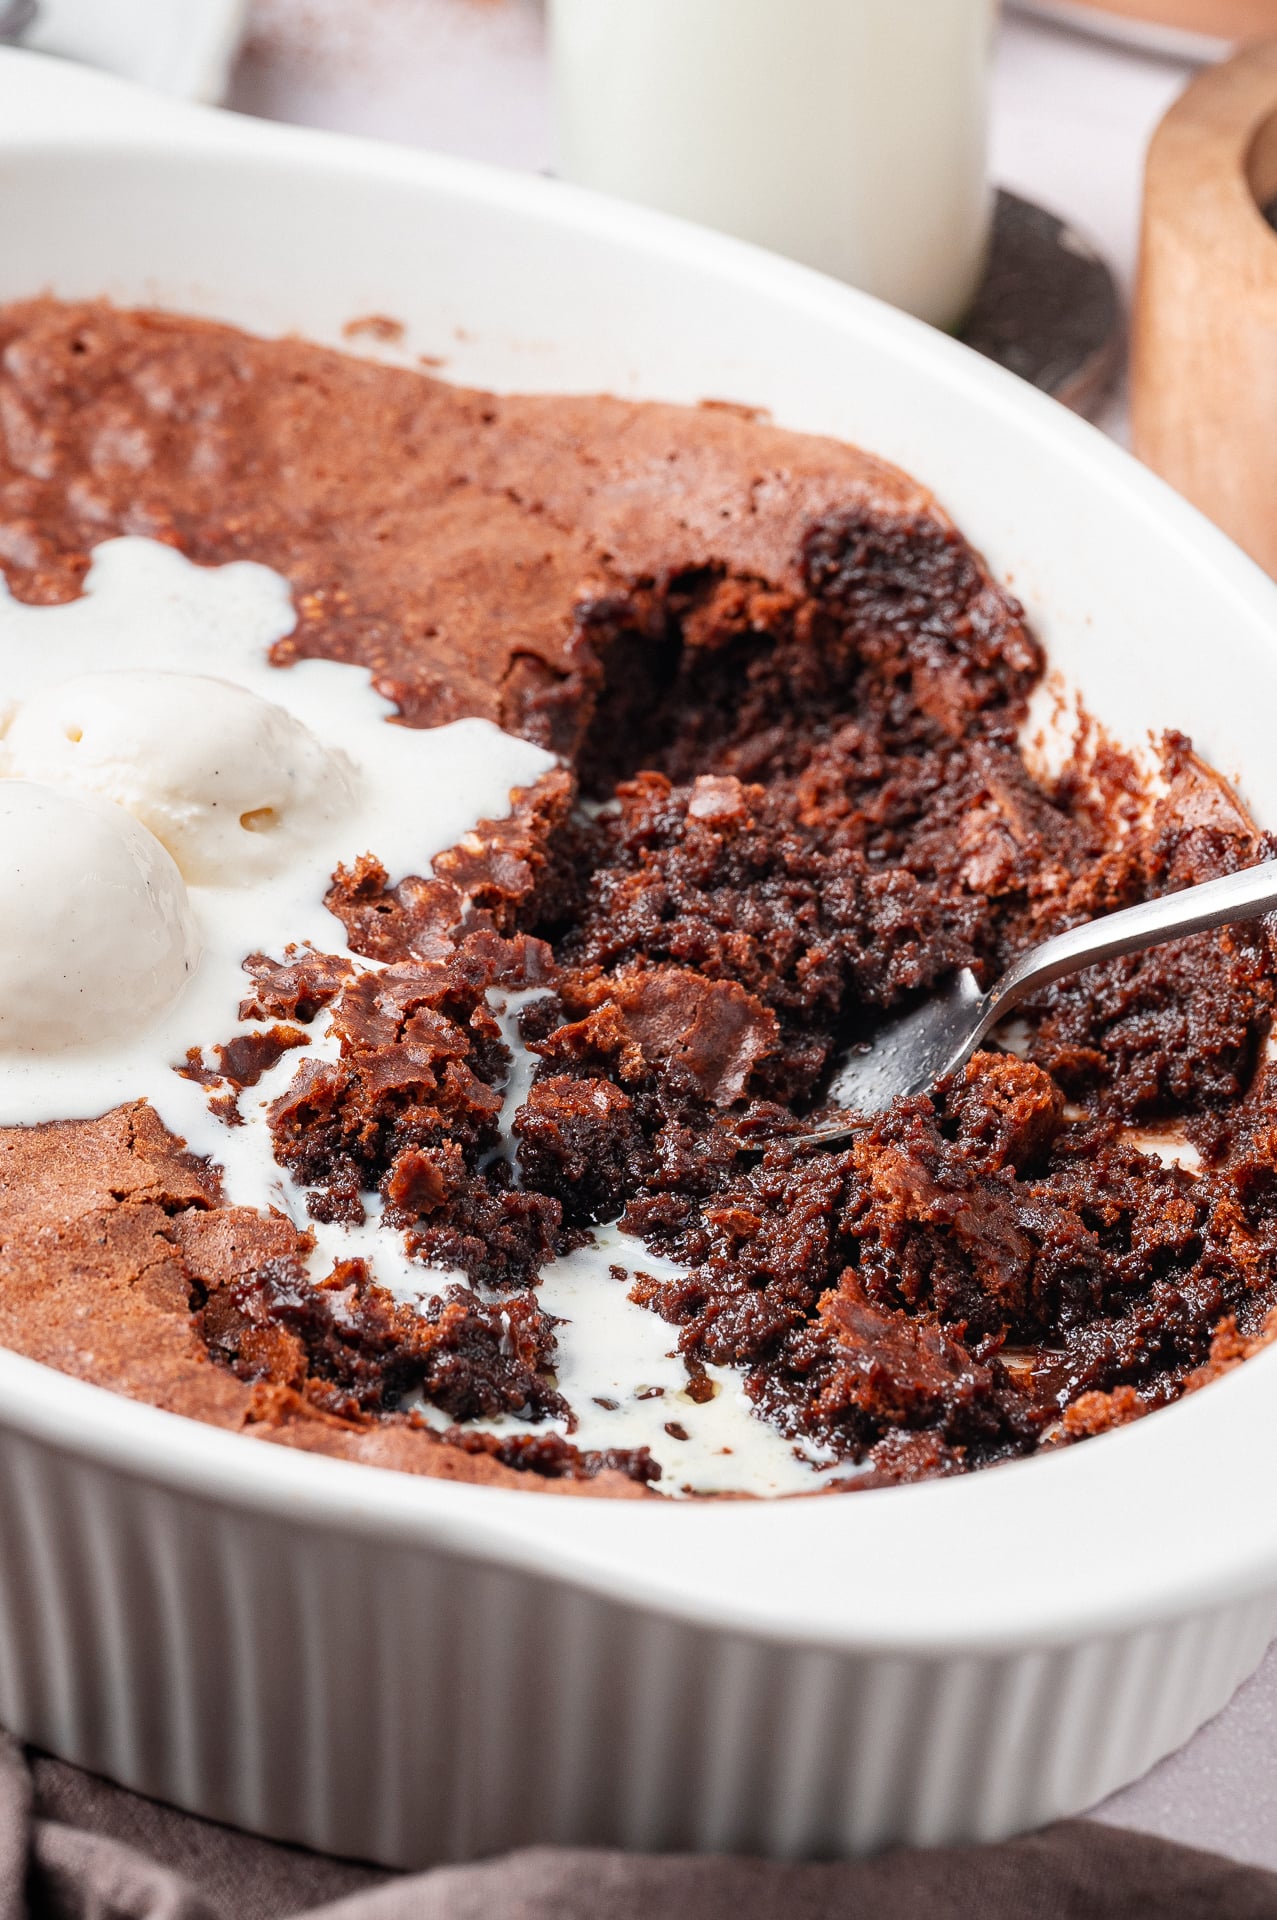
Use a two-quart oven-safe baking dish, ideally one that is approximately 9 by 12 inches and at least 2 inches deep.
Capacity is more important than the dimensions printed on the label. Some 9-by-13-inch pans hold closer to three quarts and create a thinner layer of batter. A thinner brownie pudding may bake more quickly and have less of the deep, spoonable center that makes this dessert special.
Ceramic or glass works well. A metal pan heats more quickly and may cause the outer portion to set sooner, so begin checking it early if metal is your only option.
How to Make Ina Garten's Brownie Pudding
1. Preheat the Oven
Preheat the oven to 325°F with a rack positioned in the center.
Generously coat the inside of a two-quart baking dish with softened butter, paying special attention to the corners and sides.
2. Melt and Cool the Butter
Melt the two sticks of unsalted butter in a saucepan or microwave-safe bowl.
Set the butter aside for at least 10 minutes. It should remain fluid but should no longer feel piping hot.
3. Beat the Eggs and Sugar
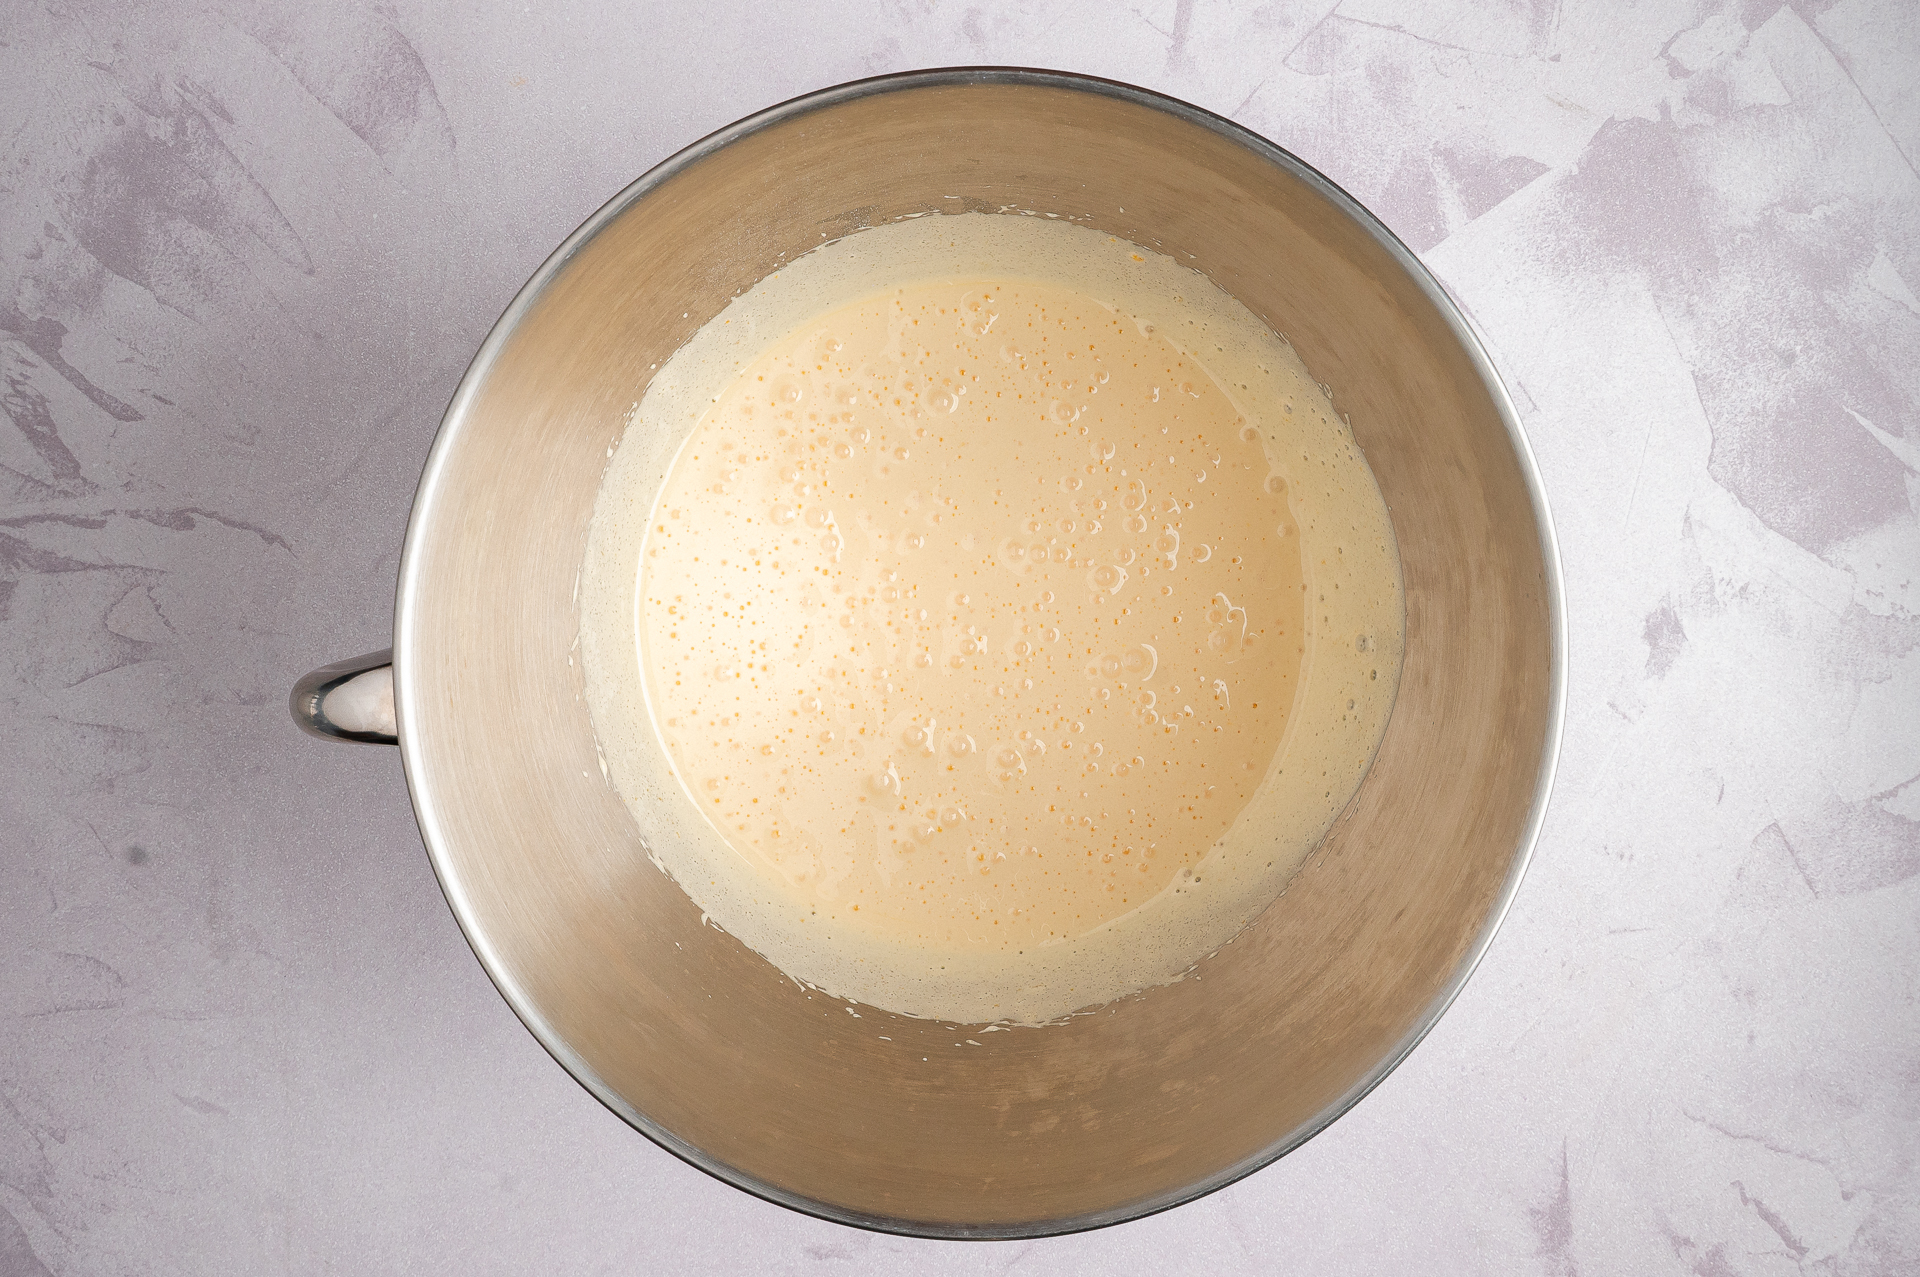
Place the room-temperature eggs and granulated sugar in the bowl of a stand mixer fitted with the paddle attachment.
Beat on medium-high speed for 5 to 10 minutes. The mixture should become:
- Much lighter in color
- Thick and voluminous
- Pale yellow
- Smooth and glossy
- Thick enough to fall from the paddle in a slow ribbon
This visual stage matters more than the exact number of minutes. King Arthur Baking describes ribbon stage as the thick, pale, foam-like consistency created when eggs and sugar have been thoroughly aerated. (King Arthur Baking)
4. Sift the Dry Ingredients
While the eggs and sugar are mixing, sift the cocoa powder, all-purpose flour, and kosher salt together.
Do not skip this step. Cocoa powder often contains stubborn lumps that can remain visible in the finished batter if they are not broken apart.
5. Add the Dry Ingredients
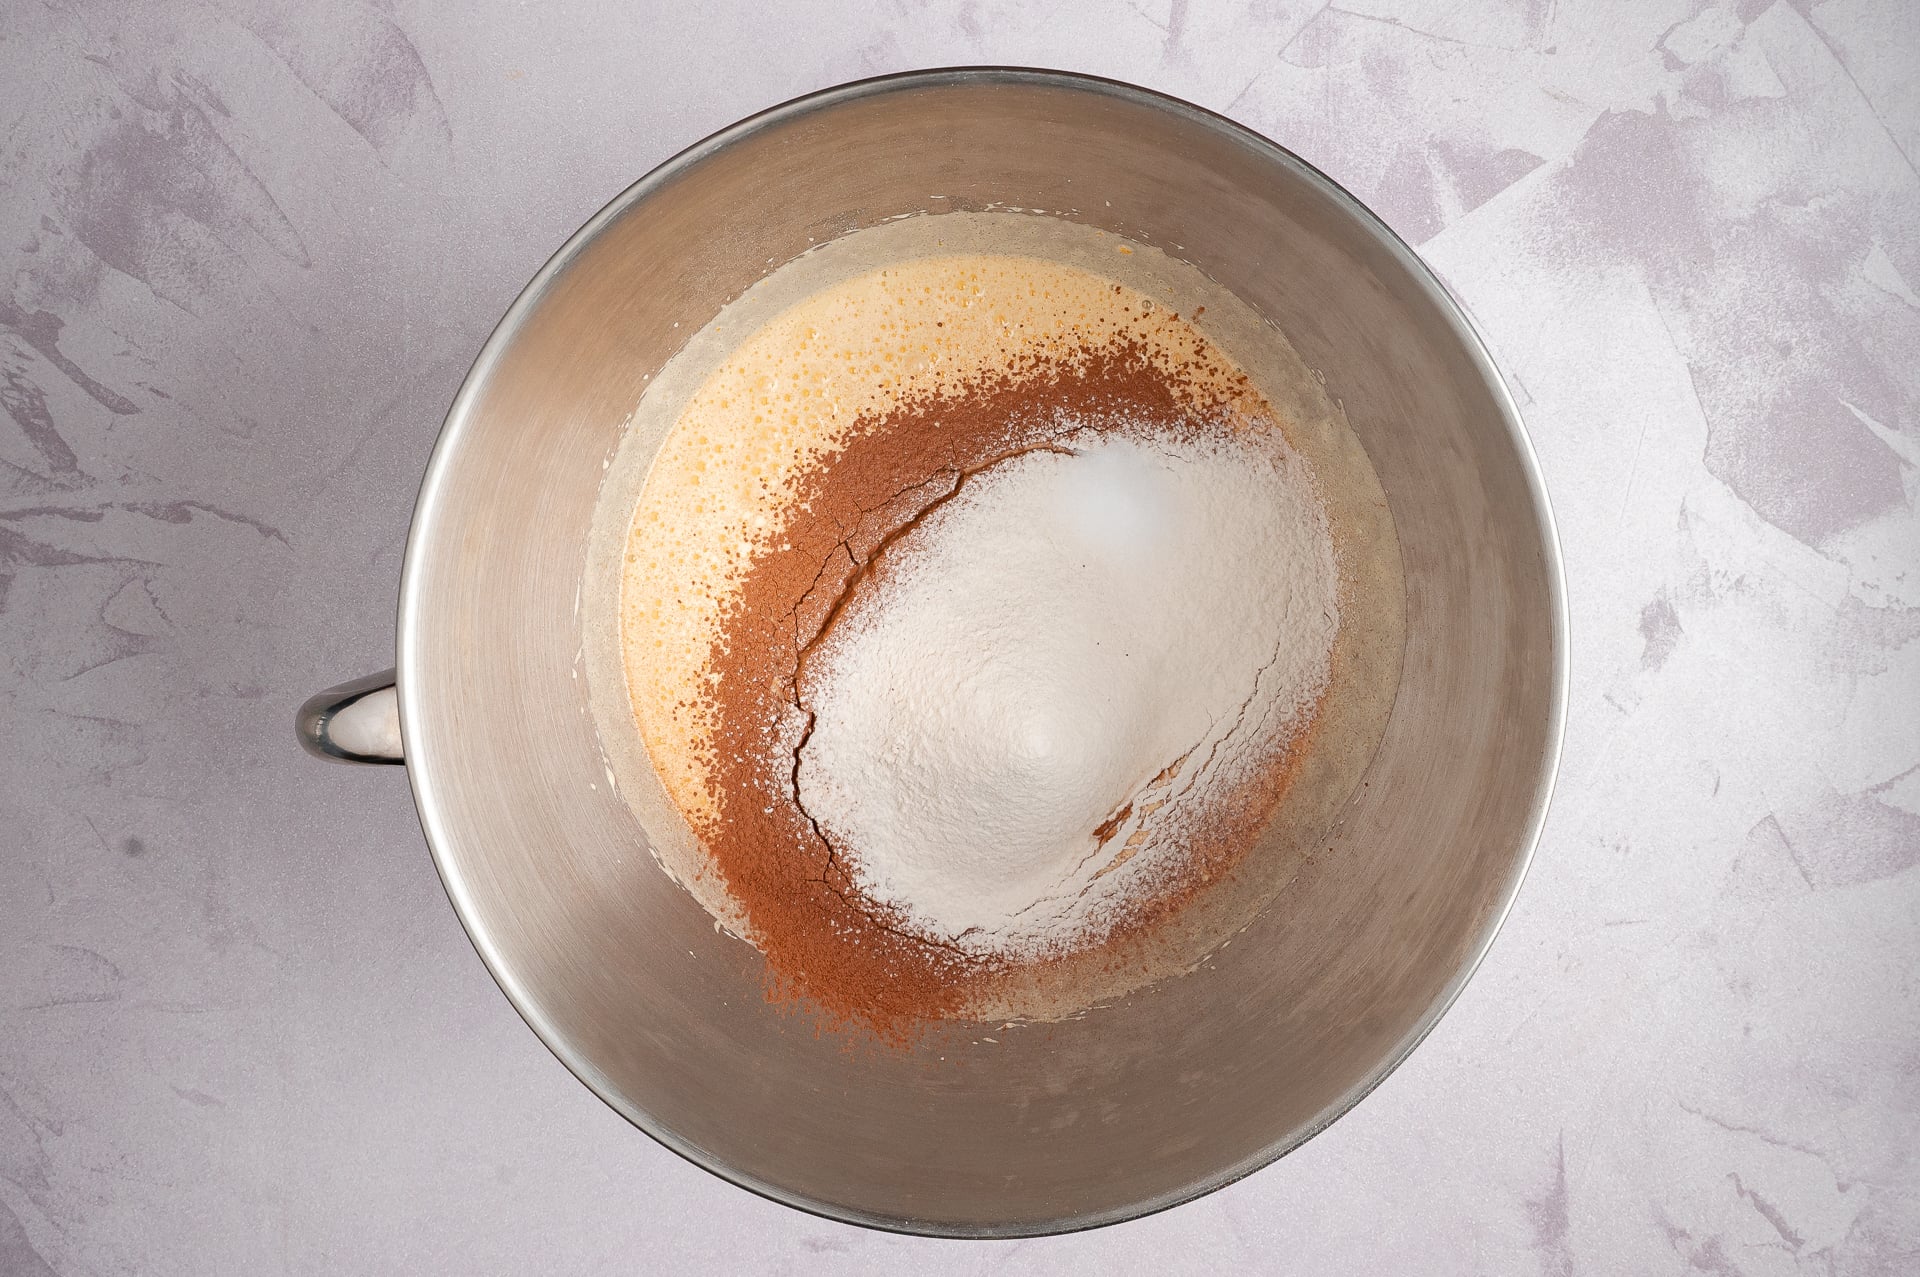
Turn the mixer to low.
Gradually add the sifted cocoa mixture. Mix only until the dry streaks disappear. Scrape the bottom and sides of the bowl with a rubber spatula to make sure no pockets of flour or cocoa remain.
6. Add the Vanilla and Butter
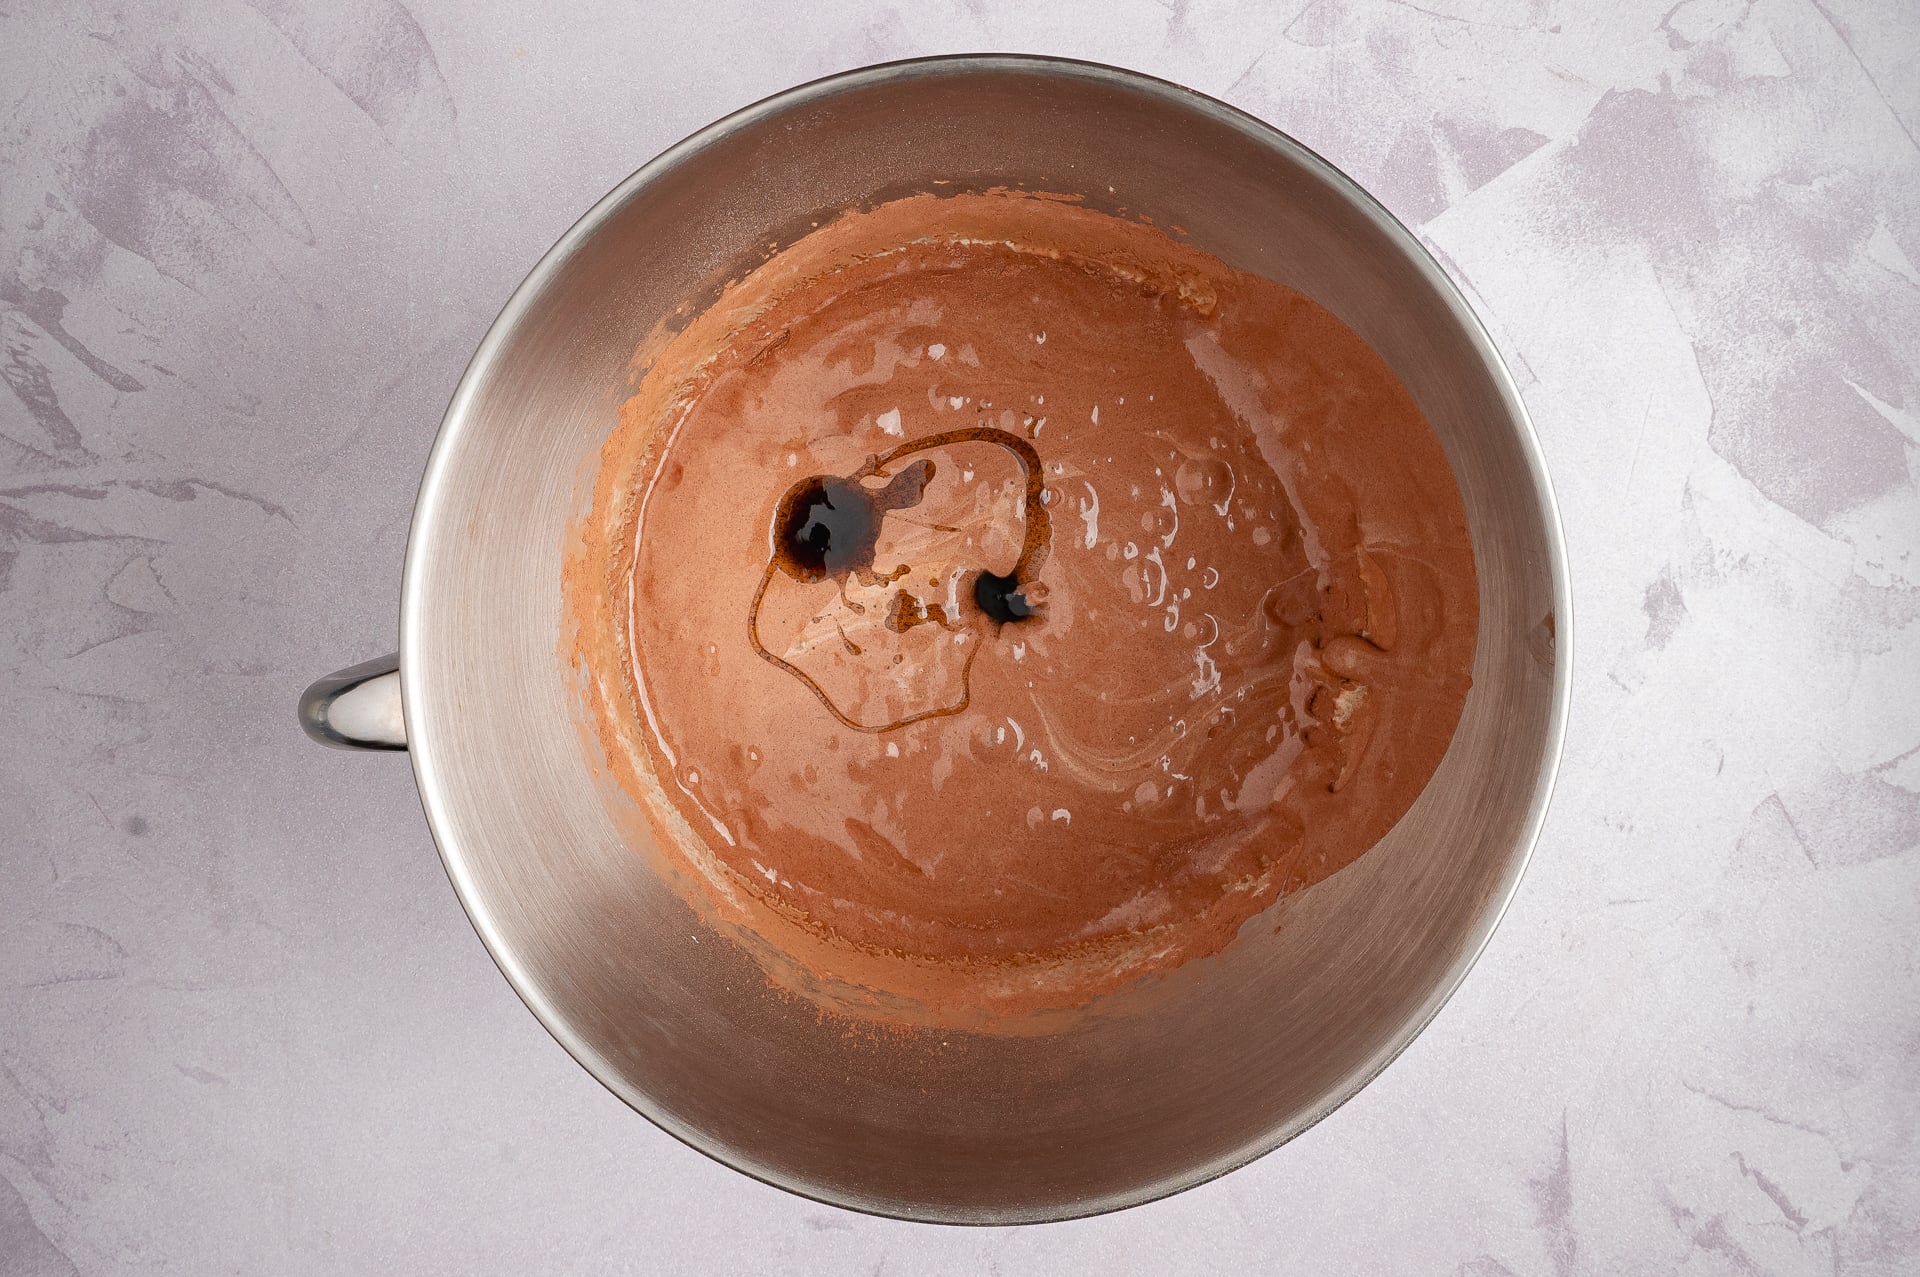
Add the vanilla bean paste.
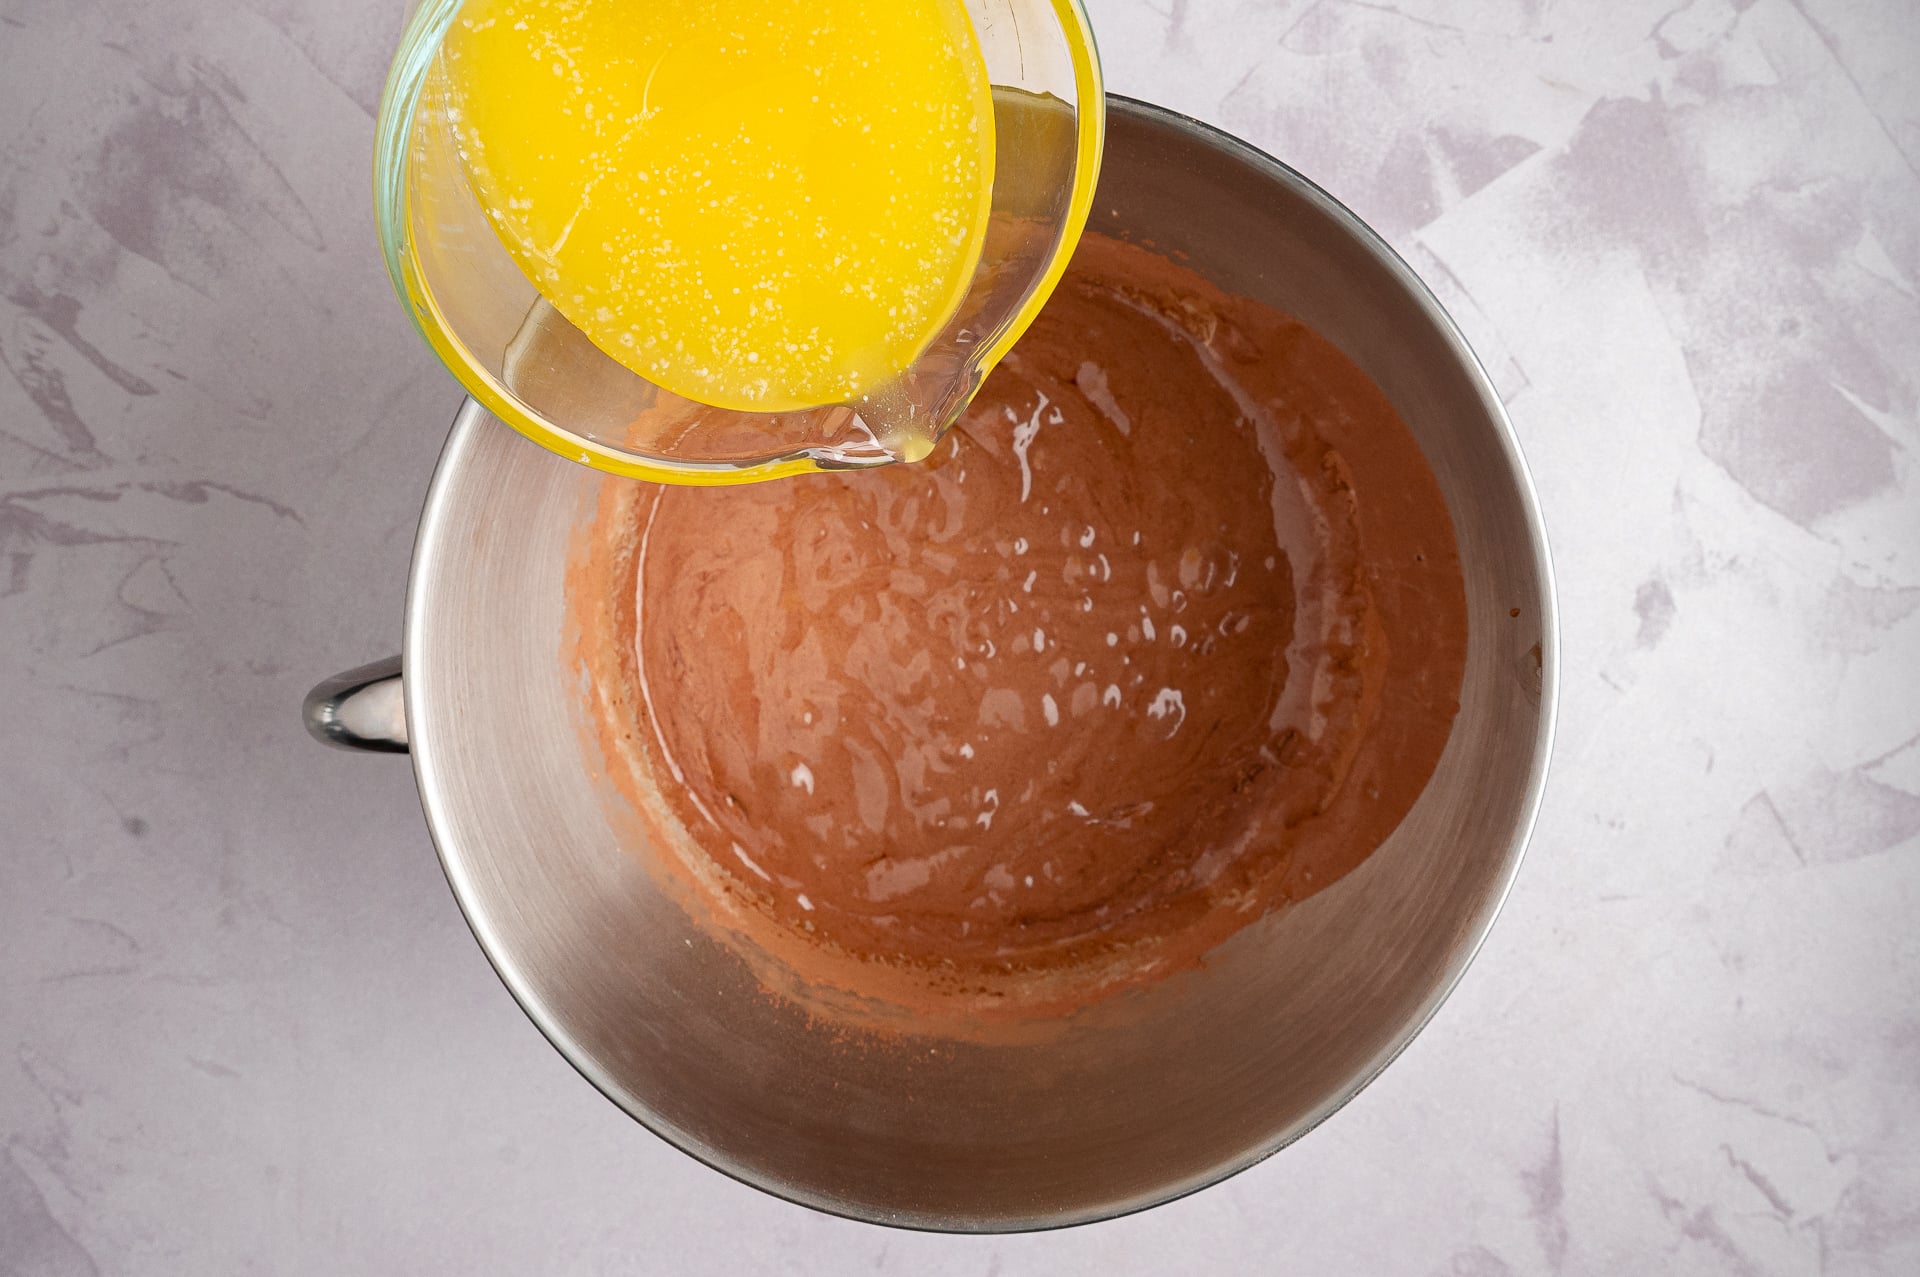
With the mixer still running on low, slowly stream in the cooled melted butter. Pouring gradually helps the butter blend evenly into the egg mixture.
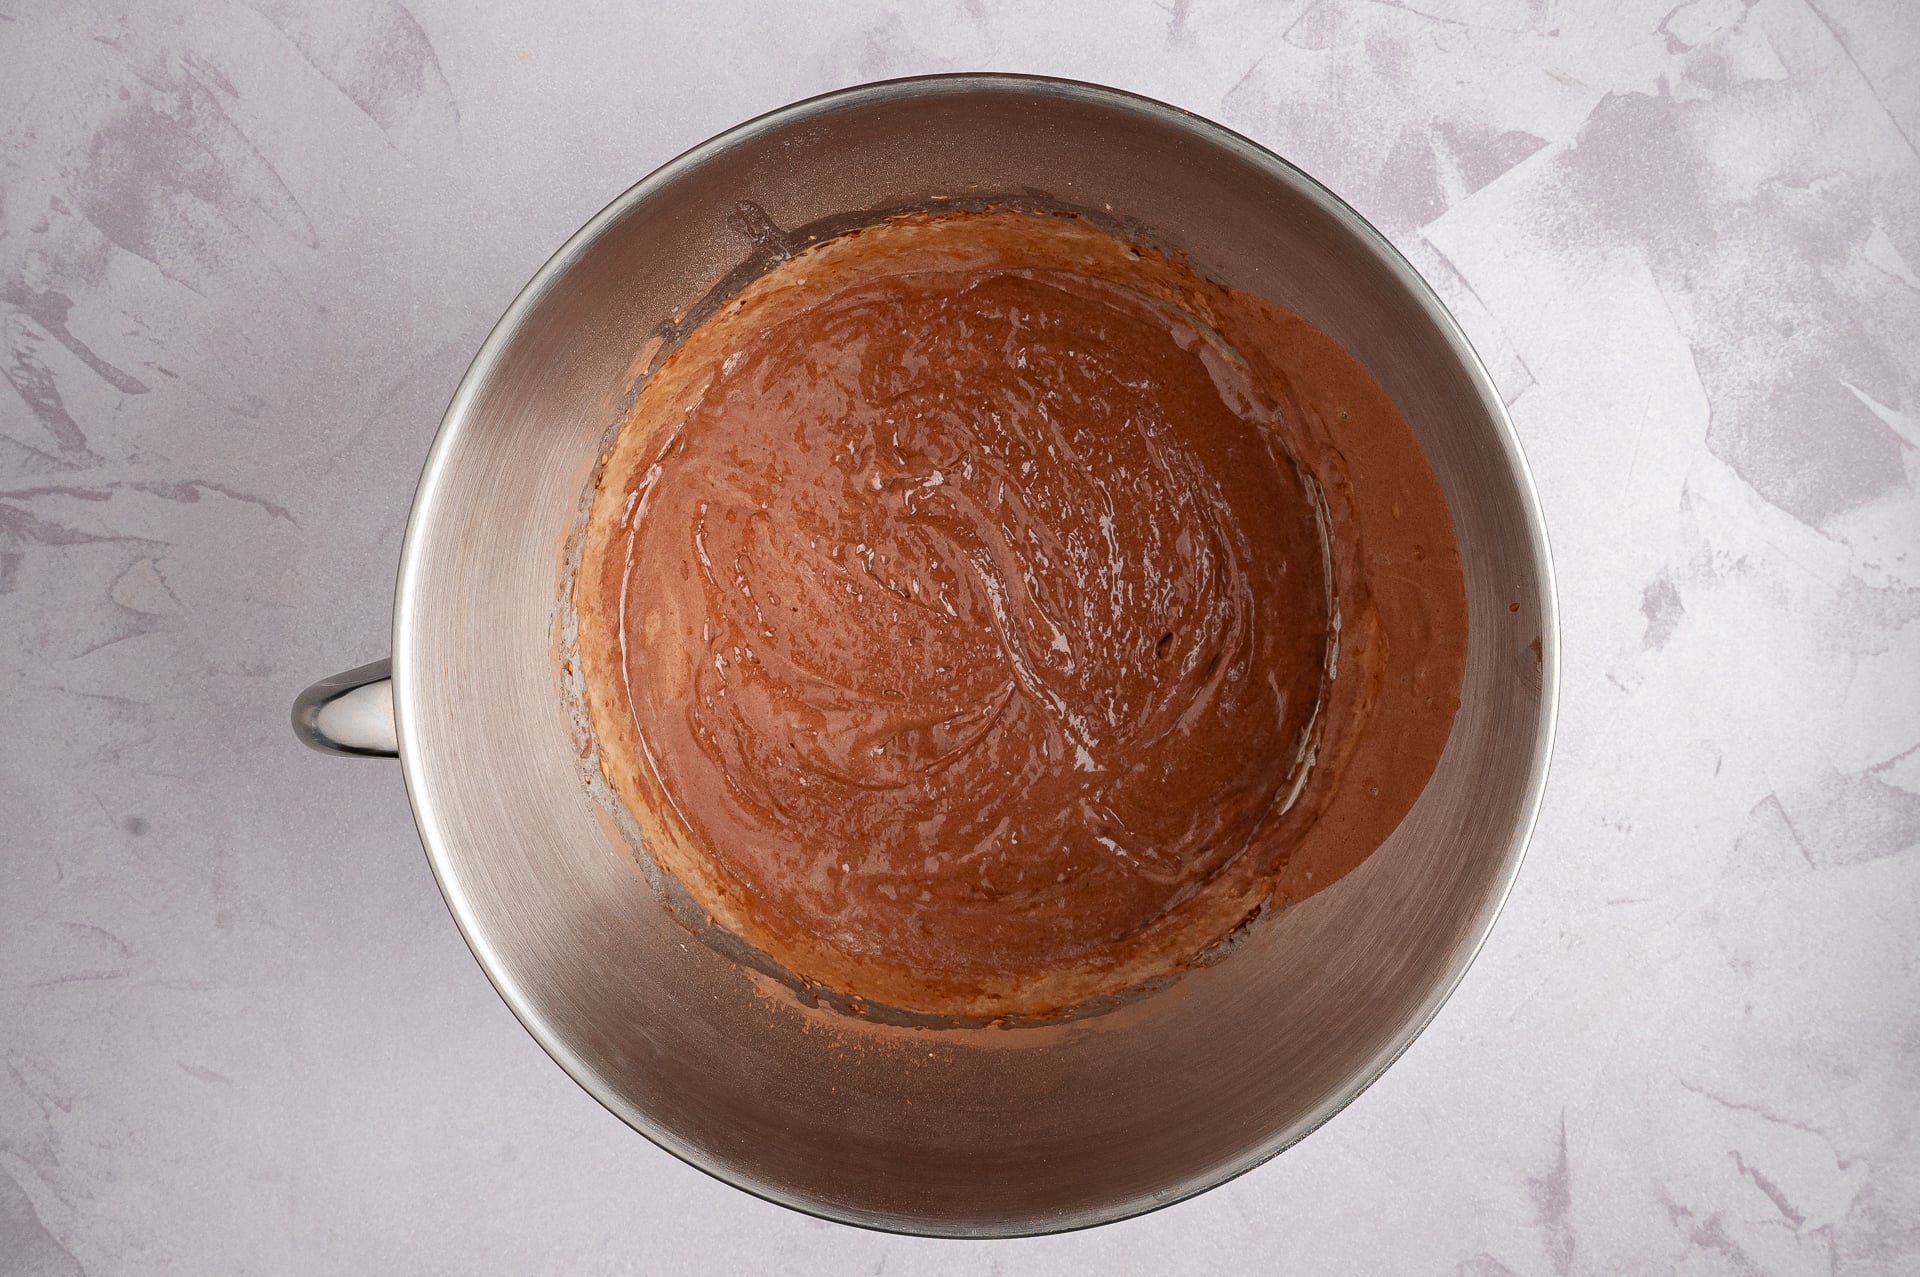
Stop mixing as soon as the batter looks smooth and uniform. Excessive mixing after the flour has been added can make the finished pudding firmer and more cake-like.
7. Prepare the Water Bath
Pour the batter into the buttered baking dish and smooth the surface gently.
Place the filled baking dish inside a large roasting pan. For safer handling, place the roasting pan on the partially extended oven rack before adding the water.
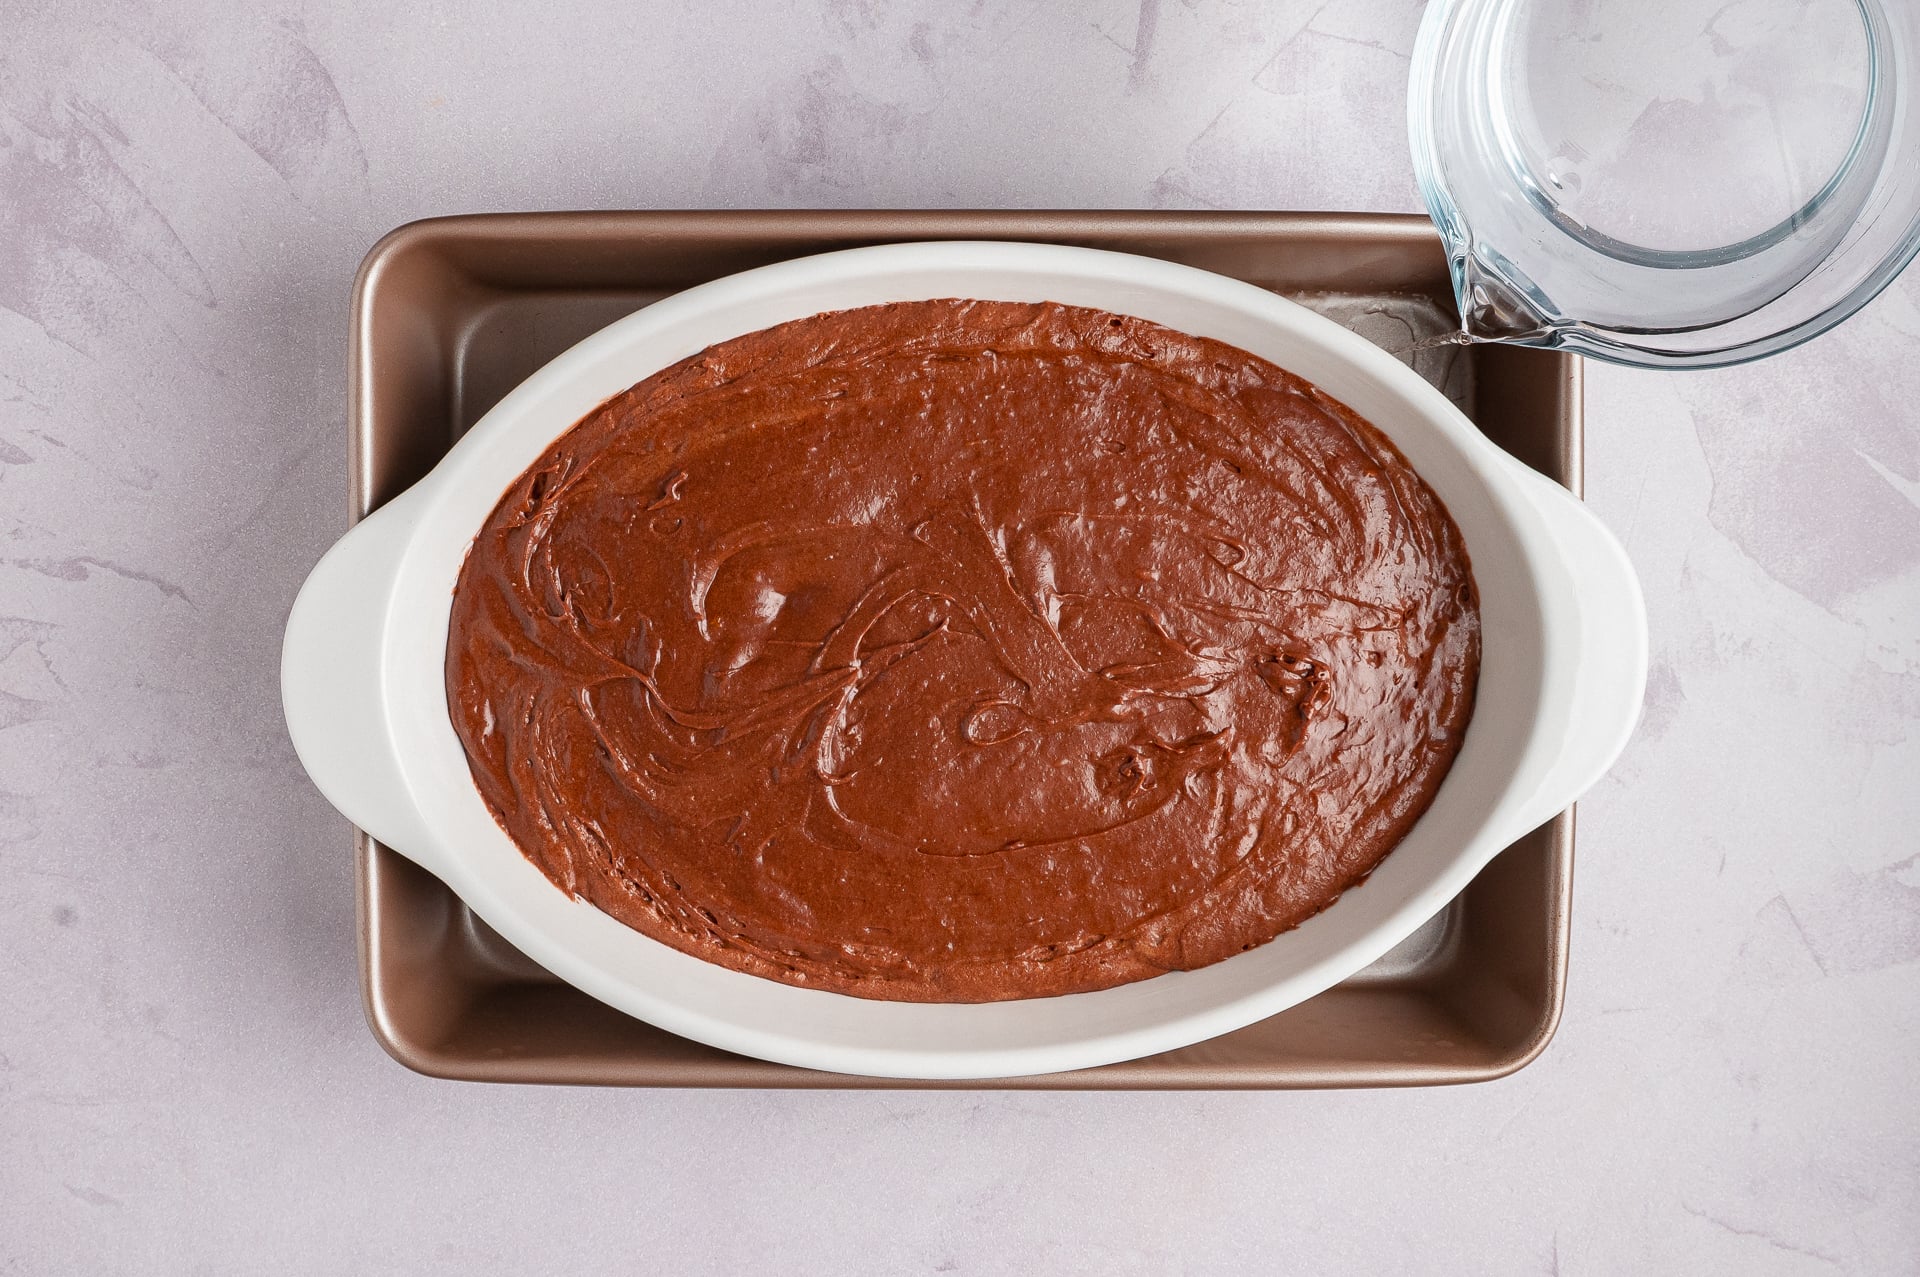
Carefully pour very hot tap water into the roasting pan until the water reaches halfway up the outside of the baking dish. Avoid splashing water into the chocolate batter.
Hot tap water is sufficient; the water does not need to be boiling.
8. Bake
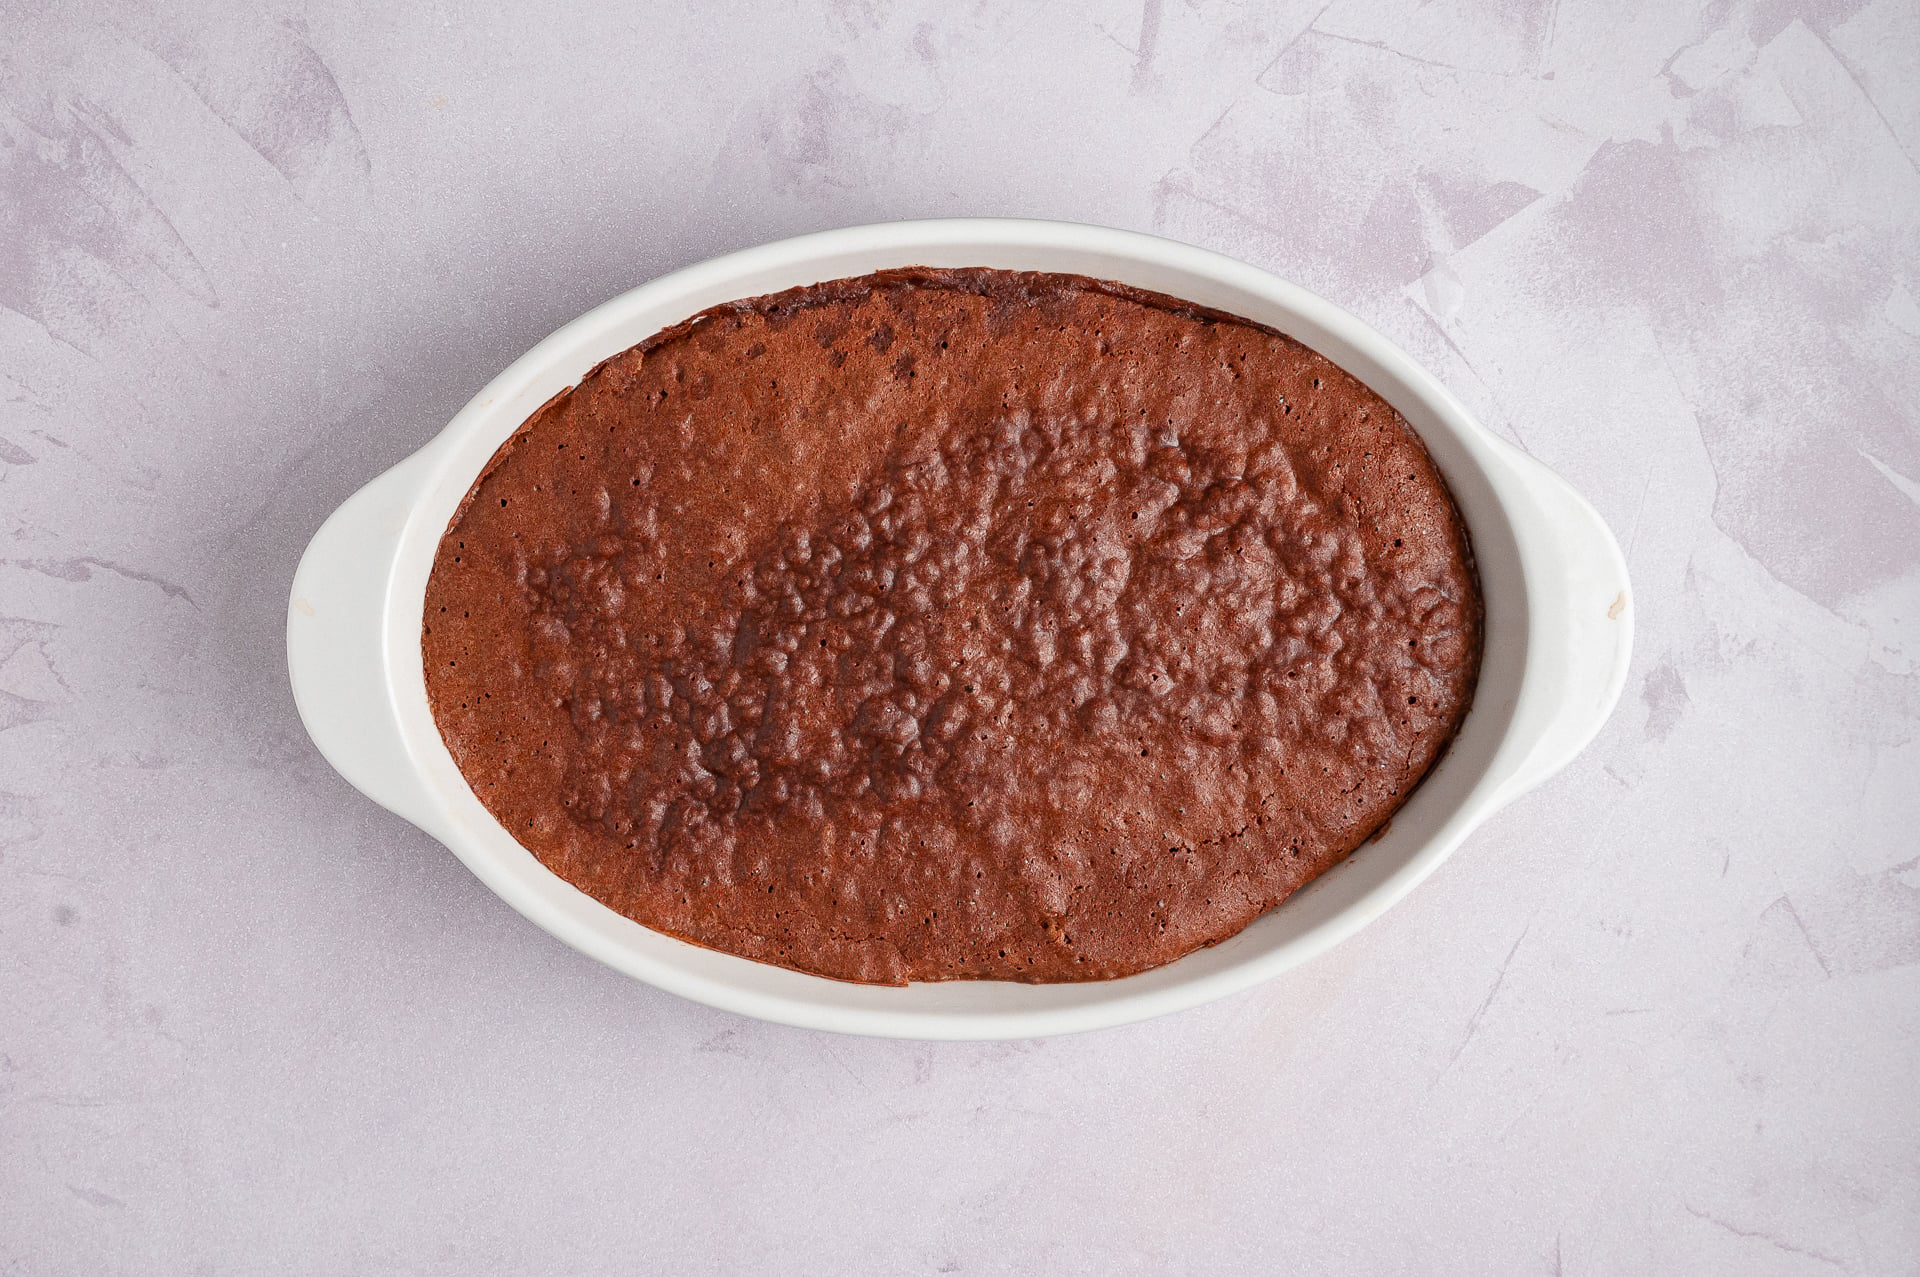
Gently slide the oven rack into place and bake for approximately 60 minutes.
The top should look set and crackly, the edges should appear baked, and the center should still move gently when the dish is nudged.
Remove the baking dish from the water bath and place it on a heat-safe surface. Allow the pudding to rest for 15 to 20 minutes before serving.
Why Does Brownie Pudding Need a Water Bath?
A water bath surrounds the baking dish with gentle, steady heat.
Without it, the edges could become dry and firm before the center has time to develop its soft pudding texture. The hot water also helps prevent abrupt temperature changes around the baking dish.
Although the dessert may still taste good without a water bath, its texture will be closer to an underbaked brownie and less like the layered brownie-pudding combination intended by the recipe.
How to Know When Brownie Pudding Is Done
This is the part of the recipe that makes many home bakers nervous. The center is supposed to look softer than a typical brownie.
Look for these visual signs:
- The top has formed a dry-looking, crackly crust.
- The outer 1 to 2 inches appear set.
- The center is soft and moves gently but does not slosh like liquid batter.
- A tester inserted about 2 inches from the edge comes out with moist crumbs and chocolate attached.
- The middle looks noticeably softer than the edges.
Do not wait for a toothpick inserted into the center to come out clean. By that point, the pudding will likely be overbaked and cake-like.
Ovens and baking dishes vary, so 60 minutes should be treated as the primary target rather than an inflexible guarantee. If the entire center still looks like loose raw batter, continue baking in five-minute increments.
Food-Safety Note
A soft, fudgy center is not necessarily the same as raw batter. However, the FDA recommends cooking egg-containing dishes to 160°F. When serving anyone at increased risk for foodborne illness, use pasteurized eggs and verify the temperature with a food thermometer. (U.S. Food and Drug Administration)
Pro Tips for the Best Brownie Pudding
Use Room-Temperature Eggs
Room-temperature eggs combine more readily with the sugar and reach the thick ribbon stage more efficiently.
Let the Mixer Do Its Job
Five to 10 minutes can feel like a long time, but this step creates the structure needed for the crackly crust. Do not stop just because the eggs and sugar appear combined.
Look for Ribbon Stage
Lift the paddle briefly. The mixture should fall back into the bowl in a thick stream that remains visible on the surface for a moment before blending in.
Cool the Butter
The melted butter should be warm and fluid, not hot. Very hot butter can deflate the egg mixture or cause small cooked egg particles.
Sift the Cocoa
Cocoa powder holds onto lumps. Sifting produces a smoother batter and more consistent chocolate texture.
Mix Gently After Adding Flour
The long mixing happens before the flour is added. Once the dry ingredients go in, use low speed and stop as soon as everything is incorporated.
Use the Correct Dish Capacity
A shallow, oversized pan changes both the baking time and the pudding-to-crust ratio. A two-quart dish gives you a deeper, softer center.
Add the Water After the Pan Is on the Oven Rack
This avoids carrying a heavy roasting pan filled with hot, sloshing water across the kitchen.
Do Not Overbake
A wet-looking center is part of the dessert. The pudding will continue to thicken slightly as it rests.
Let It Rest Before Scooping
Waiting 15 to 20 minutes allows the center to settle while keeping it warm and spoonable.
Variations and Substitutions
Use Vanilla Extract
Replace the vanilla bean paste with an equal amount of pure vanilla extract.
Use a Whole Vanilla Bean
Split one vanilla bean lengthwise and scrape out the seeds, as Ina does in the original recipe.
Add Framboise Liqueur
Add one tablespoon of framboise raspberry liqueur with the vanilla for the flavor used as an optional addition in the original version. This variation is best reserved for an adult dessert.
Add Espresso Powder
Mix ½ to 1 teaspoon of instant espresso powder into the cocoa mixture. It will deepen the chocolate flavor without turning the dessert into a strong coffee-flavored pudding.
Use Salted Butter
Salted butter may be substituted for unsalted butter. Omit the added kosher salt or reduce it significantly.
Finish With Flaky Sea Salt
Sprinkle a small amount of flaky sea salt over the warm pudding just before serving.
Add Orange Flavor
Mix ½ teaspoon of finely grated orange zest into the batter. Chocolate and orange create an elegant holiday variation.
Try a Gluten-Free Blend
A cup-for-cup gluten-free all-purpose baking blend may be substituted for the regular flour. Because brands vary, the final center may be slightly softer or firmer.
How to Serve Brownie Pudding
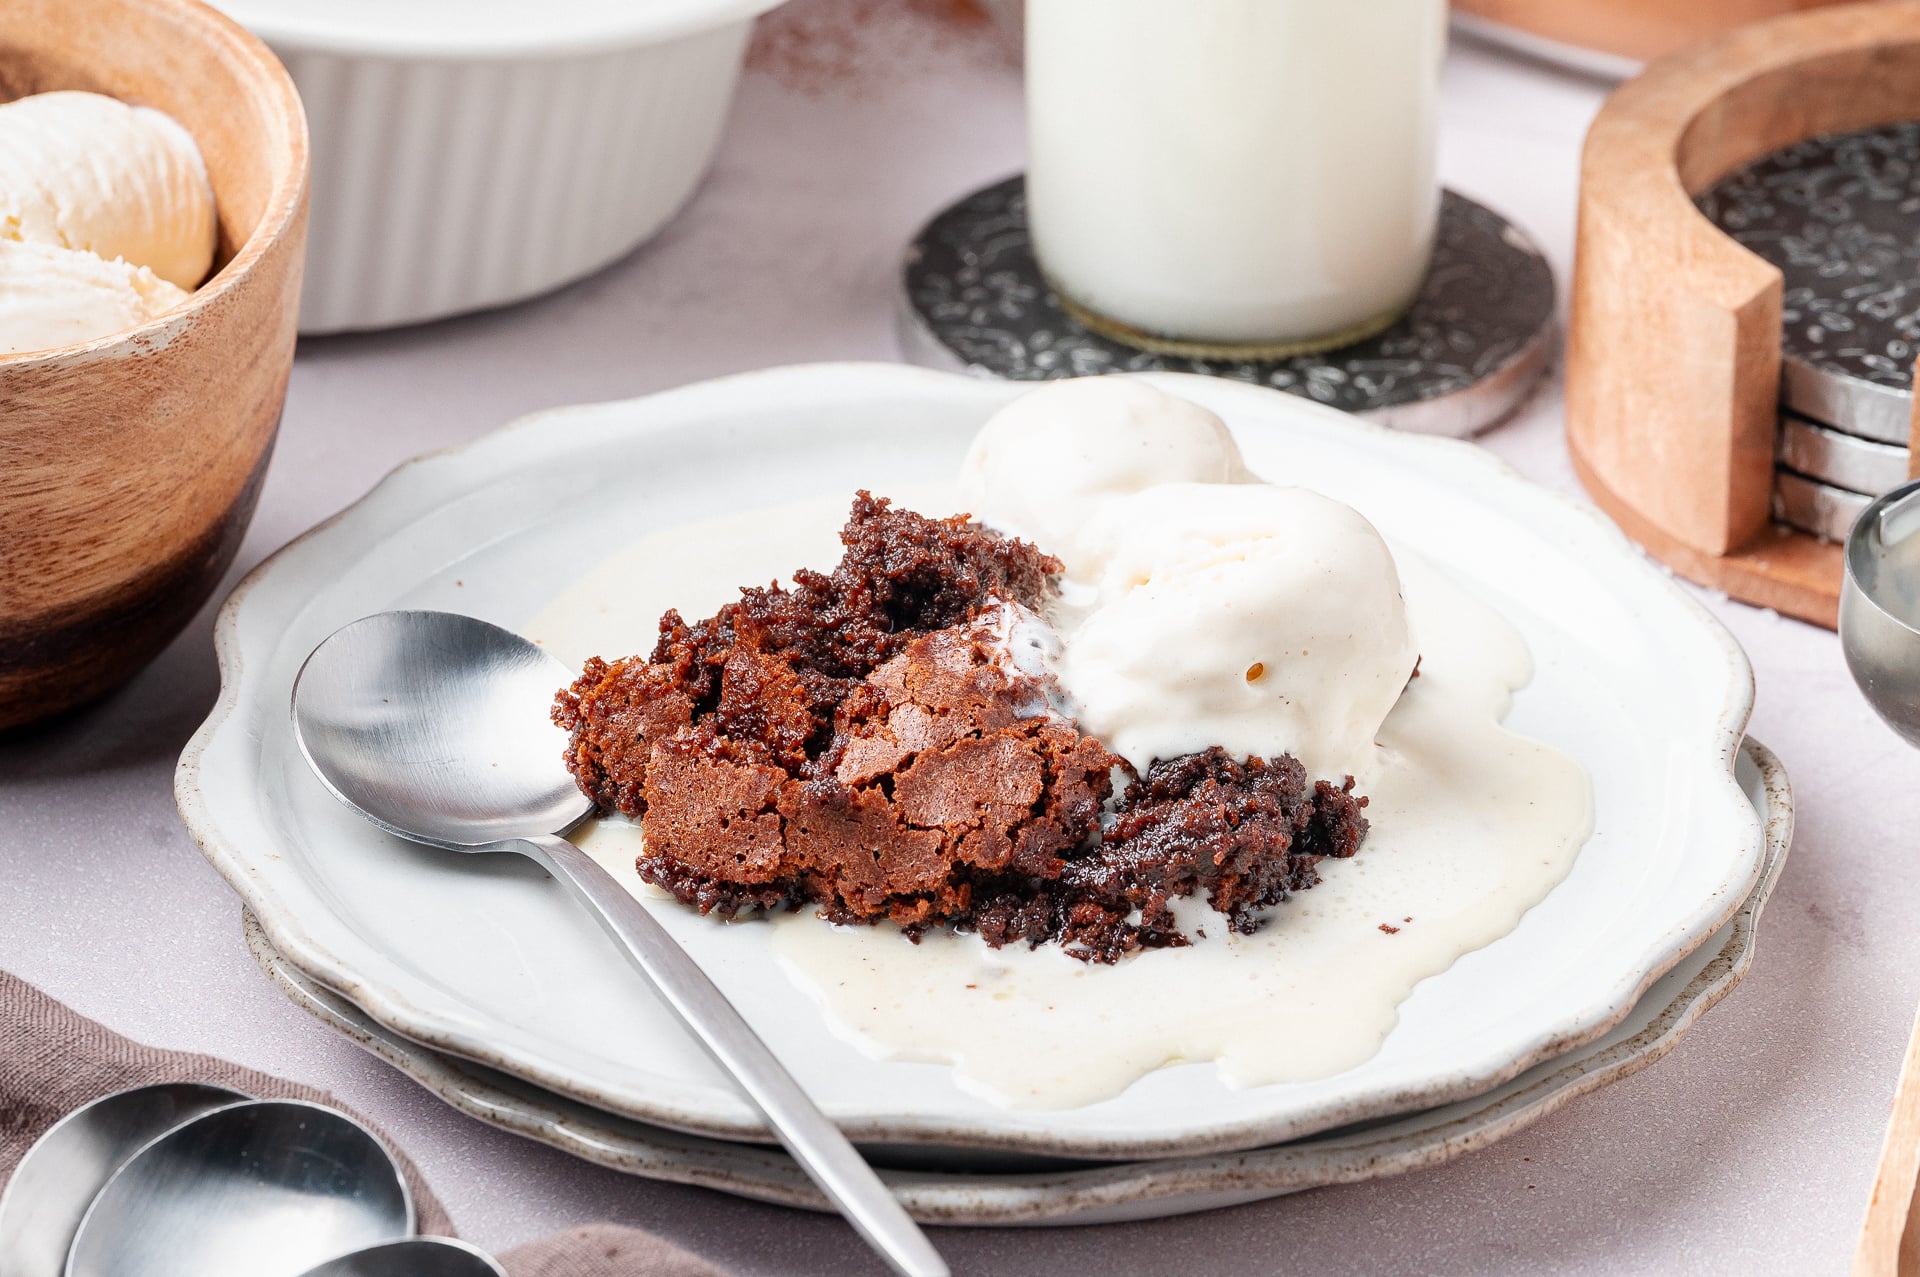
Brownie pudding is best served warm rather than piping hot. Let it rest long enough for the middle to thicken slightly, then scoop it into shallow dessert bowls.
Serve it with:
- Vanilla bean ice cream
- Lightly sweetened whipped cream
- Fresh raspberries or sliced strawberries
- Raspberry sauce
- Salted caramel sauce
- Toasted walnuts or pecans
- Chocolate shavings
- Flaky sea salt
- A small cup of coffee or espresso
The dessert is very rich, so six servings are generous. It can easily serve eight when offered after a larger meal.
Make-Ahead Instructions
Brownie pudding is at its very best shortly after baking, but it may be made earlier in the day.
Bake it as directed, let it cool, cover it, and refrigerate. Reheat before serving.
Do not prepare the whipped batter hours in advance. The aerated egg mixture will begin losing volume as it sits, which may affect the crust and finished texture.
How to Store Leftover Brownie Pudding
Allow leftovers to cool, then cover the baking dish tightly or transfer individual portions to an airtight container.
Refrigerate for up to three days.
Because this dessert contains eggs, do not leave it at room temperature for more than two hours.
How to Reheat Brownie Pudding
For an individual serving, microwave at 50% power for 15 to 30 seconds at a time, just until warm.
To reheat a larger amount, cover the baking dish loosely with foil and place it in a 300°F oven for approximately 10 to 15 minutes.
The center becomes firmer after refrigeration, but gentle reheating restores some of its soft, fudgy texture. For strict food-safety guidance, the FDA recommends reheating refrigerated egg dishes to 165°F. (U.S. Food and Drug Administration)
Can You Freeze Brownie Pudding?
Freezing is possible, but it is not the preferred storage method. The crisp top softens and the pudding-like center becomes denser after freezing and reheating.
When necessary, freeze individual portions in airtight containers for up to one month. Thaw overnight in the refrigerator and warm gently before serving.
Brownie Pudding Troubleshooting Guide
The Pudding Turned Out Dry or Cakey
It was probably baked too long, mixed excessively after adding the flour, or baked in a dish that was too large and shallow.
Remove the pudding while the center still looks soft.
The Center Is Completely Liquid
The pudding may need more time, particularly if your oven runs cool or the baking dish is deeper than the one recommended.
Continue baking in five-minute increments until the edges are set and the center jiggles rather than sloshes.
The Batter Looks Greasy
The melted butter may have been too hot, or it may have been poured in too quickly.
Let the butter cool and stream it in slowly while the mixer runs on low.
The Top Did Not Become Crackly
The eggs and sugar may not have been beaten long enough, or the batter may have been overmixed after the flour was added.
Make sure the egg mixture reaches the thick ribbon stage before moving to the next step.
There Are Dry Cocoa Lumps
The cocoa was probably not sifted thoroughly. Sift the cocoa, flour, and salt together before adding them to the egg mixture.
The Edges Are Done but the Center Is Raw
The oven may be running hot, the water bath may not have reached halfway up the dish, or the dish may have been too deep and narrow.
An inexpensive oven thermometer can help determine whether your oven temperature is accurate.
Frequently Asked Questions
Can I Use a Hand Mixer Instead of a Stand Mixer?
Yes. Use the standard beaters and expect the eggs and sugar to require approximately 8 to 12 minutes to become very thick and pale.
Rely on the visual ribbon-stage clues rather than the clock.
Can I Use the Whisk Attachment?
The original method specifies the paddle attachment. A whisk attachment can incorporate more air than needed, so the paddle is preferable.
For a hand mixer, use the regular metal beaters.
Can I Make Brownie Pudding in a 9-by-13-Inch Pan?
Yes, but check the pan's capacity. A standard 9-by-13-inch dish is often larger than two quarts, which creates a thinner pudding that may finish sooner.
Begin checking approximately 10 minutes early and use the visual doneness cues.
Do I Have to Use the Water Bath?
The water bath is strongly recommended for the signature pudding-like center. Without it, the edges are more likely to become firm before the center is ready.
Is the Center Supposed to Look Underbaked?
Yes. It should be soft, shiny, and gently wobbly. It should not look like completely uncooked, sloshing batter.
Can I Reduce the Sugar?
Reducing the sugar may change the crackly top and soft center. For your first batch, prepare the recipe as written and use salt, dark cocoa, tart berries, or unsweetened whipped cream to balance the sweetness.
Can I Make It a Day Ahead?
Yes. Bake, cool, cover, and refrigerate for up to one day before serving. Reheat gently. The texture is best on the day it is baked.
Can I Serve Brownie Pudding Cold?
You can, but refrigeration makes it much denser. It tastes more like a very fudgy brownie when cold and more like brownie pudding when warm.
More Chocolate Desserts to Try
Keep the chocolate cravings covered with these easy Hip Mama's Place recipes:
- Mint Chocolate Chip Brookies
- Chocolate Cake Cupcakes with Chocolate Buttercream
- Easy Peppermint Brownie Bites
- Mint Chocolate Truffles
- Cake Batter Ice Cream with Magic Shell
- Easy Dessert Recipes for Every Occasion
Final Thoughts
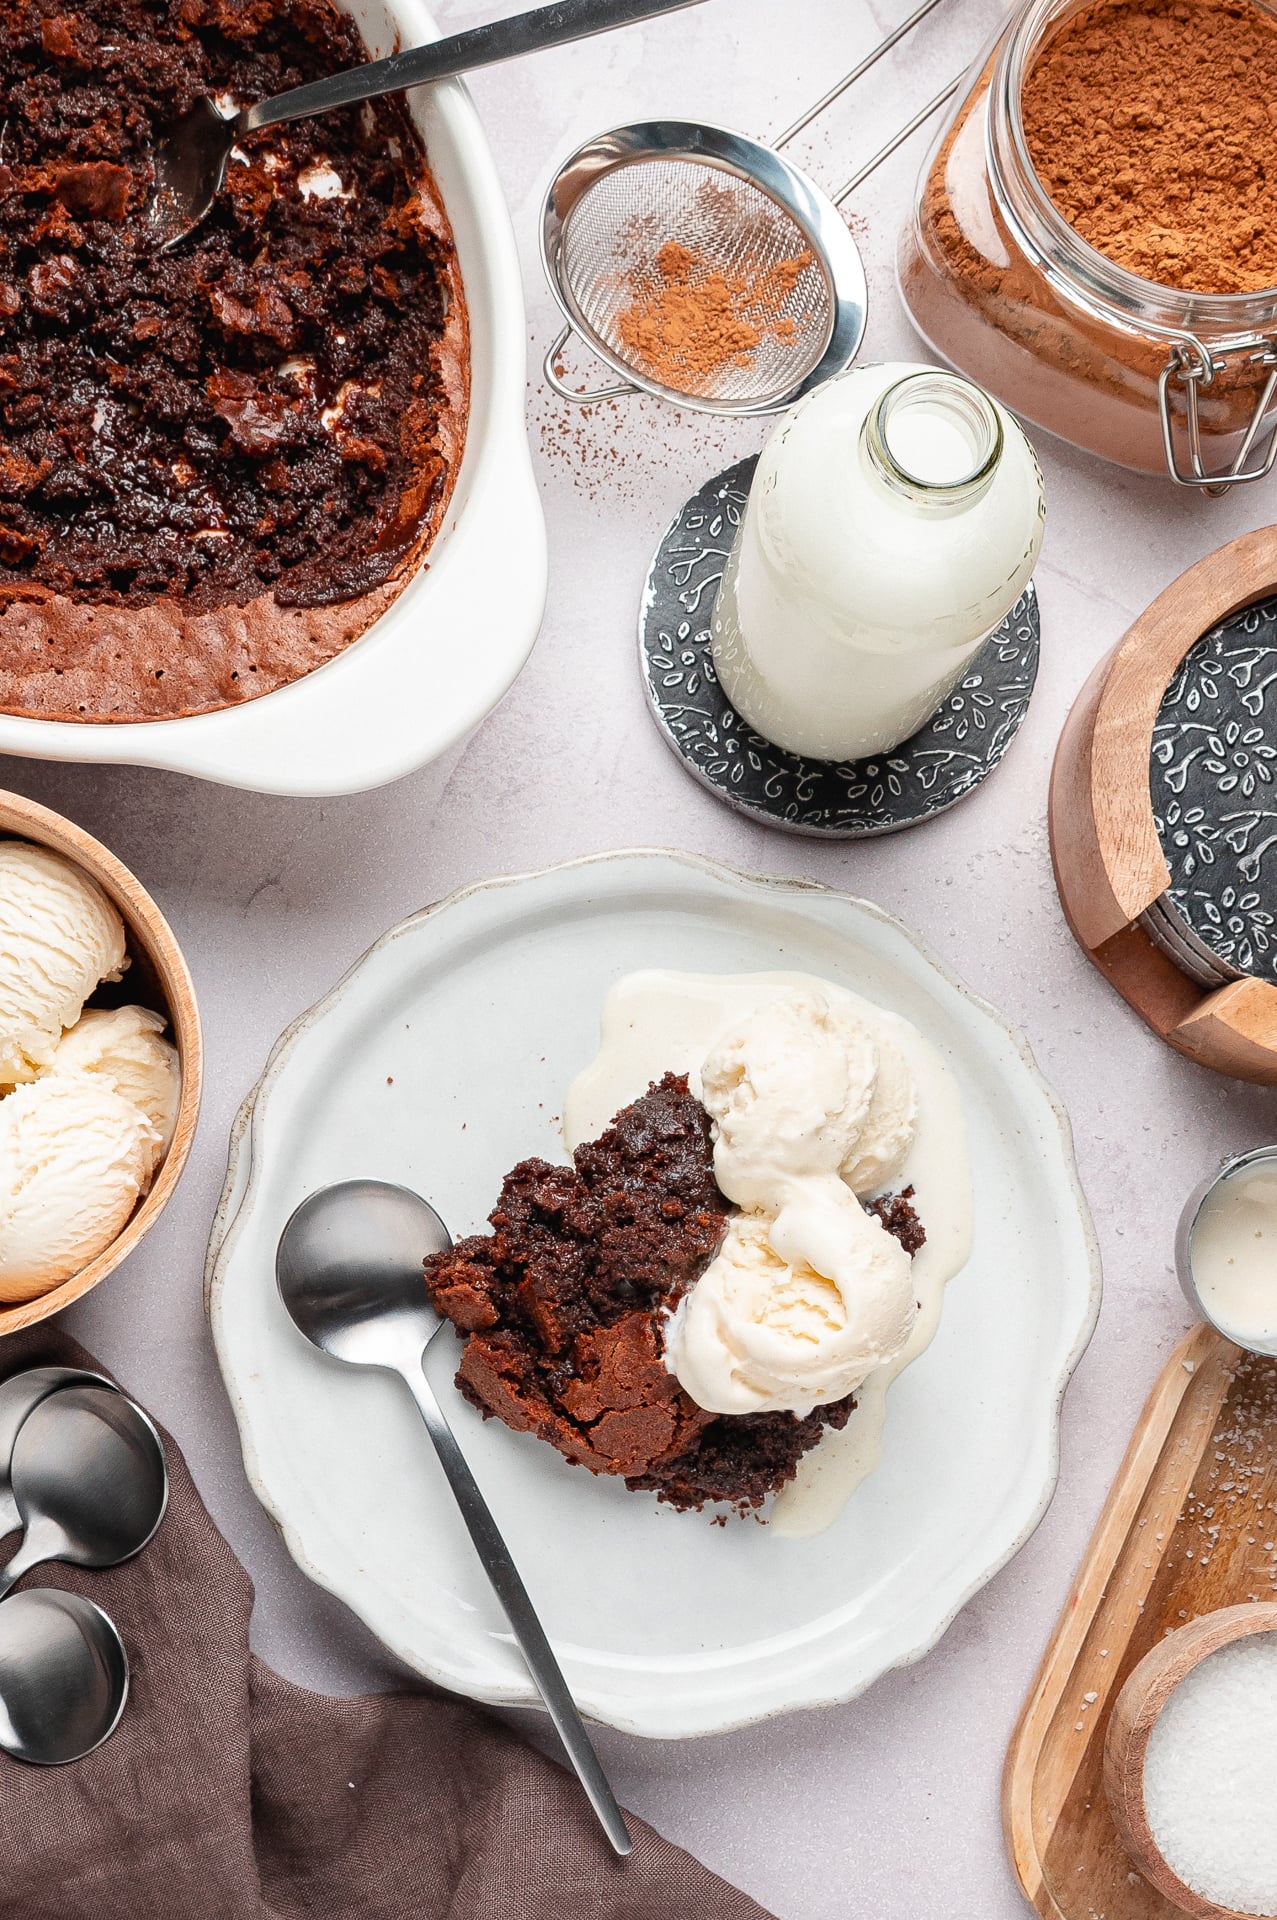
Ina Garten's brownie pudding is proof that a short ingredient list can still create an unforgettable dessert. The crisp chocolate crust, warm fudgy middle, and soft pudding center make every spoonful a little different.
The most important thing is to trust the process. Whip the eggs until they are truly thick, cool the melted butter, use the water bath, and resist the temptation to bake the center until it looks firm.
Serve it warm with vanilla ice cream, pass around the spoons, and do not expect leftovers.
This post may contain affiliate links. Hip Mama's Place is a participant in the Amazon Services LLC Associates Program, an affiliate advertising program designed to provide a way for websites to earn fees by linking to Amazon.com and affiliated sites-at no additional cost to you.
Print
Ina Garten’s Brownie Pudding
- Total Time: 1 hour and 15 minutes
- Yield: 6 servings 1x
- Diet: Vegetarian
Description
This Ina Garten-inspired brownie pudding has a thin, crackly chocolate crust and a warm, gooey center. Vanilla bean paste and kosher salt give this easy chocolate dessert rich, balanced flavor.
Ingredients
½ pound unsalted butter, melted (plus extra for greasing the baking dish)
4 eggs, room temperature
2 cups sugar
¾ cup high-quality cocoa powder
½ cup all purpose flour
½ teaspoon kosher salt
2 teaspoons vanilla bean paste
vanilla ice cream, for serving
Instructions
- Preheat the oven to 325F.
- Grease the baking dish generously with butter.
- Beat the eggs and sugar in the bowl of an electric mixer fitted with a paddle attachment on medium high speed. Continue beating for 5 to 10 minutes until the mixture becomes very thick and pale yellow.
- Lower the speed to low.
- Sift the cocoa powder, flour, and kosher salt together and add them to the egg mixture. Mix on low speed until the dry ingredients are just incorporated.
- Add the vanilla bean paste to the batter.
- Slowly pour the cooled melted butter into the mixer while running on low speed. Mix only until the ingredients are blended to avoid overworking the batter.
- Pour the batter into the baking dish. Place the dish inside the large roasting pan.
- Fill the roasting pan with hot tap water until the water level reaches halfway up the sides of the baking dish.
- Bake for an hour. The center will appear underbaked.
- Remove the baking dish from the water bath and allow it to cool slightly.
- Scoop the pudding into bowls and serve warm with vanilla ice cream.
Notes
- Ina Garten’s original recipe uses four extra-large eggs, seeds from one vanilla bean, and an optional tablespoon of framboise liqueur.
- Replace the vanilla bean paste with an equal amount of pure vanilla extract when needed.
- Salted butter may be used, but omit or significantly reduce the added kosher salt.
- Do not bake until a tester inserted into the center comes out clean.
- Store leftovers covered in the refrigerator for up to three days.
- For people at higher risk of foodborne illness, use pasteurized eggs and cook the center to at least 160°F.
- Prep Time: 15 minutes
- Cook Time: 1 hour
- Category: Desserts
- Method: Baking
- Cuisine: American


This looks delicious! I really appreciate you sharing the water bath technique because that's something I haven't tried before. I definitely learned something new today. I'll also try your tip for checking if it's done because I'm honestly guilty of overbaking mine every time. Hopefully, this helps me get it right next time!
These brownies sound amazing. I haven’t had brownies in so long. I’ll have to make these very soon. I know my son will love them too.
There are many in our family that won't say no to a chocolate desert, especially when it's gooey and hot
These look super tasty. I'll add it to my recipe book and make them soon.
Oh my goodness, this brownie pudding looks incredible! That rich, gooey chocolate center is calling my name. I would definitely want a scoop of vanilla ice cream right on top. Such a delicious dessert!
Diving straight into that gooey chocolate center hits the spot after a long day. Pairing warm treats with cold ice cream makes every single bite completely worth it.
I love warm, gooey brownies, so I bet I would love this brownie pudding! Thanks for sharing your recipe!
Everything about this is perfection! It's pure comfort food, and it was so easy to make. I've never had anything like it. She's a genius!
I made this for the office today and everyone one loved it! The chocolate flavor is beautiful and this dish stayed so moist.