
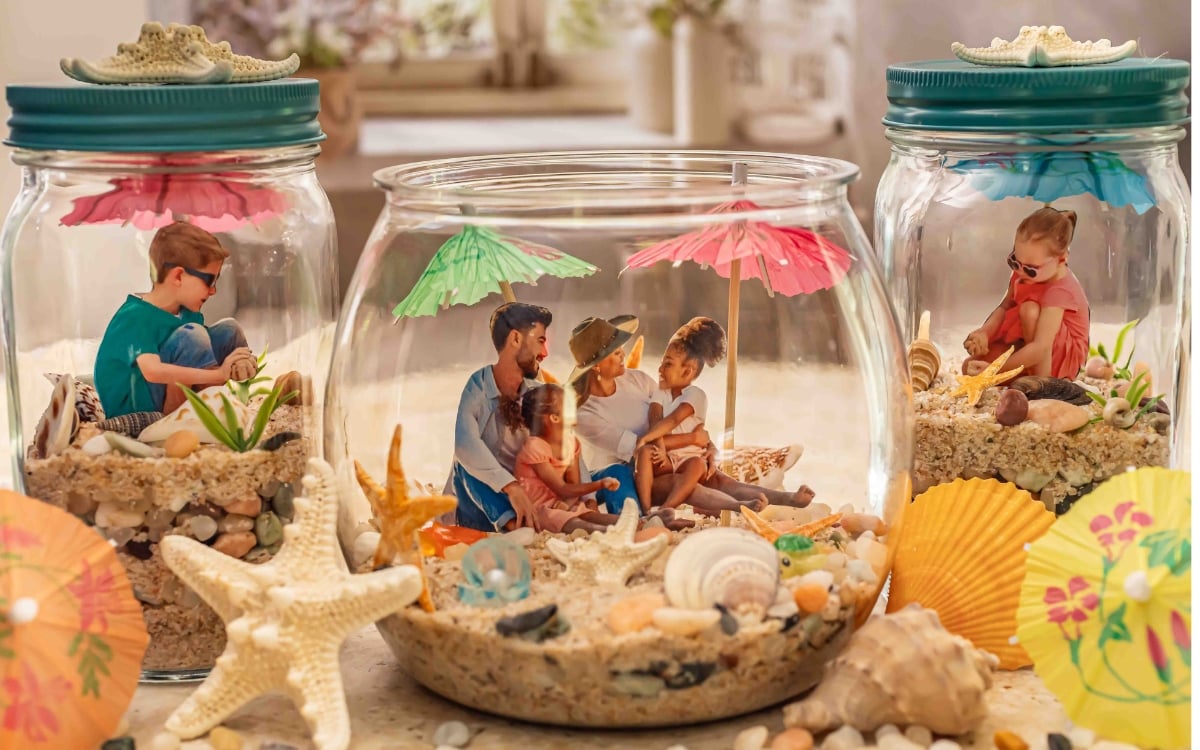
Looking for a creative way to preserve your favorite summer vacation memories? This DIY Beach Memory Jar is one of the easiest and most meaningful coastal crafts you can make. Whether you're coming home from a family beach trip, planning a summer craft day with the kids, or simply love beach-themed decor, this beach memory jar craft turns simple treasures like shells, sand, and photos into a beautiful keepsake you can display year-round.
One of my favorite things about this DIY beach memory jar is that no two jars ever look the same. Every shell, piece of sea glass, and tiny souvenir tells a story. It's such a fun way to hold onto those sunny beach days just a little longer.
This project is also budget-friendly and beginner-friendly, and it makes an adorable handmade gift idea for beach lovers.
Why You'll Love This DIY Beach Memory Jar
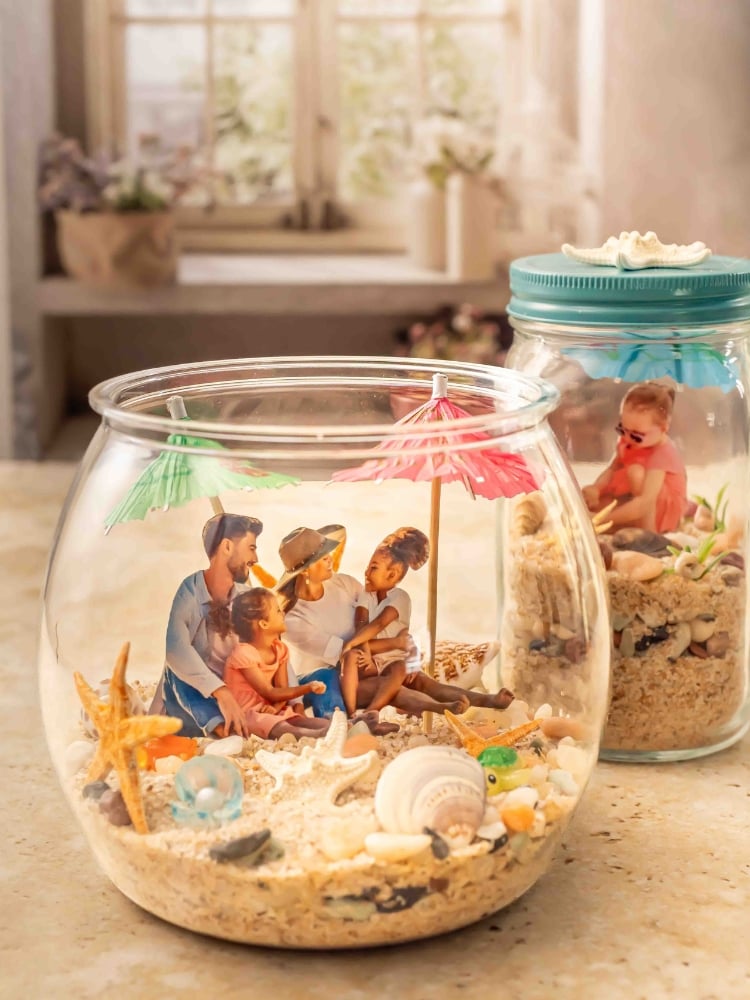
- Easy and inexpensive summer craft
- Great for family beach vacations
- Makes beautiful coastal home decor
- Fun for both kids and adults
- Perfect handmade gift idea
- Helps preserve travel memories in a creative way
- Completely customizable
If your family loves beach-themed crafts, you may also enjoy creating seasonal keepsakes and fun DIY projects, such as summer bucket list ideas for your blog or simple family craft afternoons.
What Is a Beach Memory Jar?
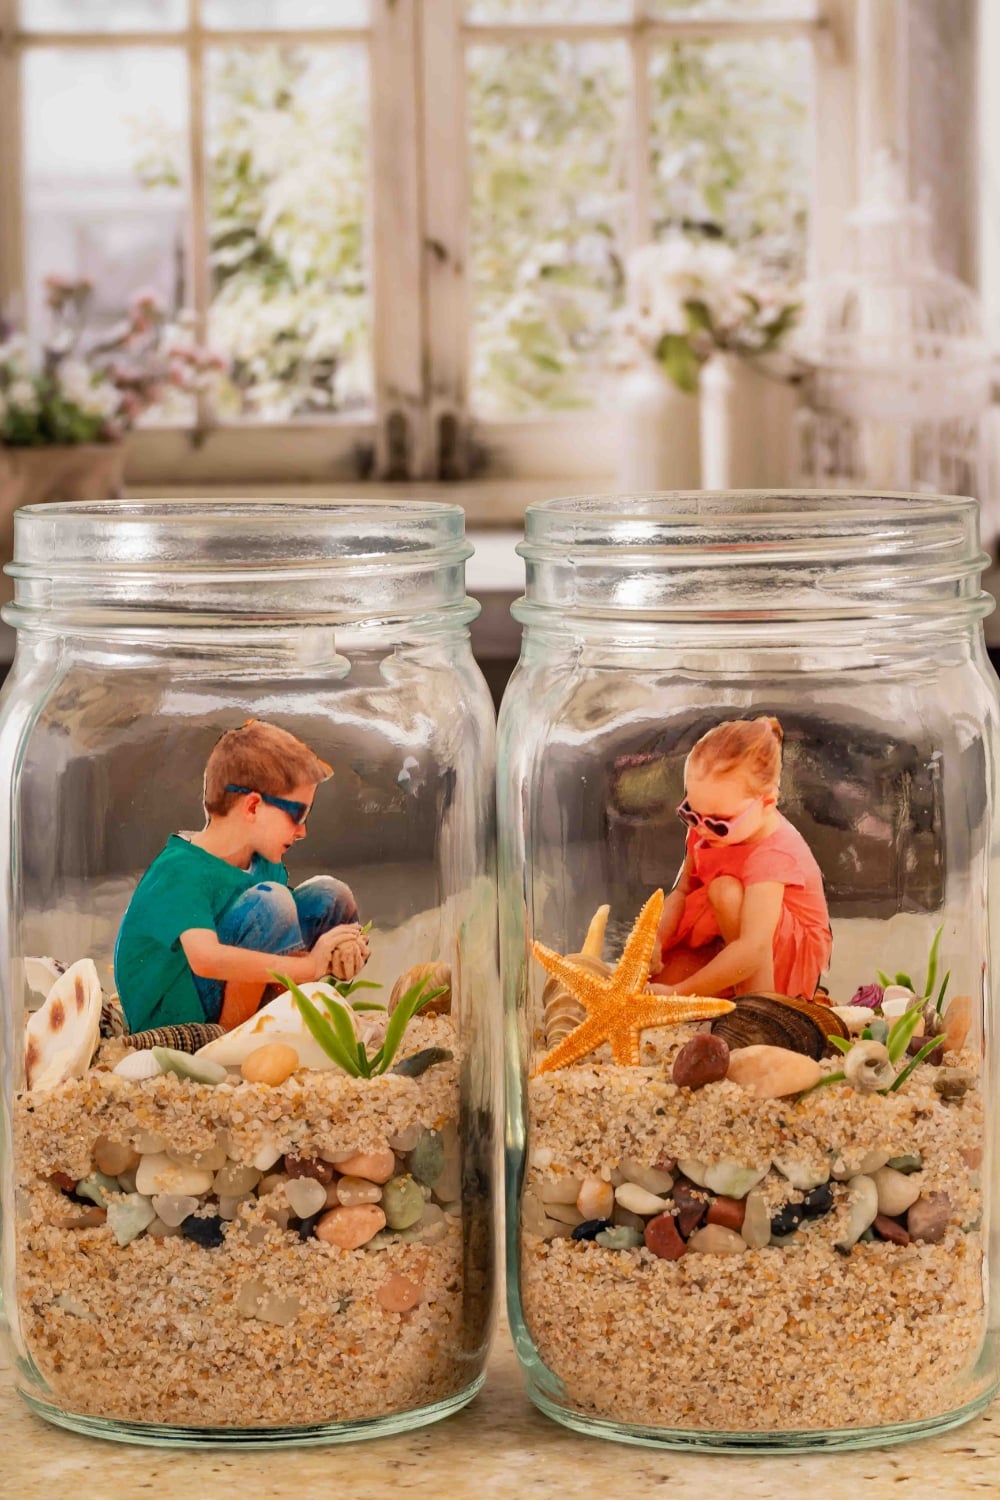
A beach memory jar is a decorative glass container filled with delicate souvenirs, such as shells and sea glass. Handle these items carefully, and consider sealing or gluing delicate pieces to prevent breakage and ensure your keepsake lasts over time.
Some people make these coastal memory jars after a special family vacation, while others use them simply as beach-inspired home decor.
You can keep your jar simple and minimalist or go all out with layered sand art, tiny umbrellas, photos, labels, ribbons, and coastal embellishments, empowering you to craft a truly personal keepsake that reflects your style and creativity.
You can keep your jar simple and minimalist or go all out with layered sand art, tiny umbrellas, photos, labels, ribbons, and coastal embellishments.
Supplies You'll Need for a DIY Beach Memory Jar
For supplies, I love browsing both craft stores and Amazon because it's easy to find affordable coastal decor and beach-crafting supplies. You can also collect many of these items naturally during your next beach trip. If you aren't coming home from a trip to the beach, you can still make a beautiful beach jar. Sand, pebbles, starfish, shells, jars, plastic miniatures, cocktail umbrellas, etc., are all readily available online or at stores like Hobby Lobby, Michaels, dollar stores, and thrift shops, making this craft accessible to everyone.
Here's everything I used to make my beach vacation memory jar:
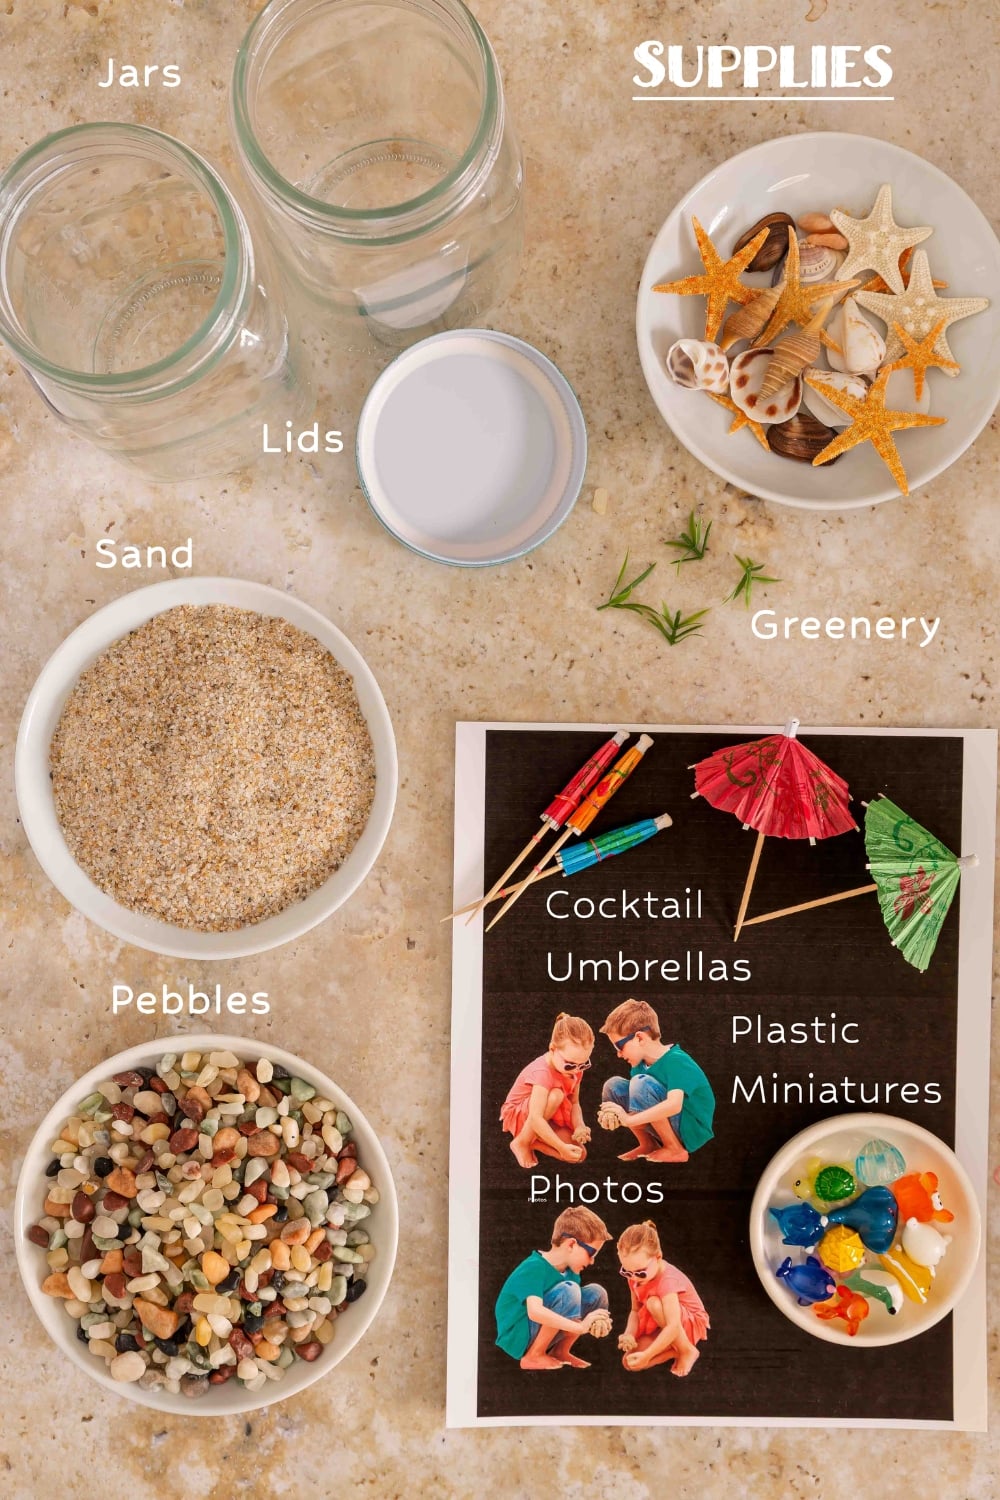
- Glass mason jars with lids
- Beach sand
- Seashells
- Sea glass
- Small rocks or pebbles
- greenery
- plastic mini ocean animal figurines
- Souvenir photos
- Cocktail umbrellas
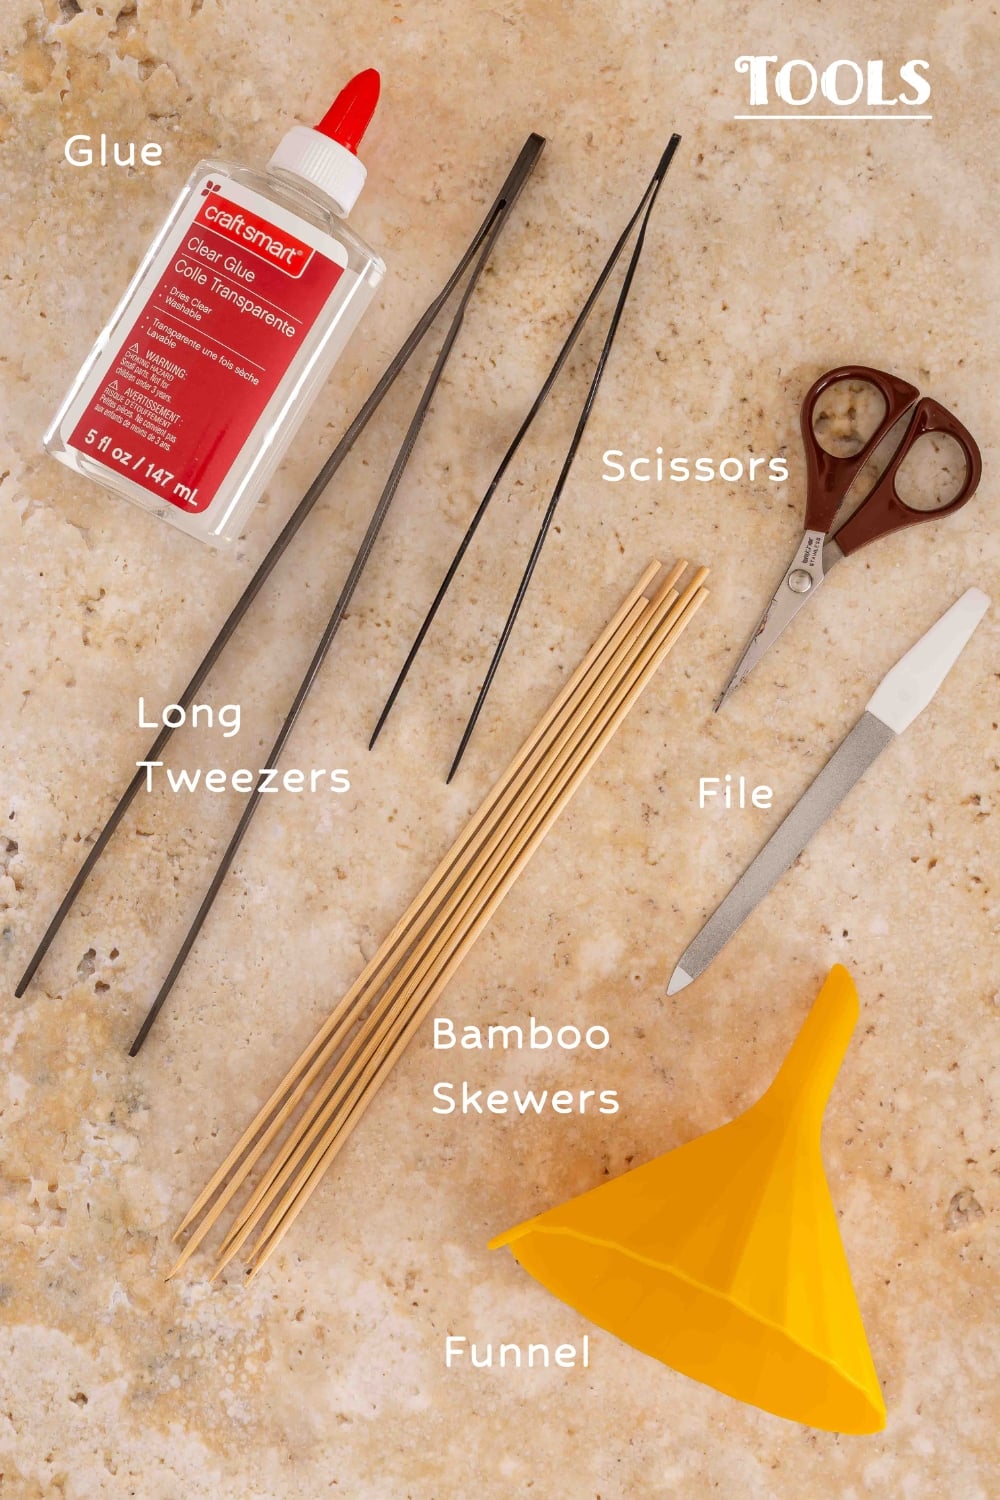
For this craft project, you'll need the tools as pictured above. I also found that using a small funnel and long tweezers made it much easier to arrange everything inside the jar.
How to Make a DIY Beach Memory Jar
Step 1: Gather Your Beach Treasures
Start by collecting your favorite beach souvenirs. Seashells, sand, pebbles, driftwood, and sea glass all work beautifully in a coastal memory jar.
This is honestly one of my favorite parts because it turns a simple beach walk into a fun treasure hunt for the whole family.
If you didn't recently visit the beach, don't worry. Most craft stores and online shops sell beach-themed craft supplies year-round.
Step 2: Prepare Your Photos
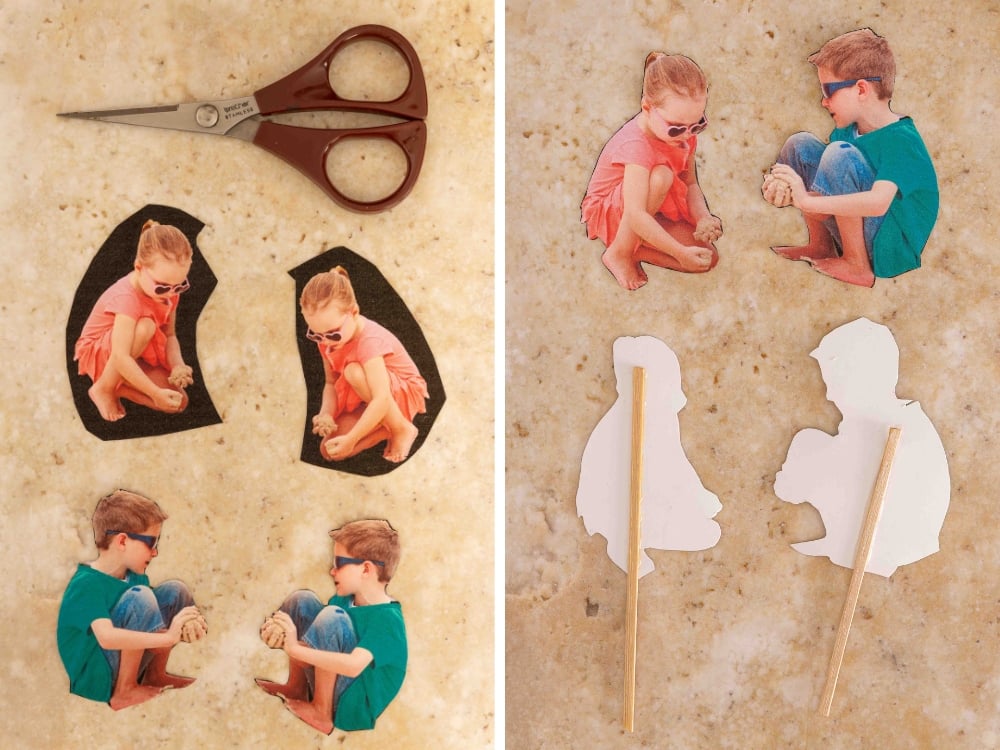
If you want to include vacation photos inside your DIY beach keepsake jar, print them on heavier photo paper for the best results.
I recommend lightly sealing the photos with a clear craft spray to keep them protected inside the jar over time.
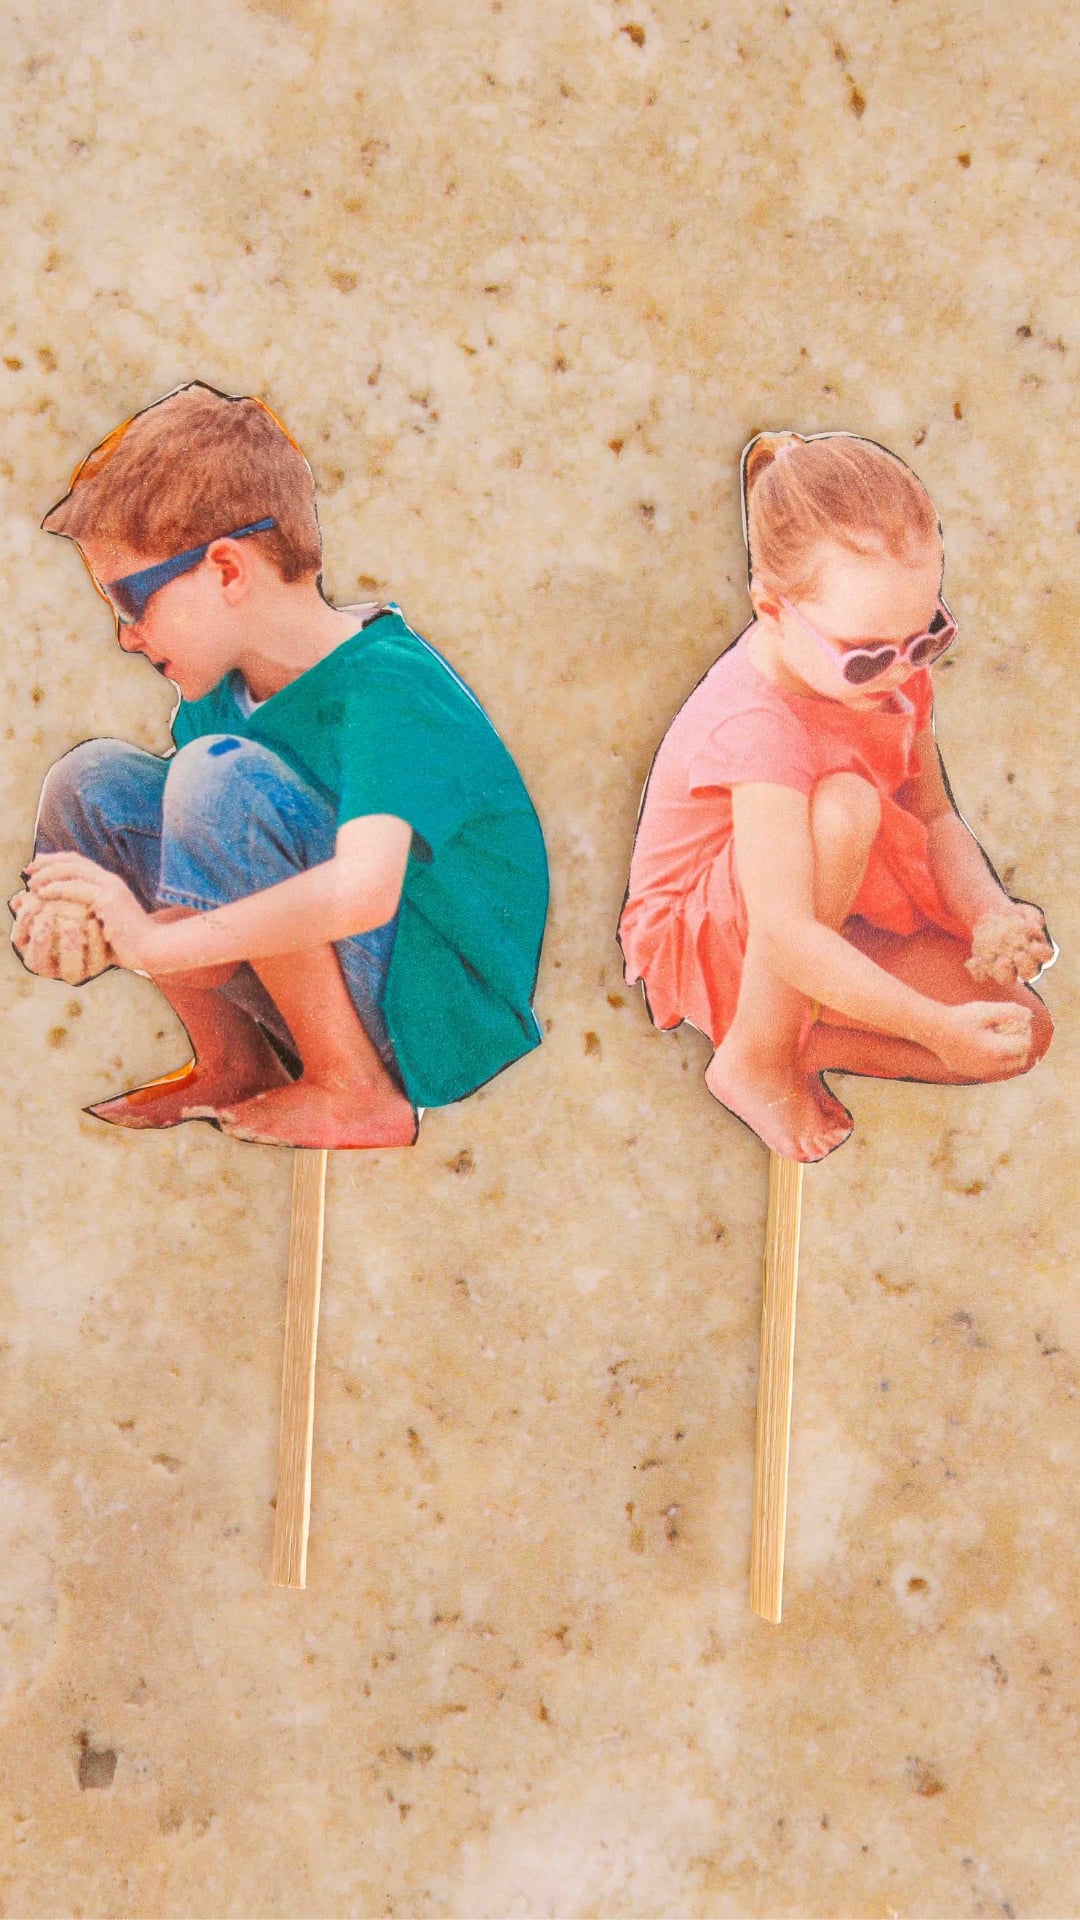
For double-sided photos that can be viewed from every angle, you can create mirror images using Canva. The uploaded project instructions explain how to flip images horizontally inside Canva before printing.
Carefully cut out the photos and attach them to wooden skewers or sticks using craft glue.
My Tips for Making a Beach Memory Jar Look Professional
One thing I learned while making these jars is that layering makes a huge difference. Instead of dumping everything into the jar at once, work slowly and build layers with sand, pebbles, and shells.
I also like to step back every few minutes and look at the jar from the front to make sure the main decorations are visible.
Another helpful tip is making sure your sand is completely dry before adding it to the jar. Damp sand can fog the glass and affect the overall look of your beach keepsake jar. If you notice fogging or uneven layers, try cleaning the glass and letting the sand dry thoroughly before reassembling. These small adjustments help your jar look professional and beautiful.
Step 3: Add the Sand Layers
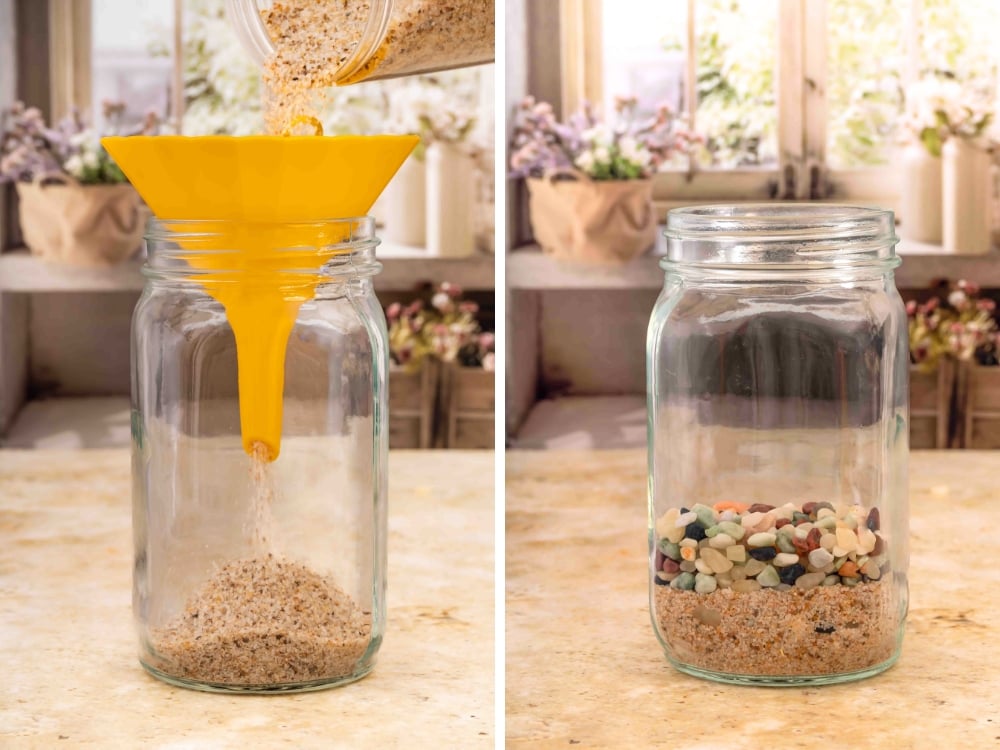
Pour about 1-2 inches of sand into the bottom of your jar.
For extra visual interest, create layers using pebbles, shells, or sand from different beaches. This gives your DIY beach memory jar a beautiful coastal look while helping tell the story of your travels.
A small funnel works great for keeping the layers neat and mess-free.
Step 4: Arrange Your Decorations
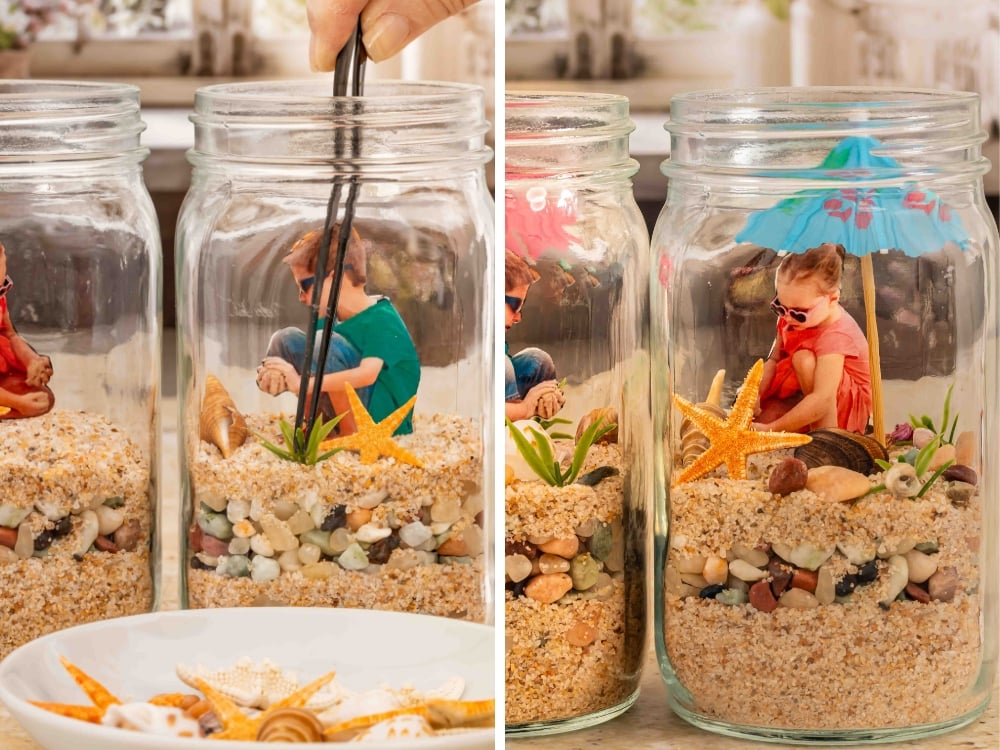
Now comes the fun part. Placing your decorations into the jar is a creative and relaxing step that allows you to enjoy the process and make your project truly your own.
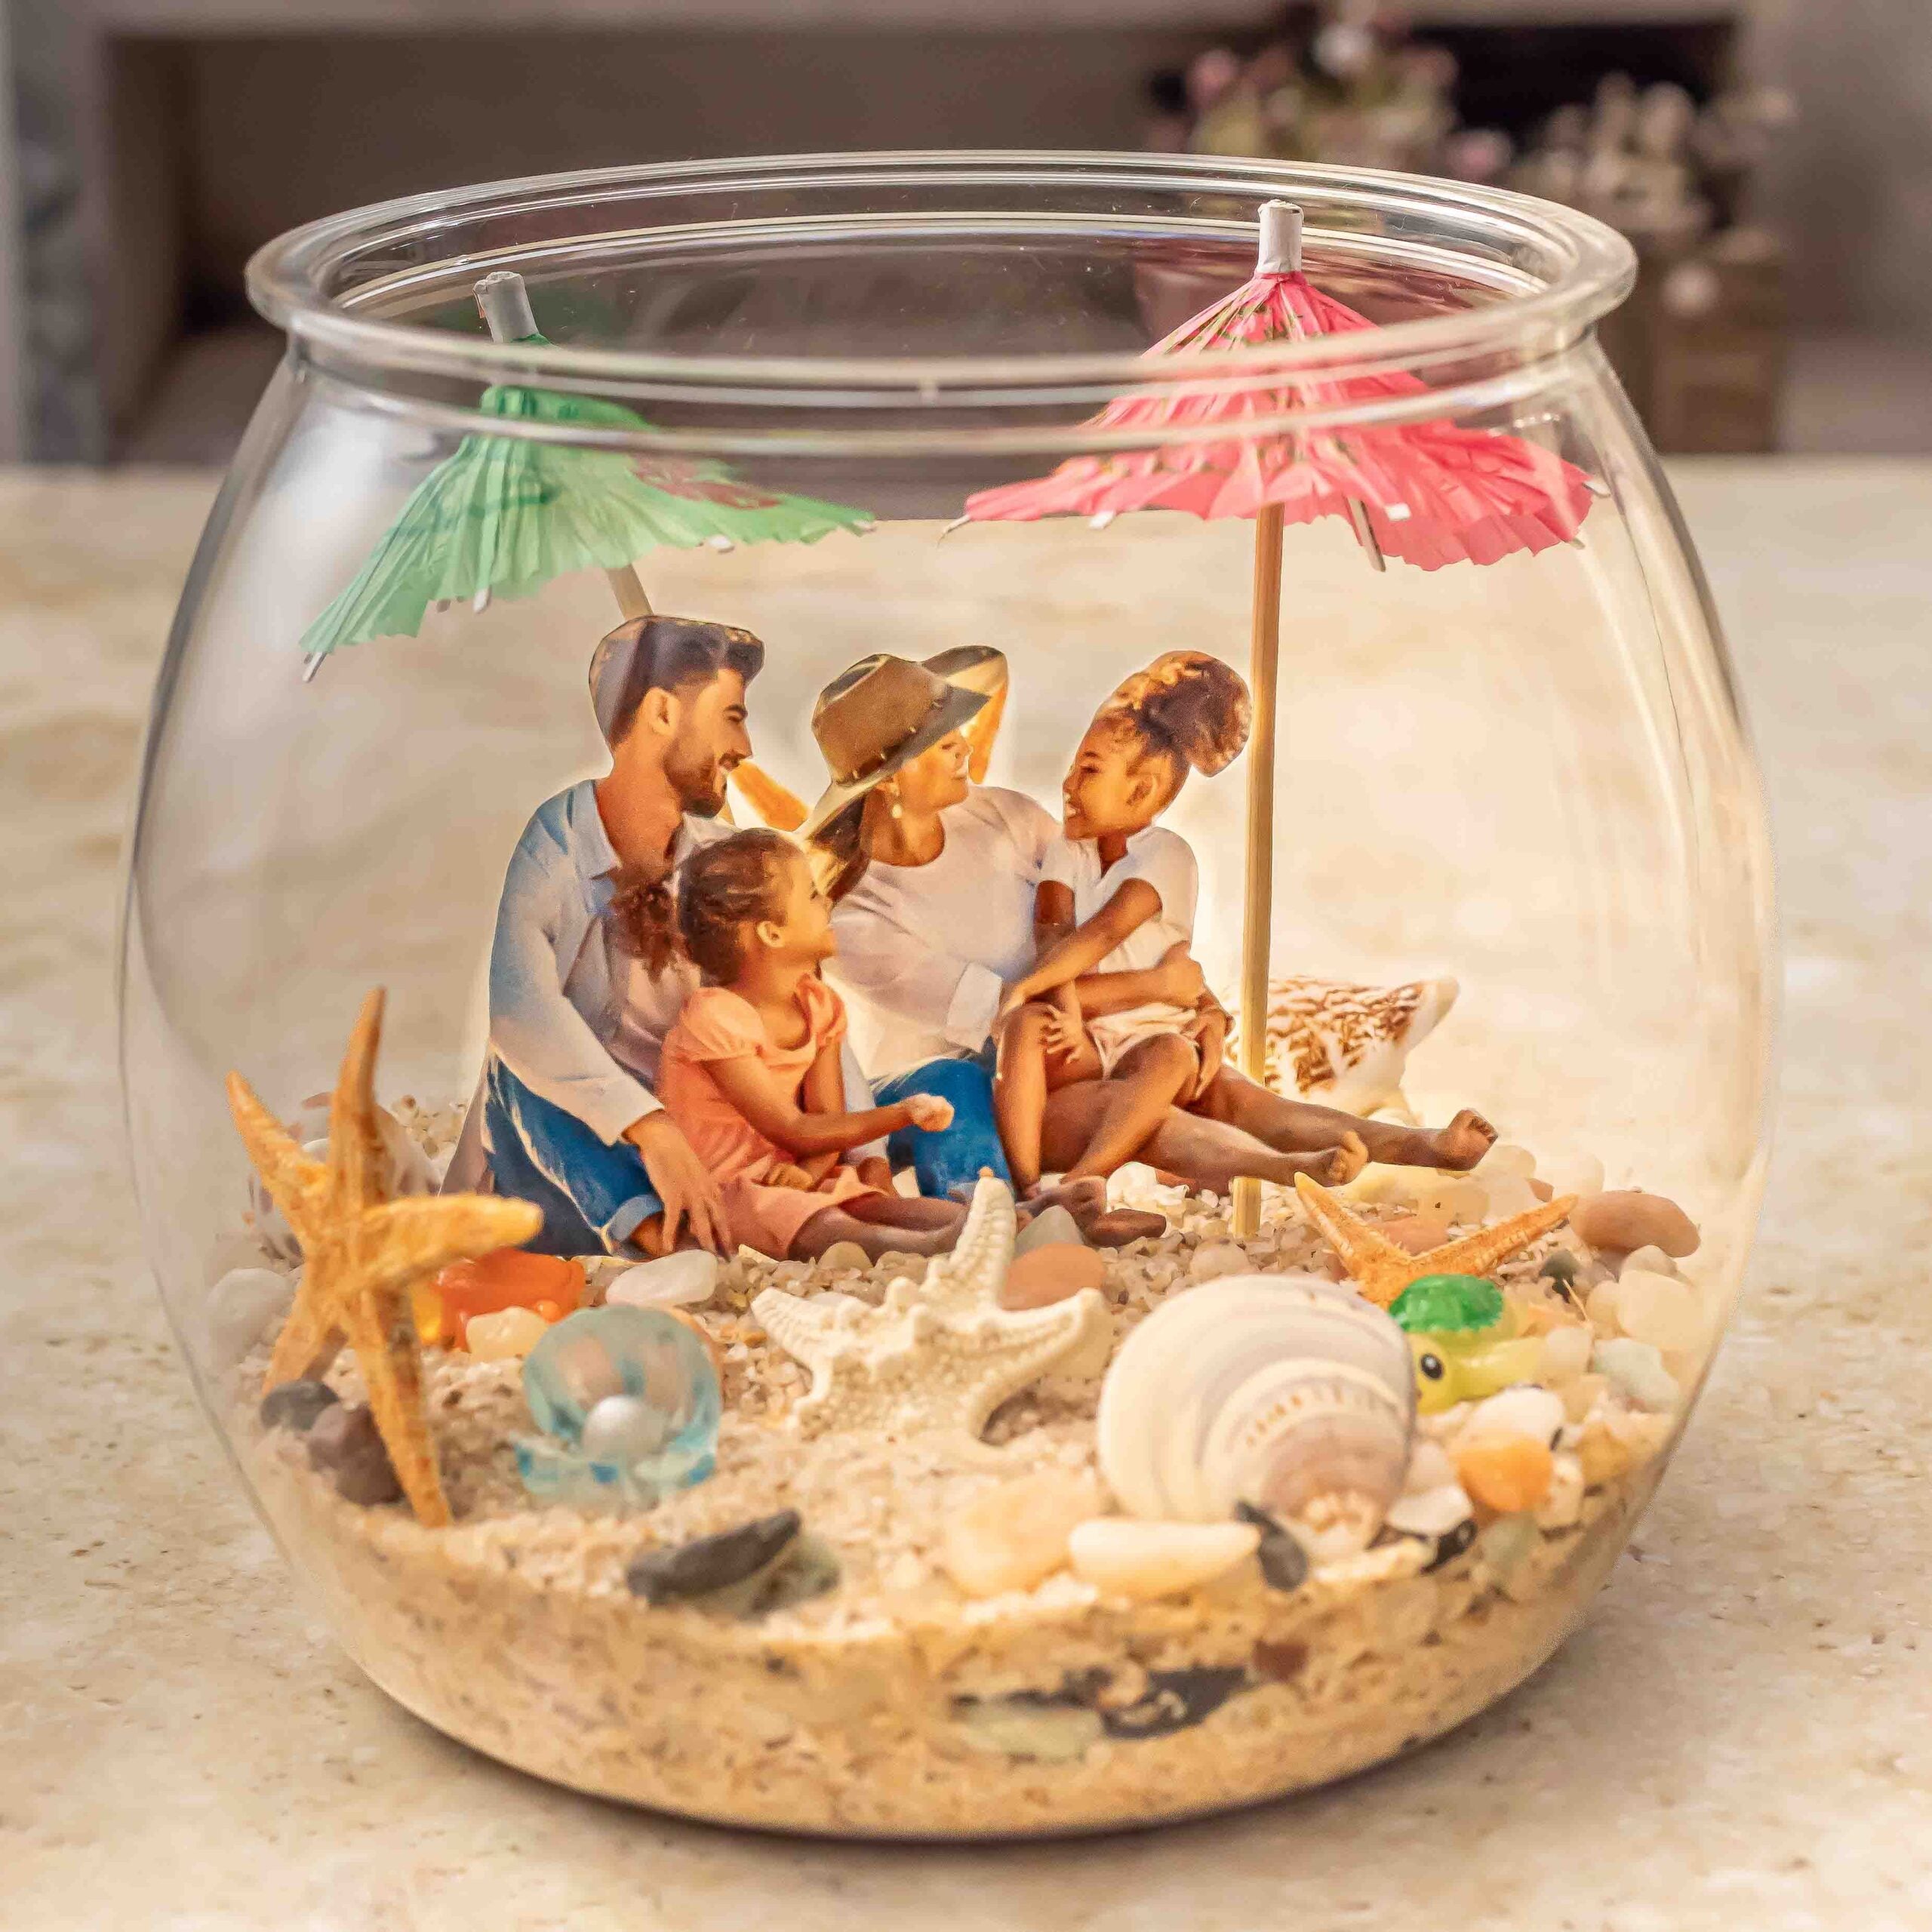
Place your photos, seashells, sea glass, and small keepsakes into the jar. Tweezers or chopsticks can help position everything exactly where you want it.
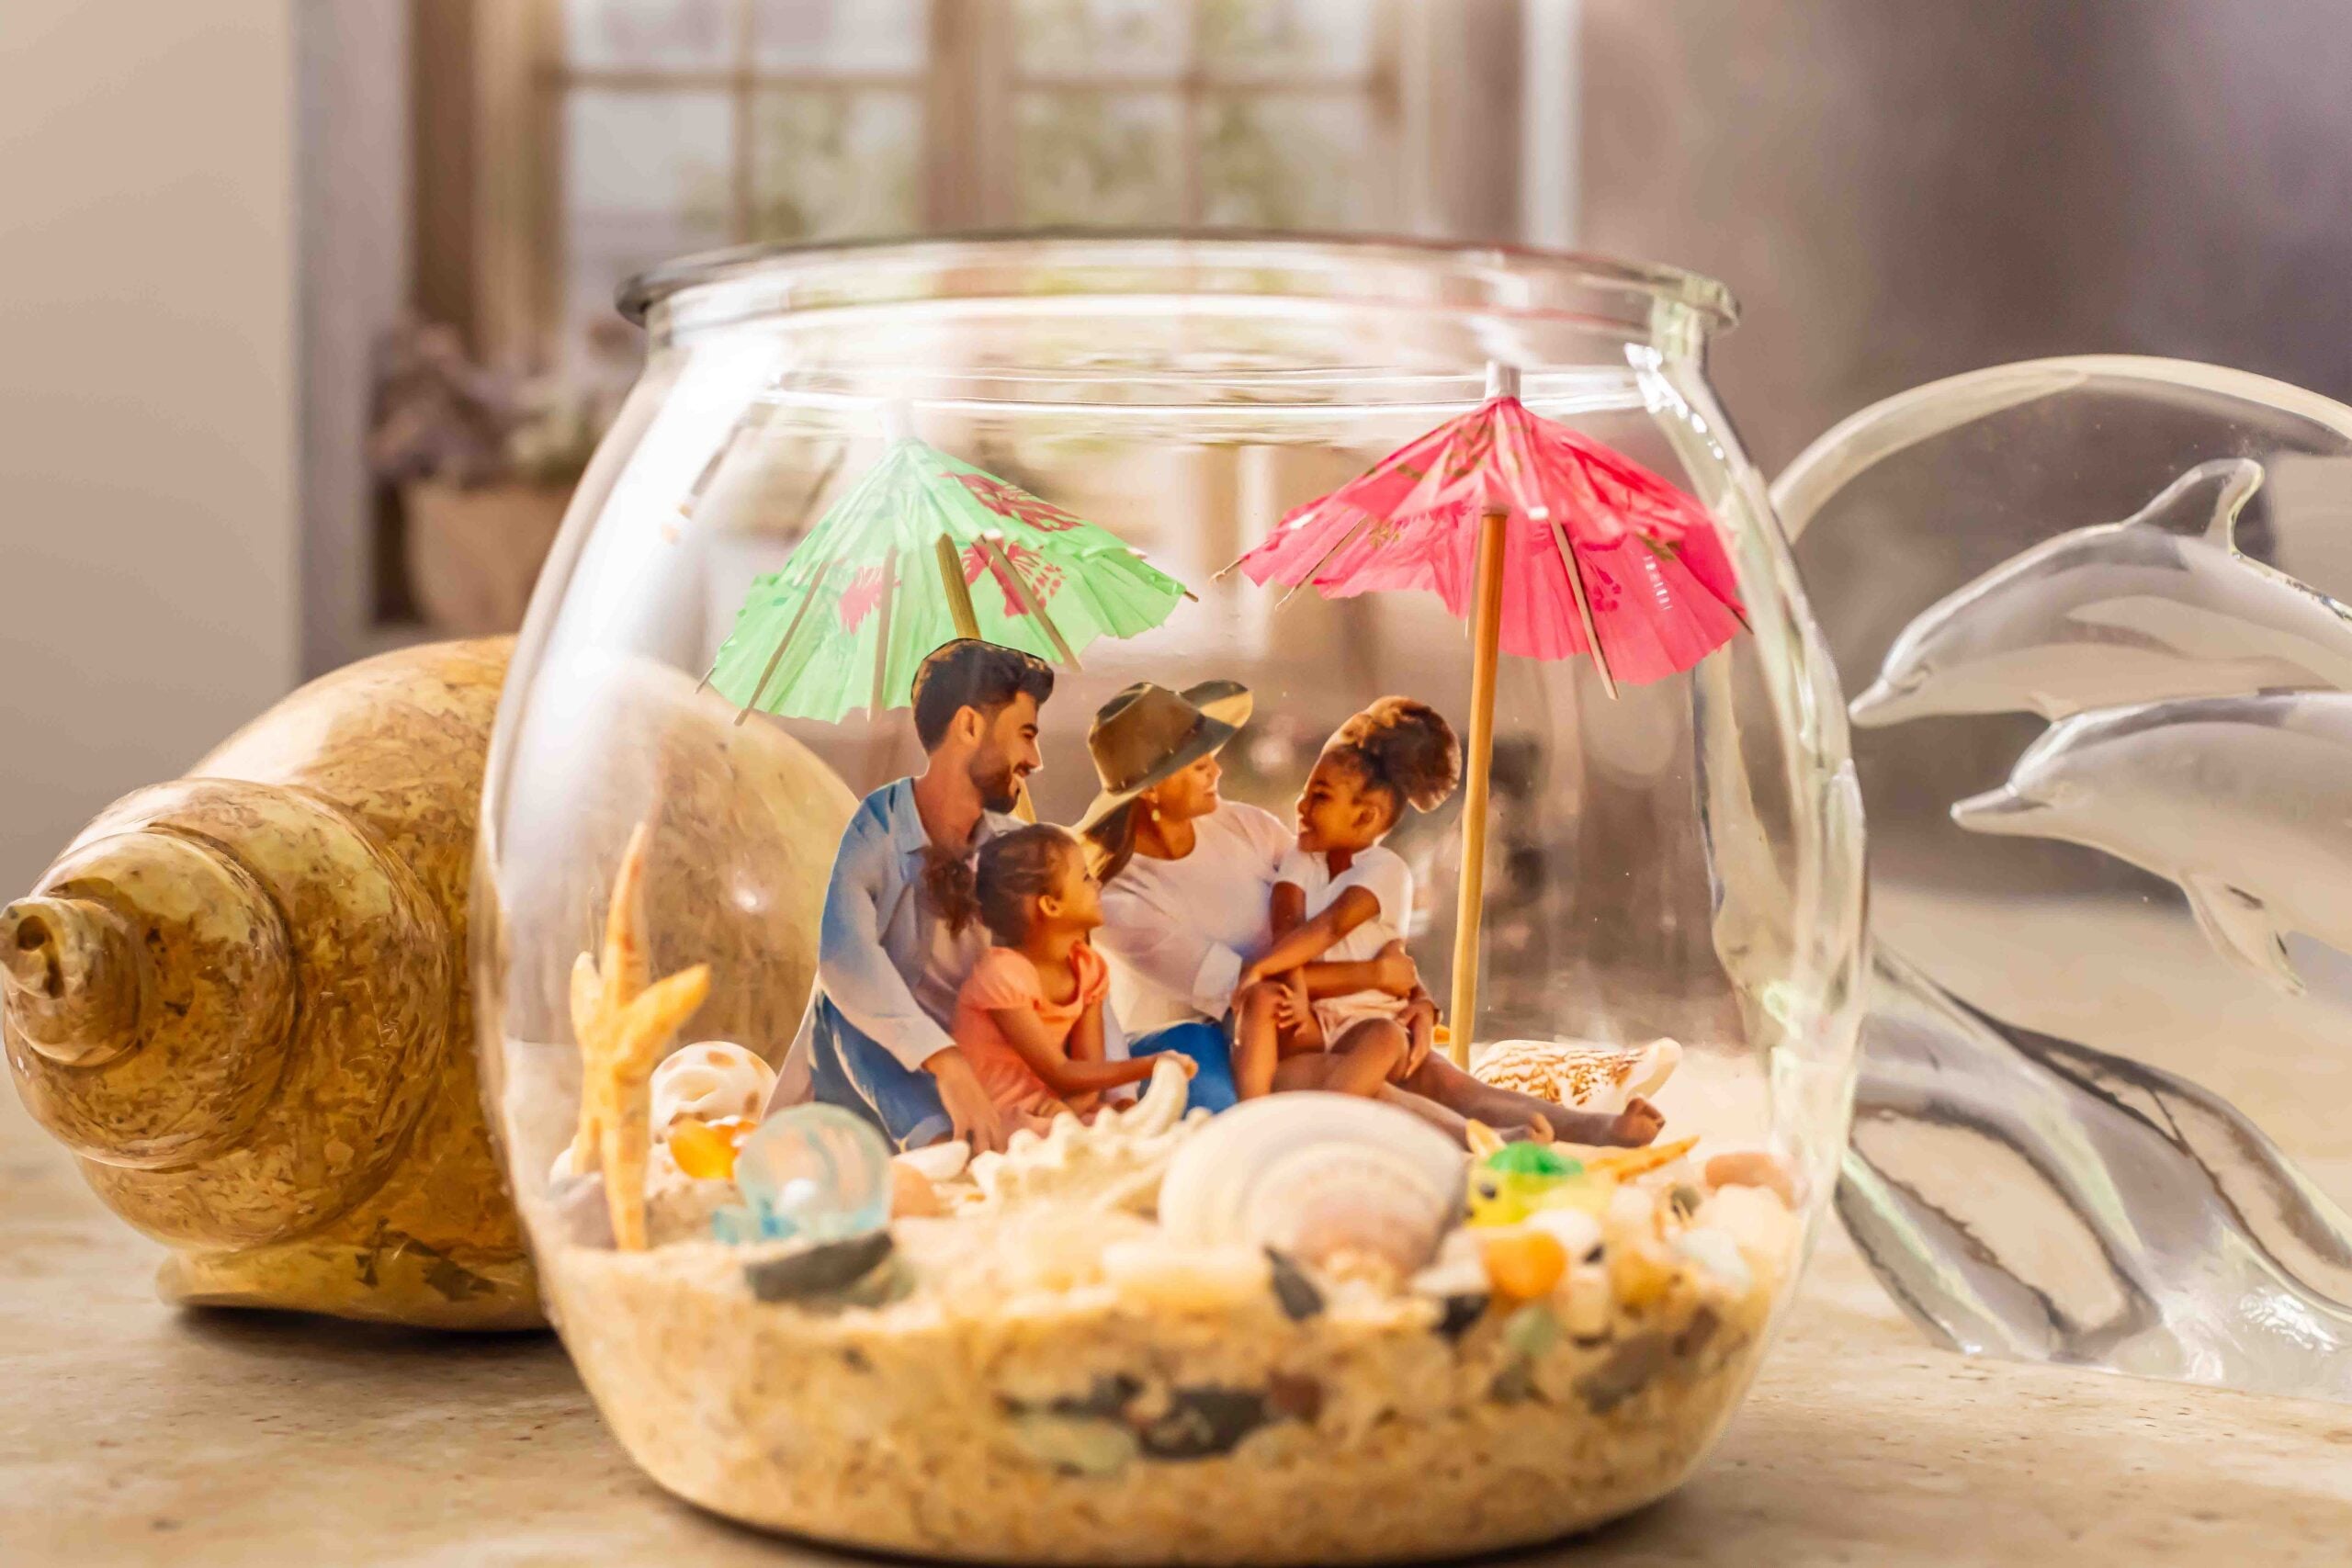
If you're using cocktail umbrellas, you may need to extend the sticks with wooden skewers, depending on the size of your jar. The original project instructions include a detailed walkthrough for adjusting the umbrellas if needed.
Continue arranging the contents until your coastal memory jar looks balanced and visually appealing.
Step 5: Decorate the Lid
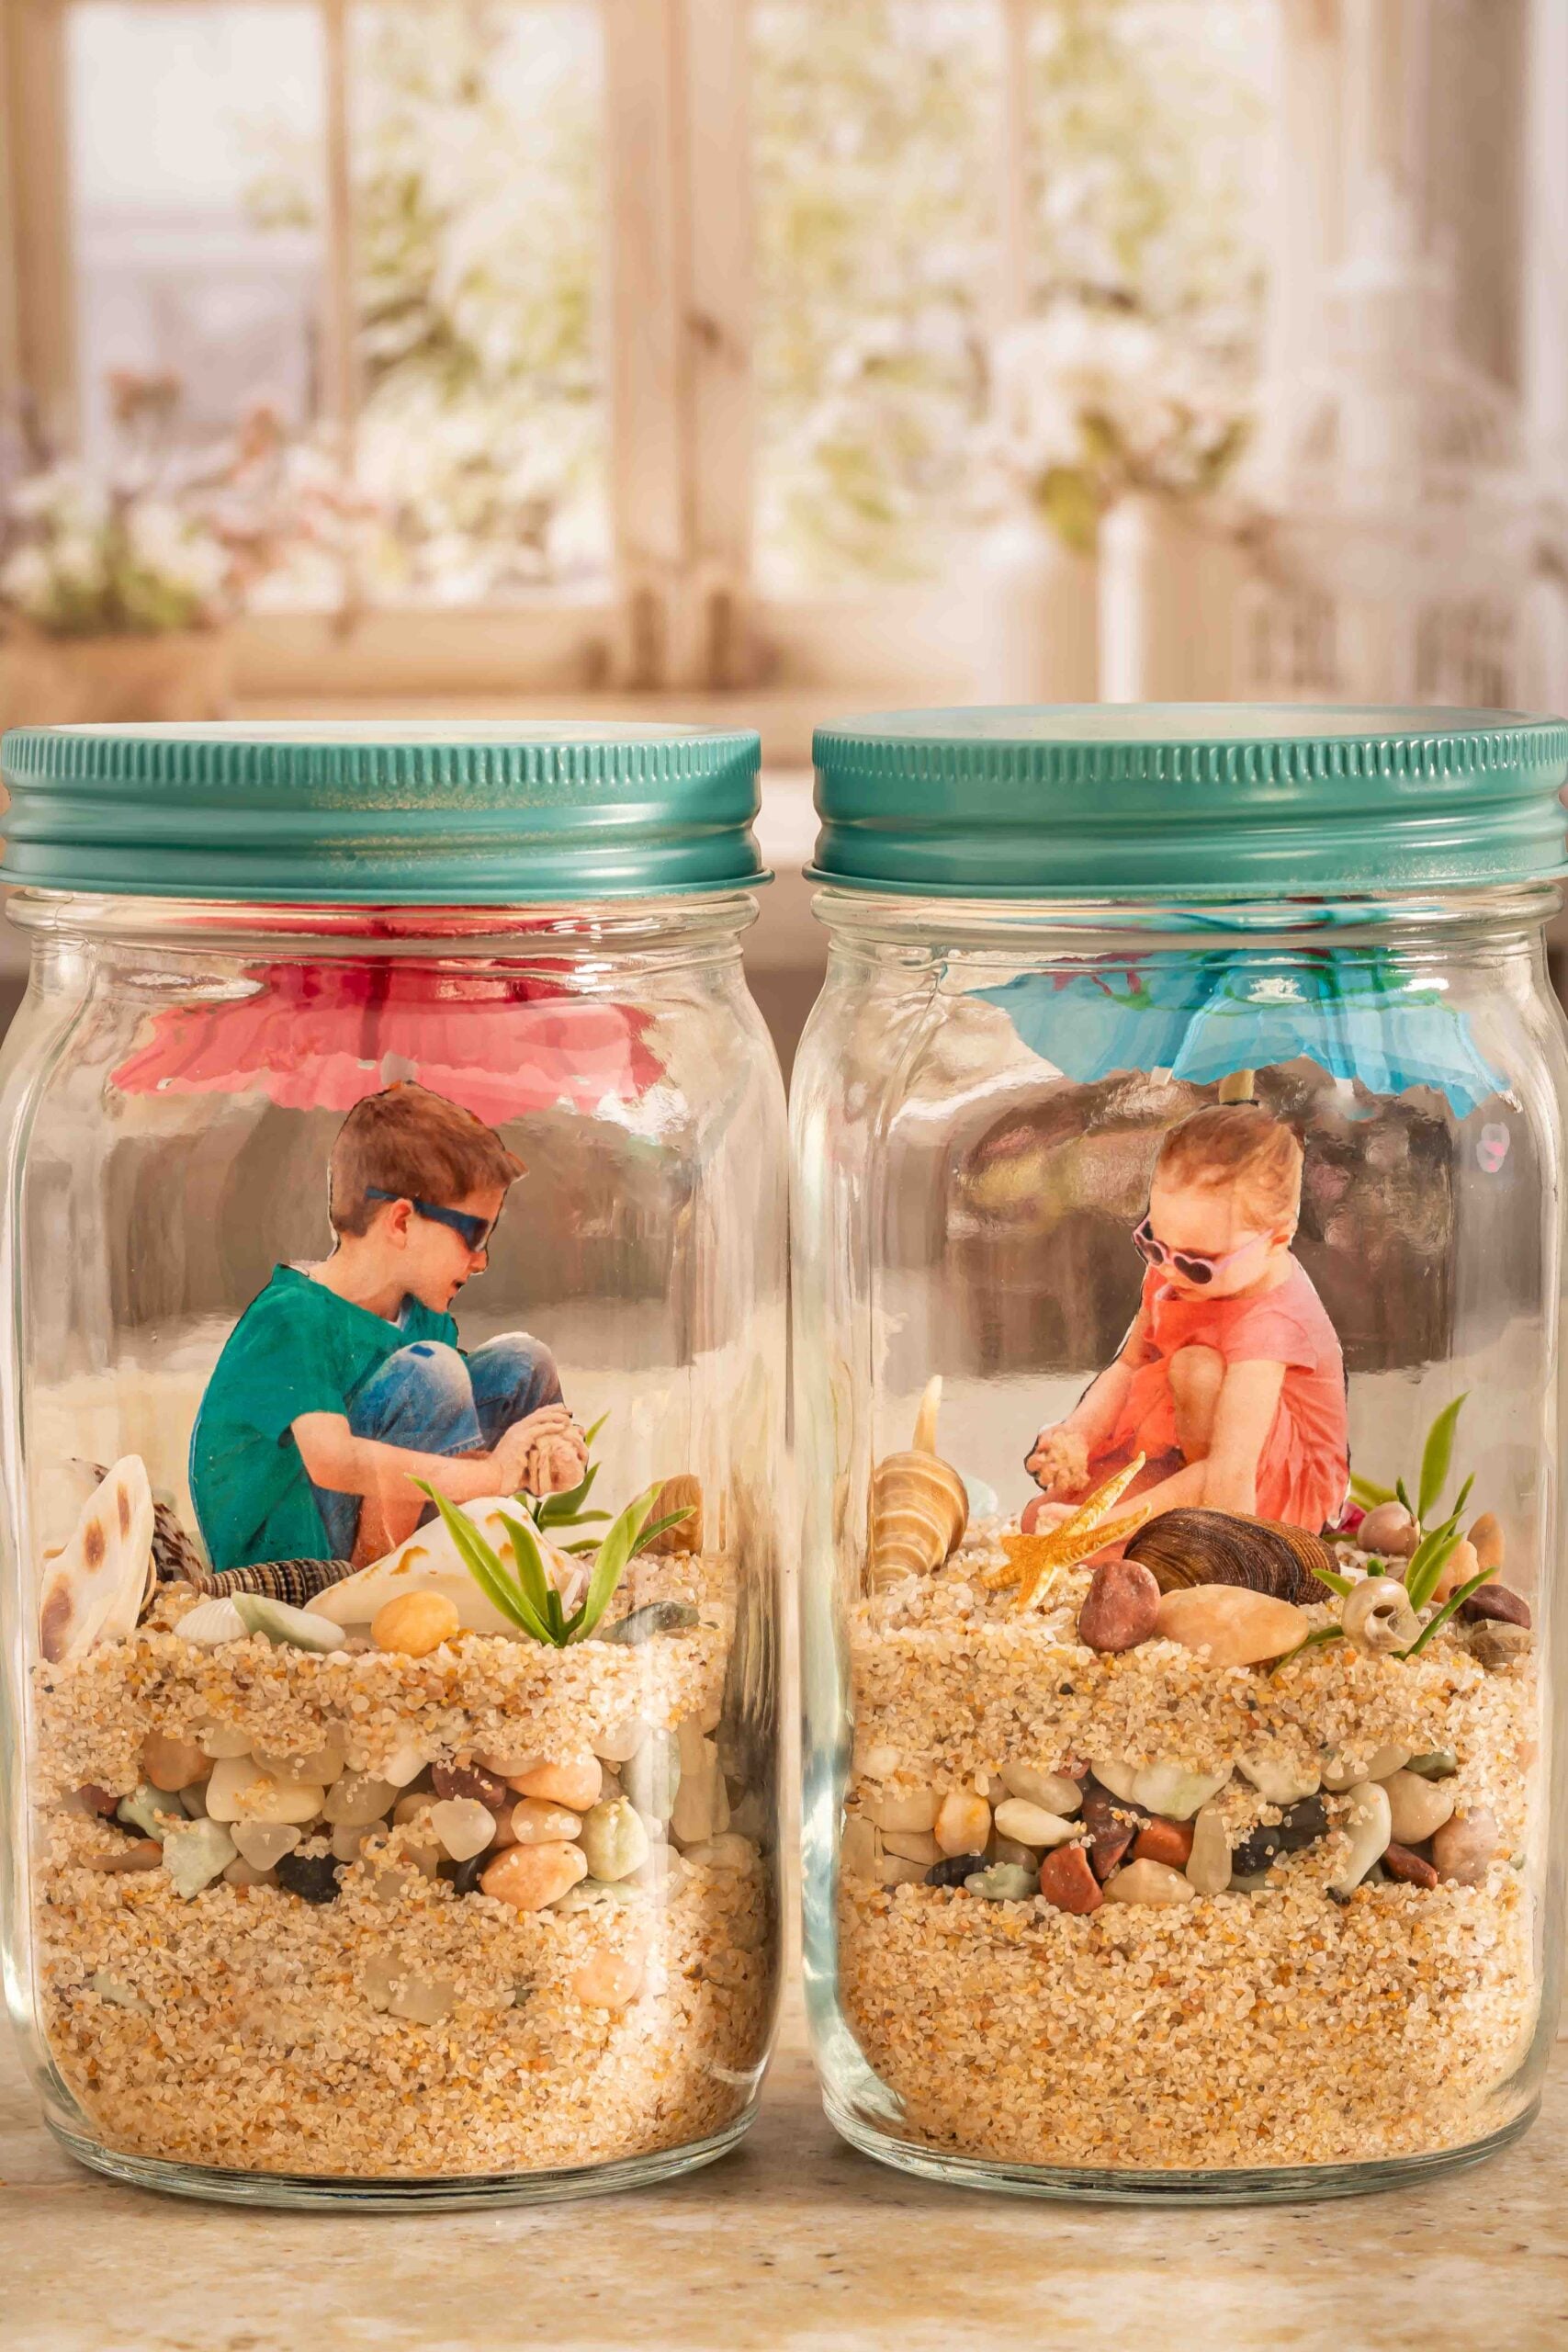
This is where you can really personalize your DIY beach jar craft.
Some fun decorating ideas include:
- Wrapping twine around the lid
- Painting the lid in ocean-inspired colors
- Adding small starfish or shells
- Attaching a vacation date tag
- Adding a handwritten memory label
These little details make the jar feel extra special and gift-worthy.
To make it easier for you, I've created a printable PDF link for the full instructions here: Beach Memory Jar DIY
Creative DIY Beach Memory Jar Ideas
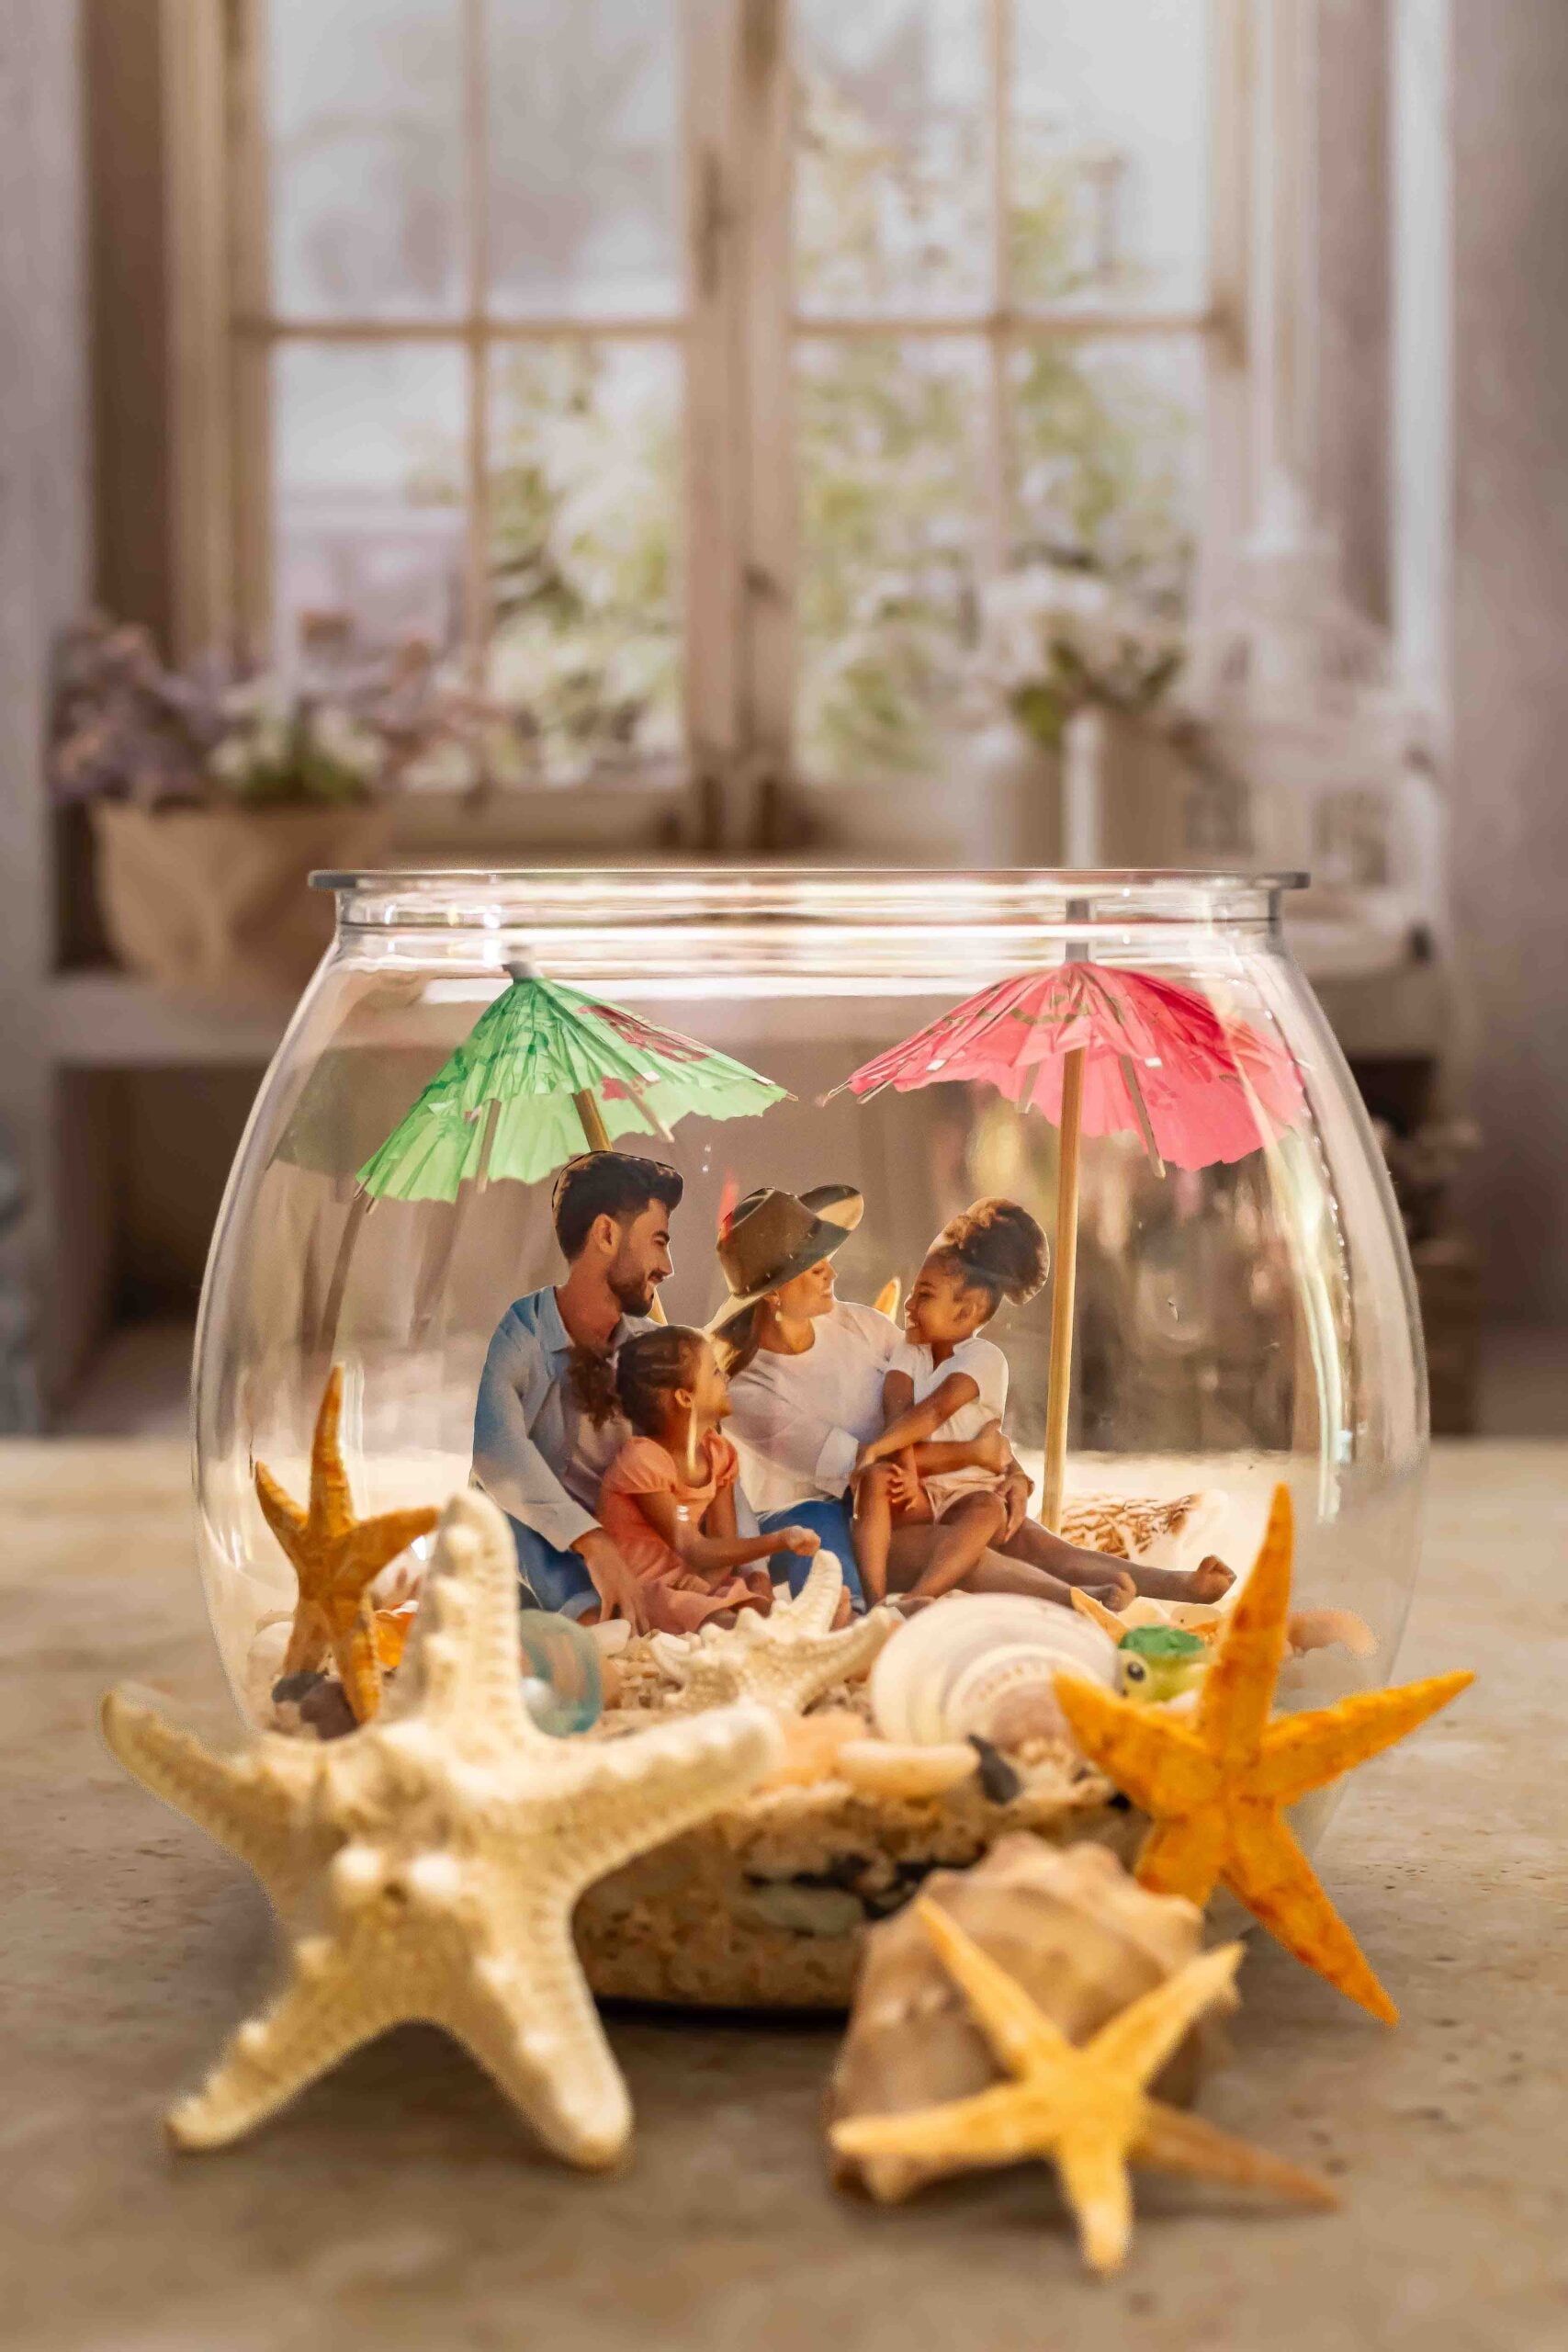
Beach Vacation Memory Jar
Use real souvenirs from your family vacation, such as ticket stubs, postcards, and photos.
Coastal Decor Jar
Create a neutral coastal-themed jar using white sand, shells, driftwood, and soft blue accents.
Kids Beach Memory Jar
For younger kids, use a plastic jar instead of glass and let them fill it with beach treasures they collected themselves.
Message in a Bottle Jar
Write down favorite vacation memories and tuck the notes inside the jar with the sand and shells.
Multi-Beach Sand Jar
Layer sand from different beaches you've visited over the years to create a colorful travel keepsake.
Where to Display Your Beach Memory Jar
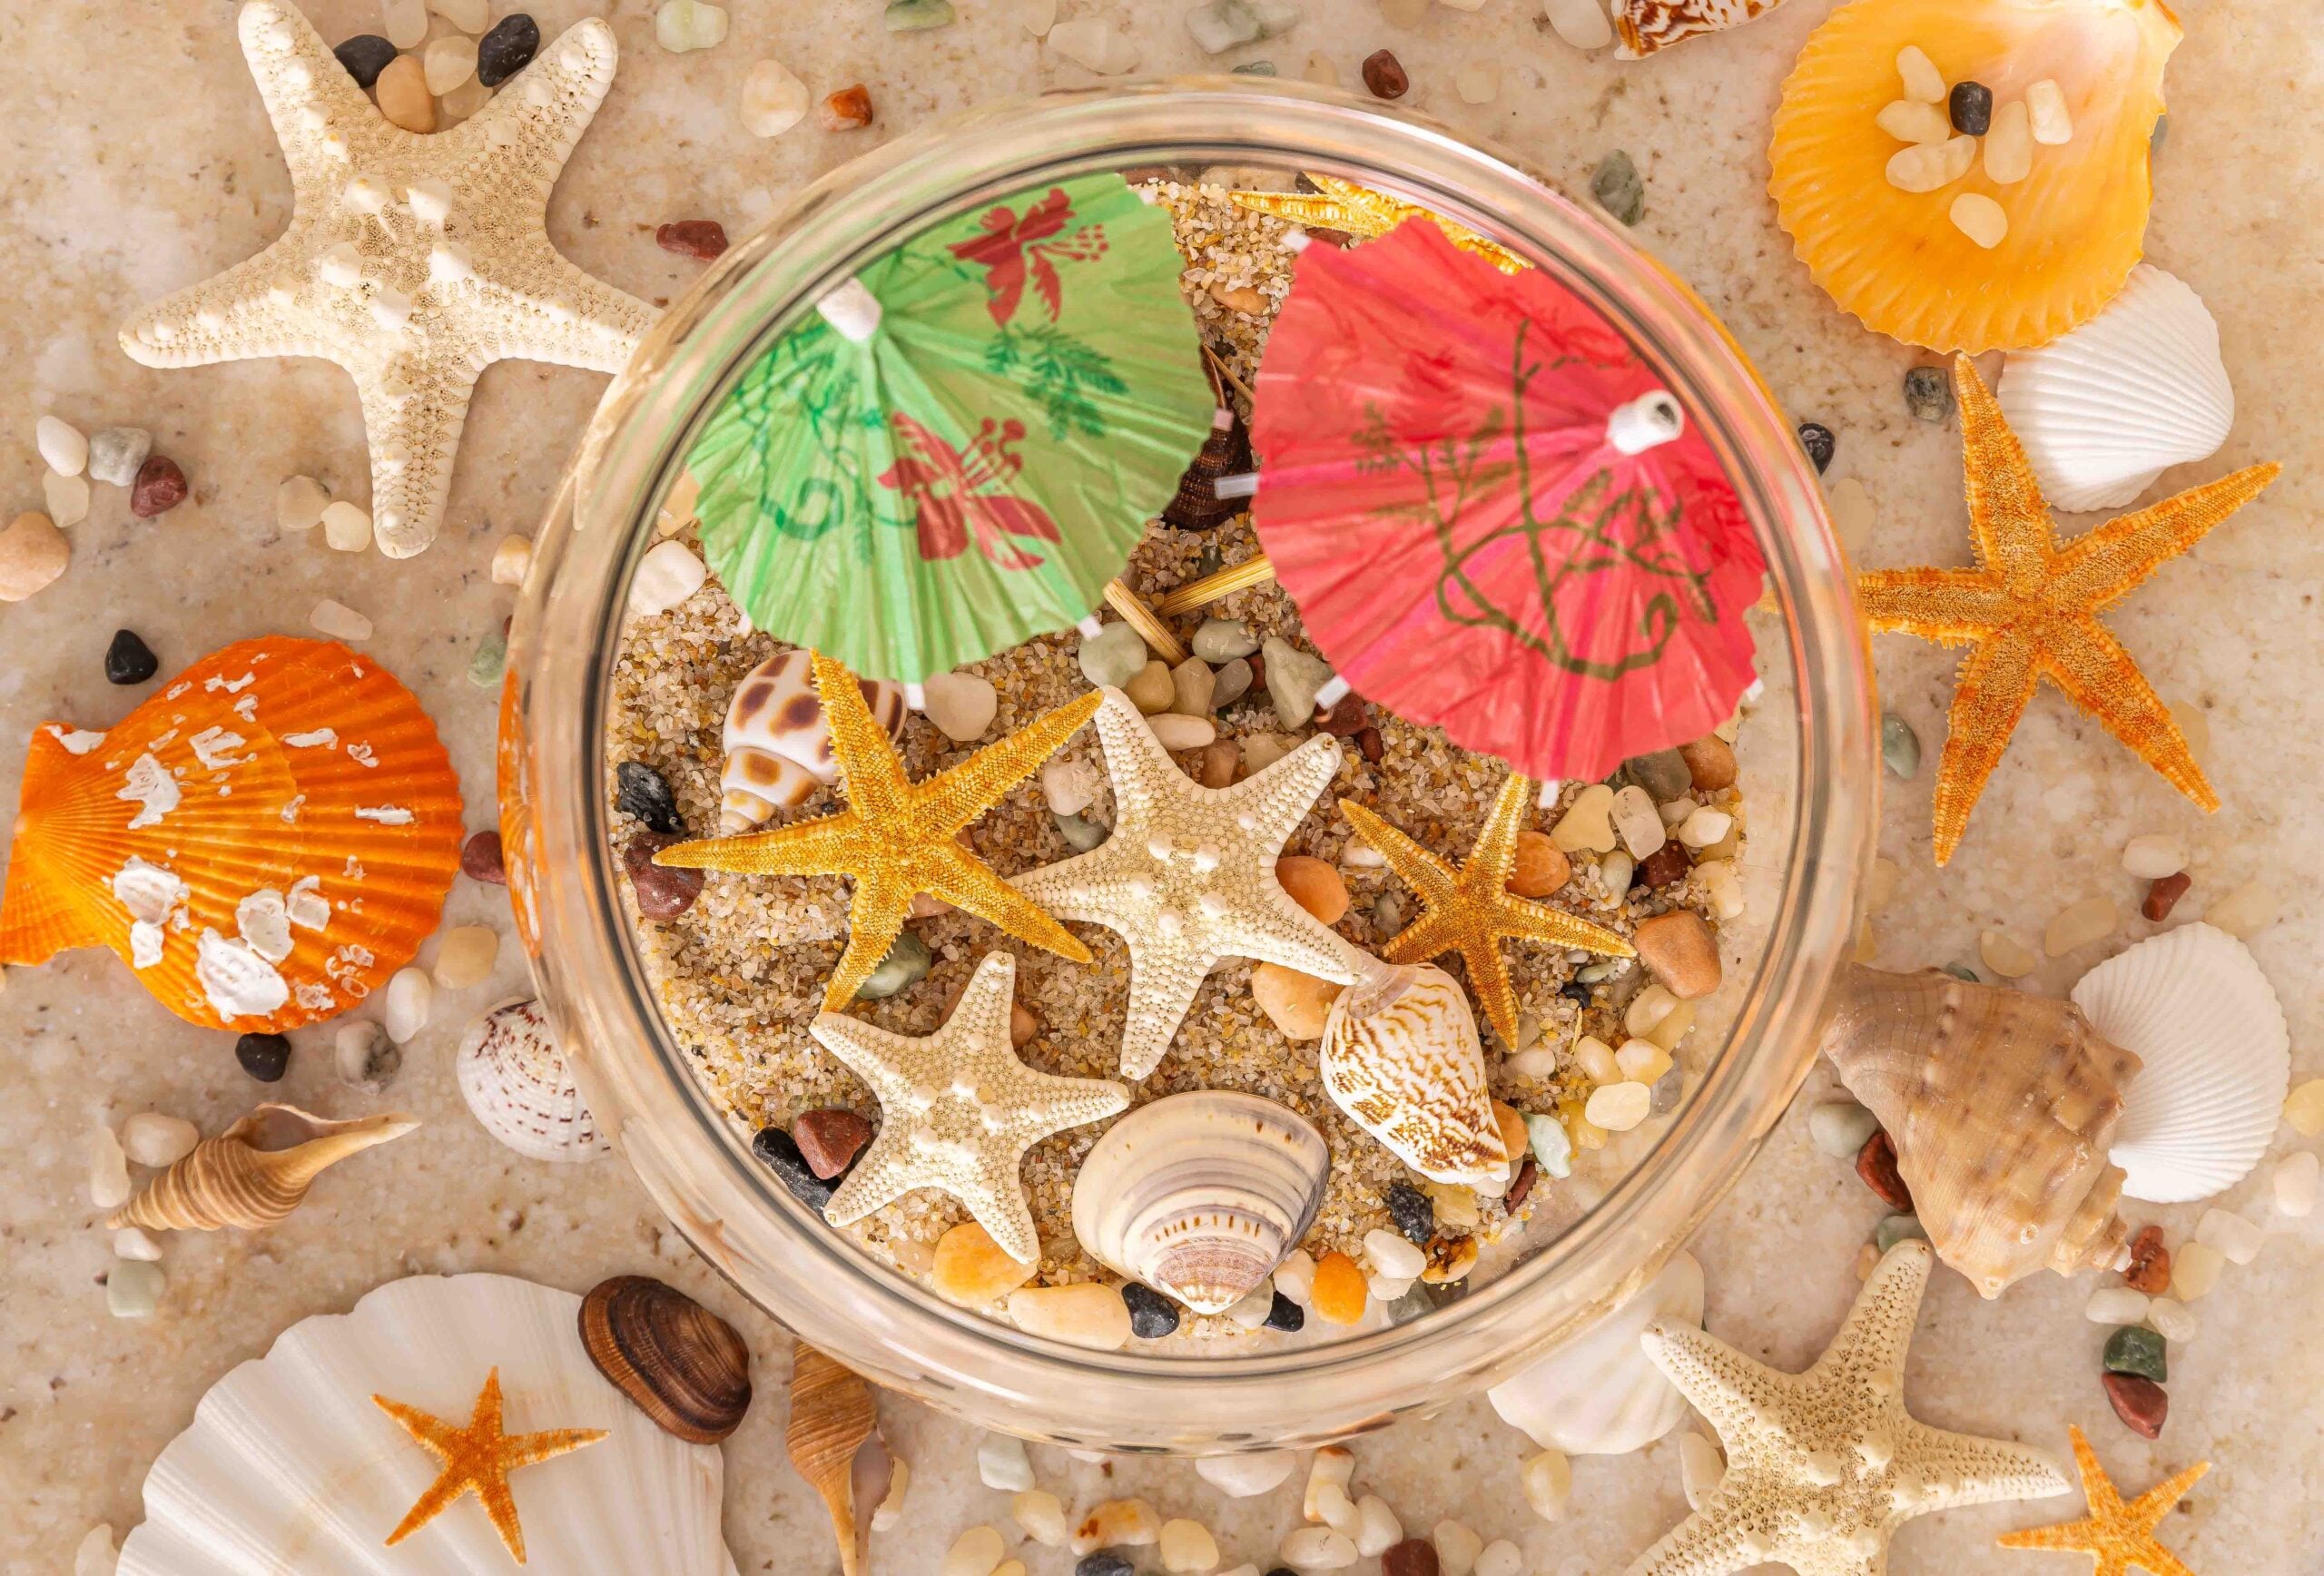
One of the reasons I love this DIY beach memory jar project so much is that it doubles as home decor.
Some of my favorite places to display these jars include:
- Entryway shelves
- Bathroom counters
- Summer tiered trays
- Coffee table decor
- Office desks
- Bookshelves
- Bedroom nightstands
They instantly add a relaxed coastal vibe to any space.
Frequently Asked Questions About DIY Beach Memory Jars
What can I put inside a beach memory jar?
You can add sand, seashells, sea glass, pebbles, photos, postcards, driftwood, tiny souvenirs, or handwritten memories.
How do you keep sand dry in a memory jar?
Spread the sand on a baking sheet and let it dry completely before adding it to your jar.
Can kids make beach memory jars?
Yes! For younger children, use a plastic jar instead of glass and supervise them while crafting.
Where can I buy supplies for a beach memory jar?
You can find supplies at craft stores, dollar stores, beach gift shops, and online retailers like Amazon.
How do you make a coastal memory jar look aesthetic?
Use layered sand, coordinated colors, balanced shell placement, and decorative details like twine or painted lids.
Final Thoughts on This DIY Beach Memory Jar
This DIY beach memory jar is a simple yet meaningful craft project that helps you creatively preserve your favorite seaside memories. I love that it can be completely customized to fit your personal style, your vacation memories, or even your home decor.
Whether you're crafting with the kids after a beach trip or creating a coastal-inspired centerpiece for summer, these beach keepsake jars are always fun to make and beautiful to display.
Honestly, every time I look at mine, it instantly brings back memories of warm sunshine, salty air, and relaxing family beach days.


I love this idea. It looks so cute! I have so many ideas that I can think of to apply this. My family and I have been on so many different vacations. It would be so cool to re-create this with each jar being a moment we had in a vacation.
OMG, this is such a fun way to preserve your favorite summer vacation memories or any other, for that matter. Love it.
This is such a lovely idea to show memories from beach days. I am always looking for new ways to display things and this is perfect!
I love this gift idea! We are hopefully going to the beach this summer, so we'll have to make one of these.
OMG, this is sooooo cute and very creative! I can't wait to make these this summer when we head to the beach...I really love this!
That memory jar is the perfect summer memento for kids to make. And. you posted it in plenty of time for vacations, the collection of beach treasures and then the creativity! So cute.
This is such a cute idea! I have to do this when we take our next vacation to the beach. Just the cutest.