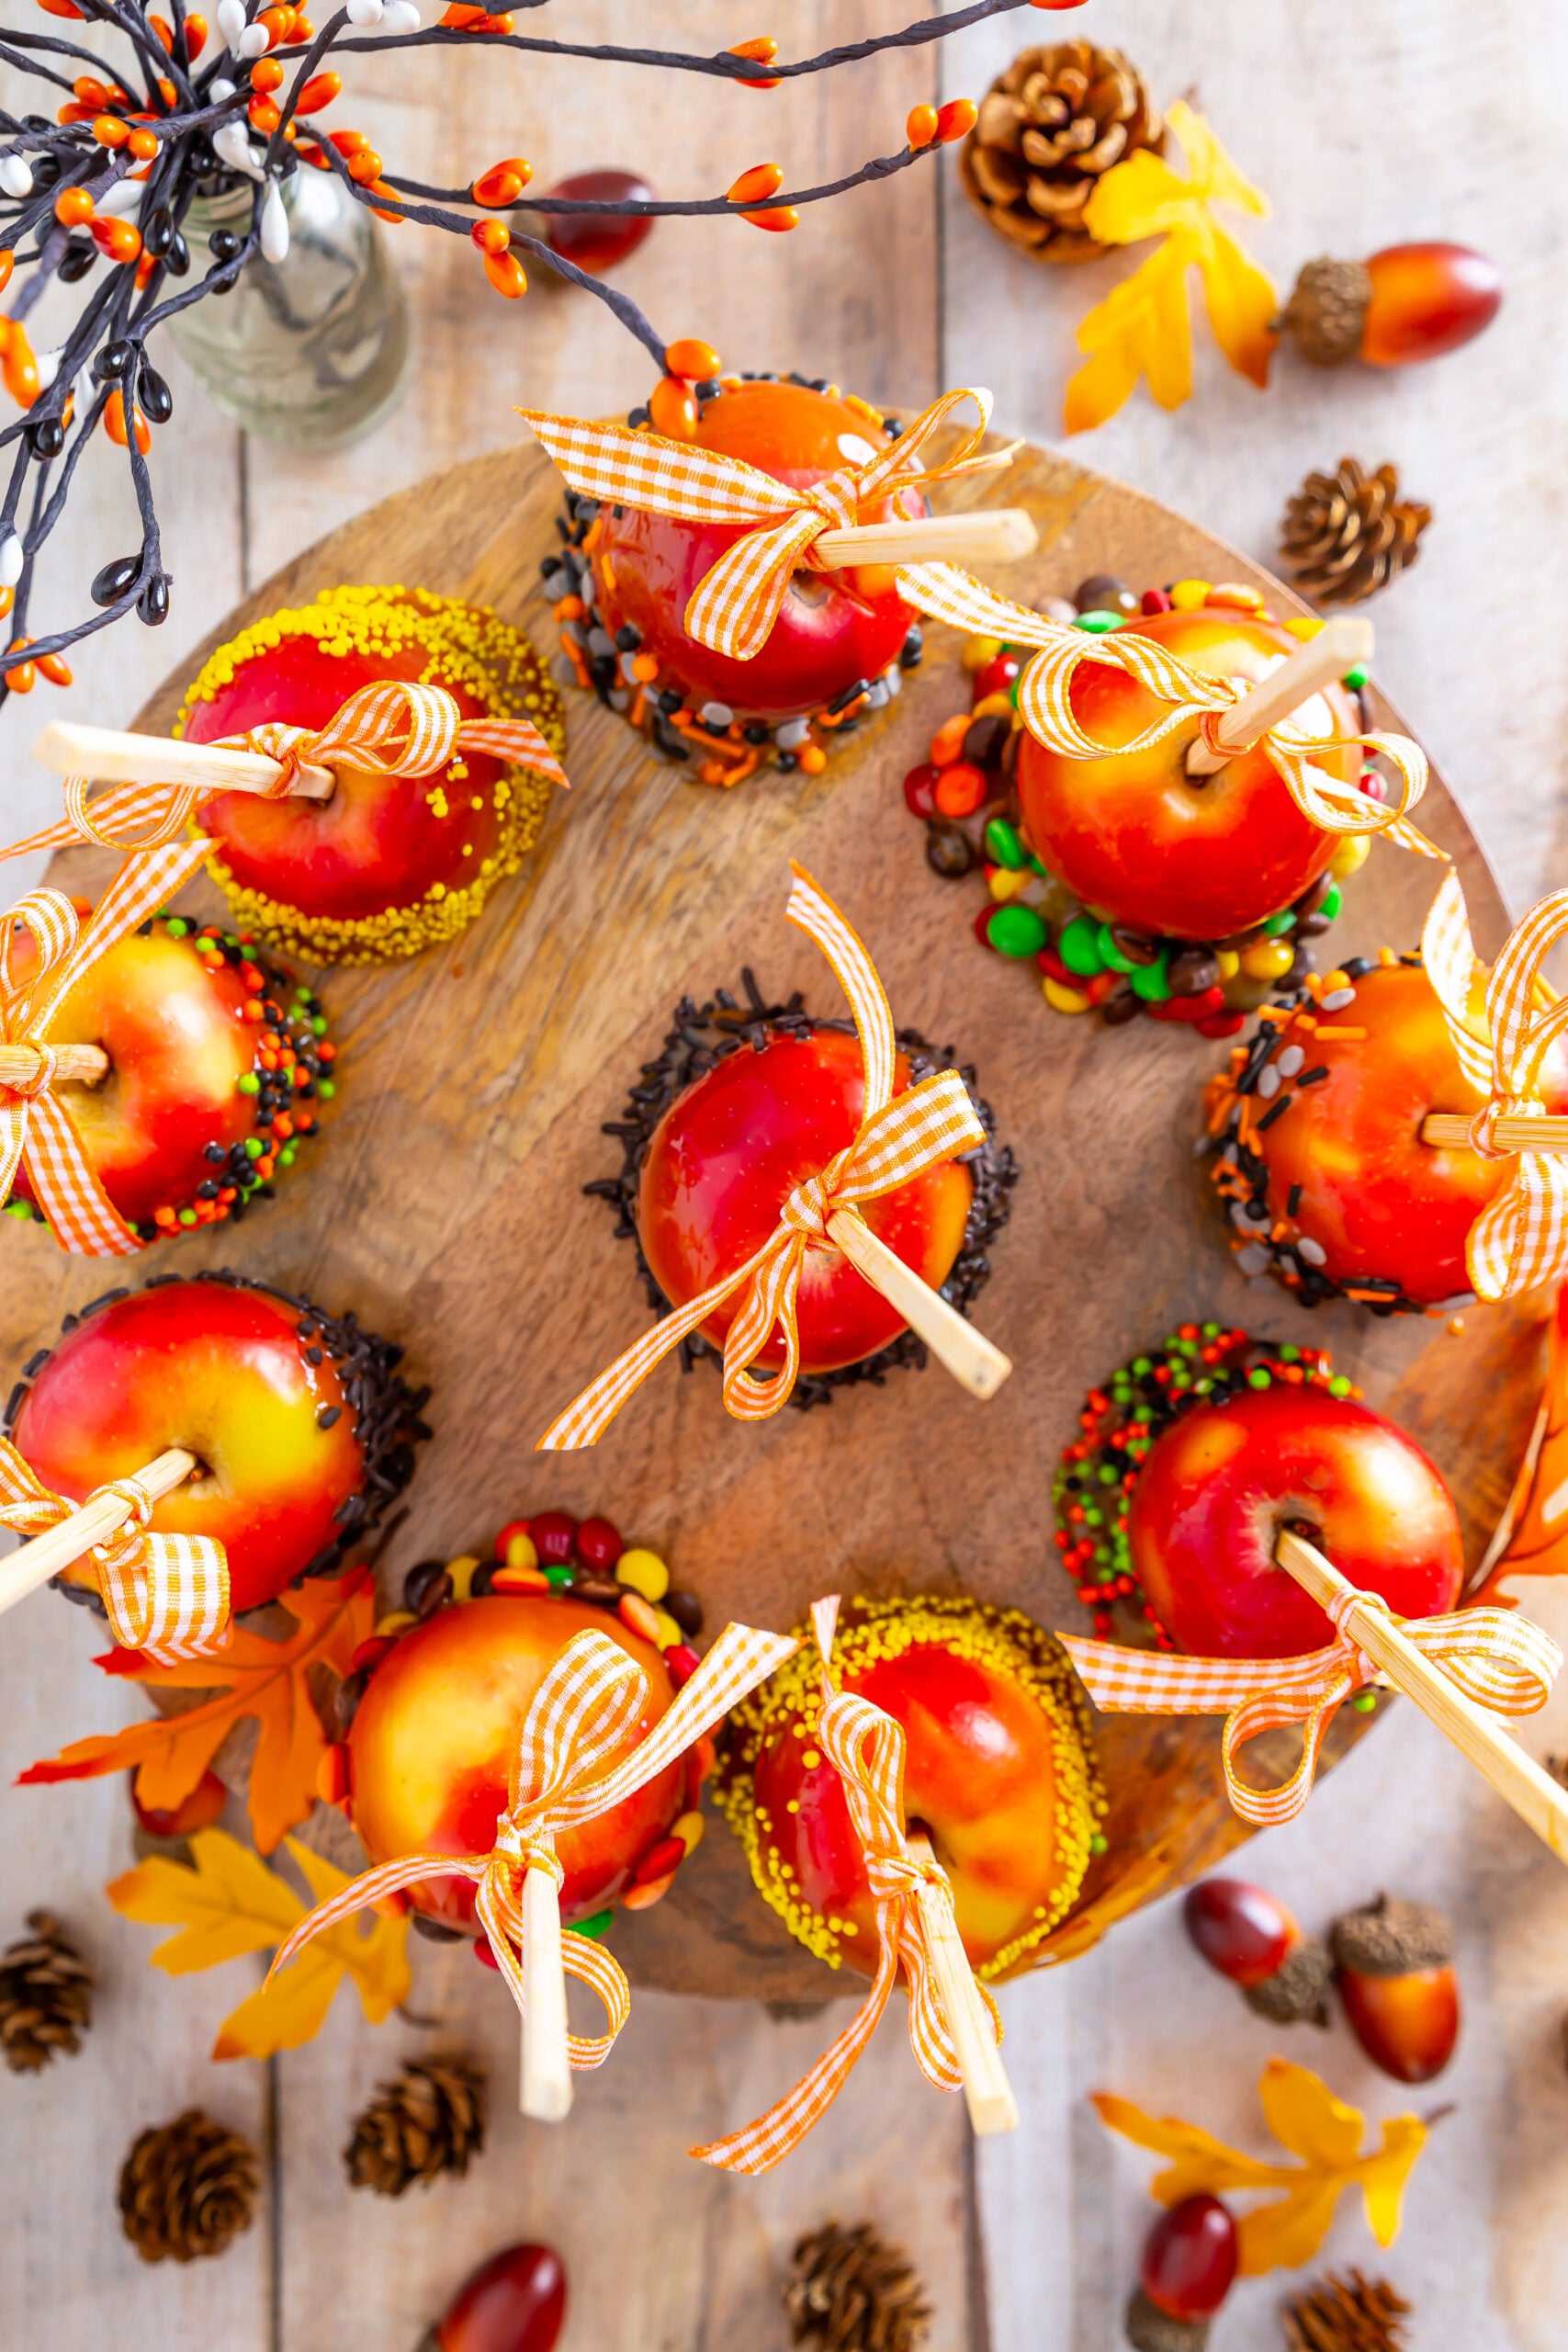
These mini caramel apples have everything I want in a fall treat: crisp apple, buttery, chewy caramel, and a colorful sprinkle of fall fun. Made with Werther's Original Chewy Caramels and a splash of milk, they come together without cooking caramel from scratch or reaching for a candy thermometer.
Their smaller size makes them easier to enjoy than a giant caramel apple, and decorating is where everyone can get creative. Serve them after an apple-picking afternoon or add them to a fall dessert spread alongside my Caramel Apple Spice Cake. Adults handle the hot caramel and sticks; kids can help decorate once the coating has cooled.
Why You Will Love These Mini Caramel Apples

- Simple ingredients: Apples, chewy caramels, and milk make the base.
- Easy microwave method: Short heating intervals keep the process manageable.
- Made for decorating: A brief chill before adding candies helps heavier toppings stay in place.
Mini Caramel Apples Recipe
Yield: 10 mini caramel apples | Serving size: 1 apple
Prep: 25 minutes | Cook: About 2 minutes | Cool: 4-5 minutes | Final chill: At least 15 minutes | Total: About 45-50 minutes
Ingredients
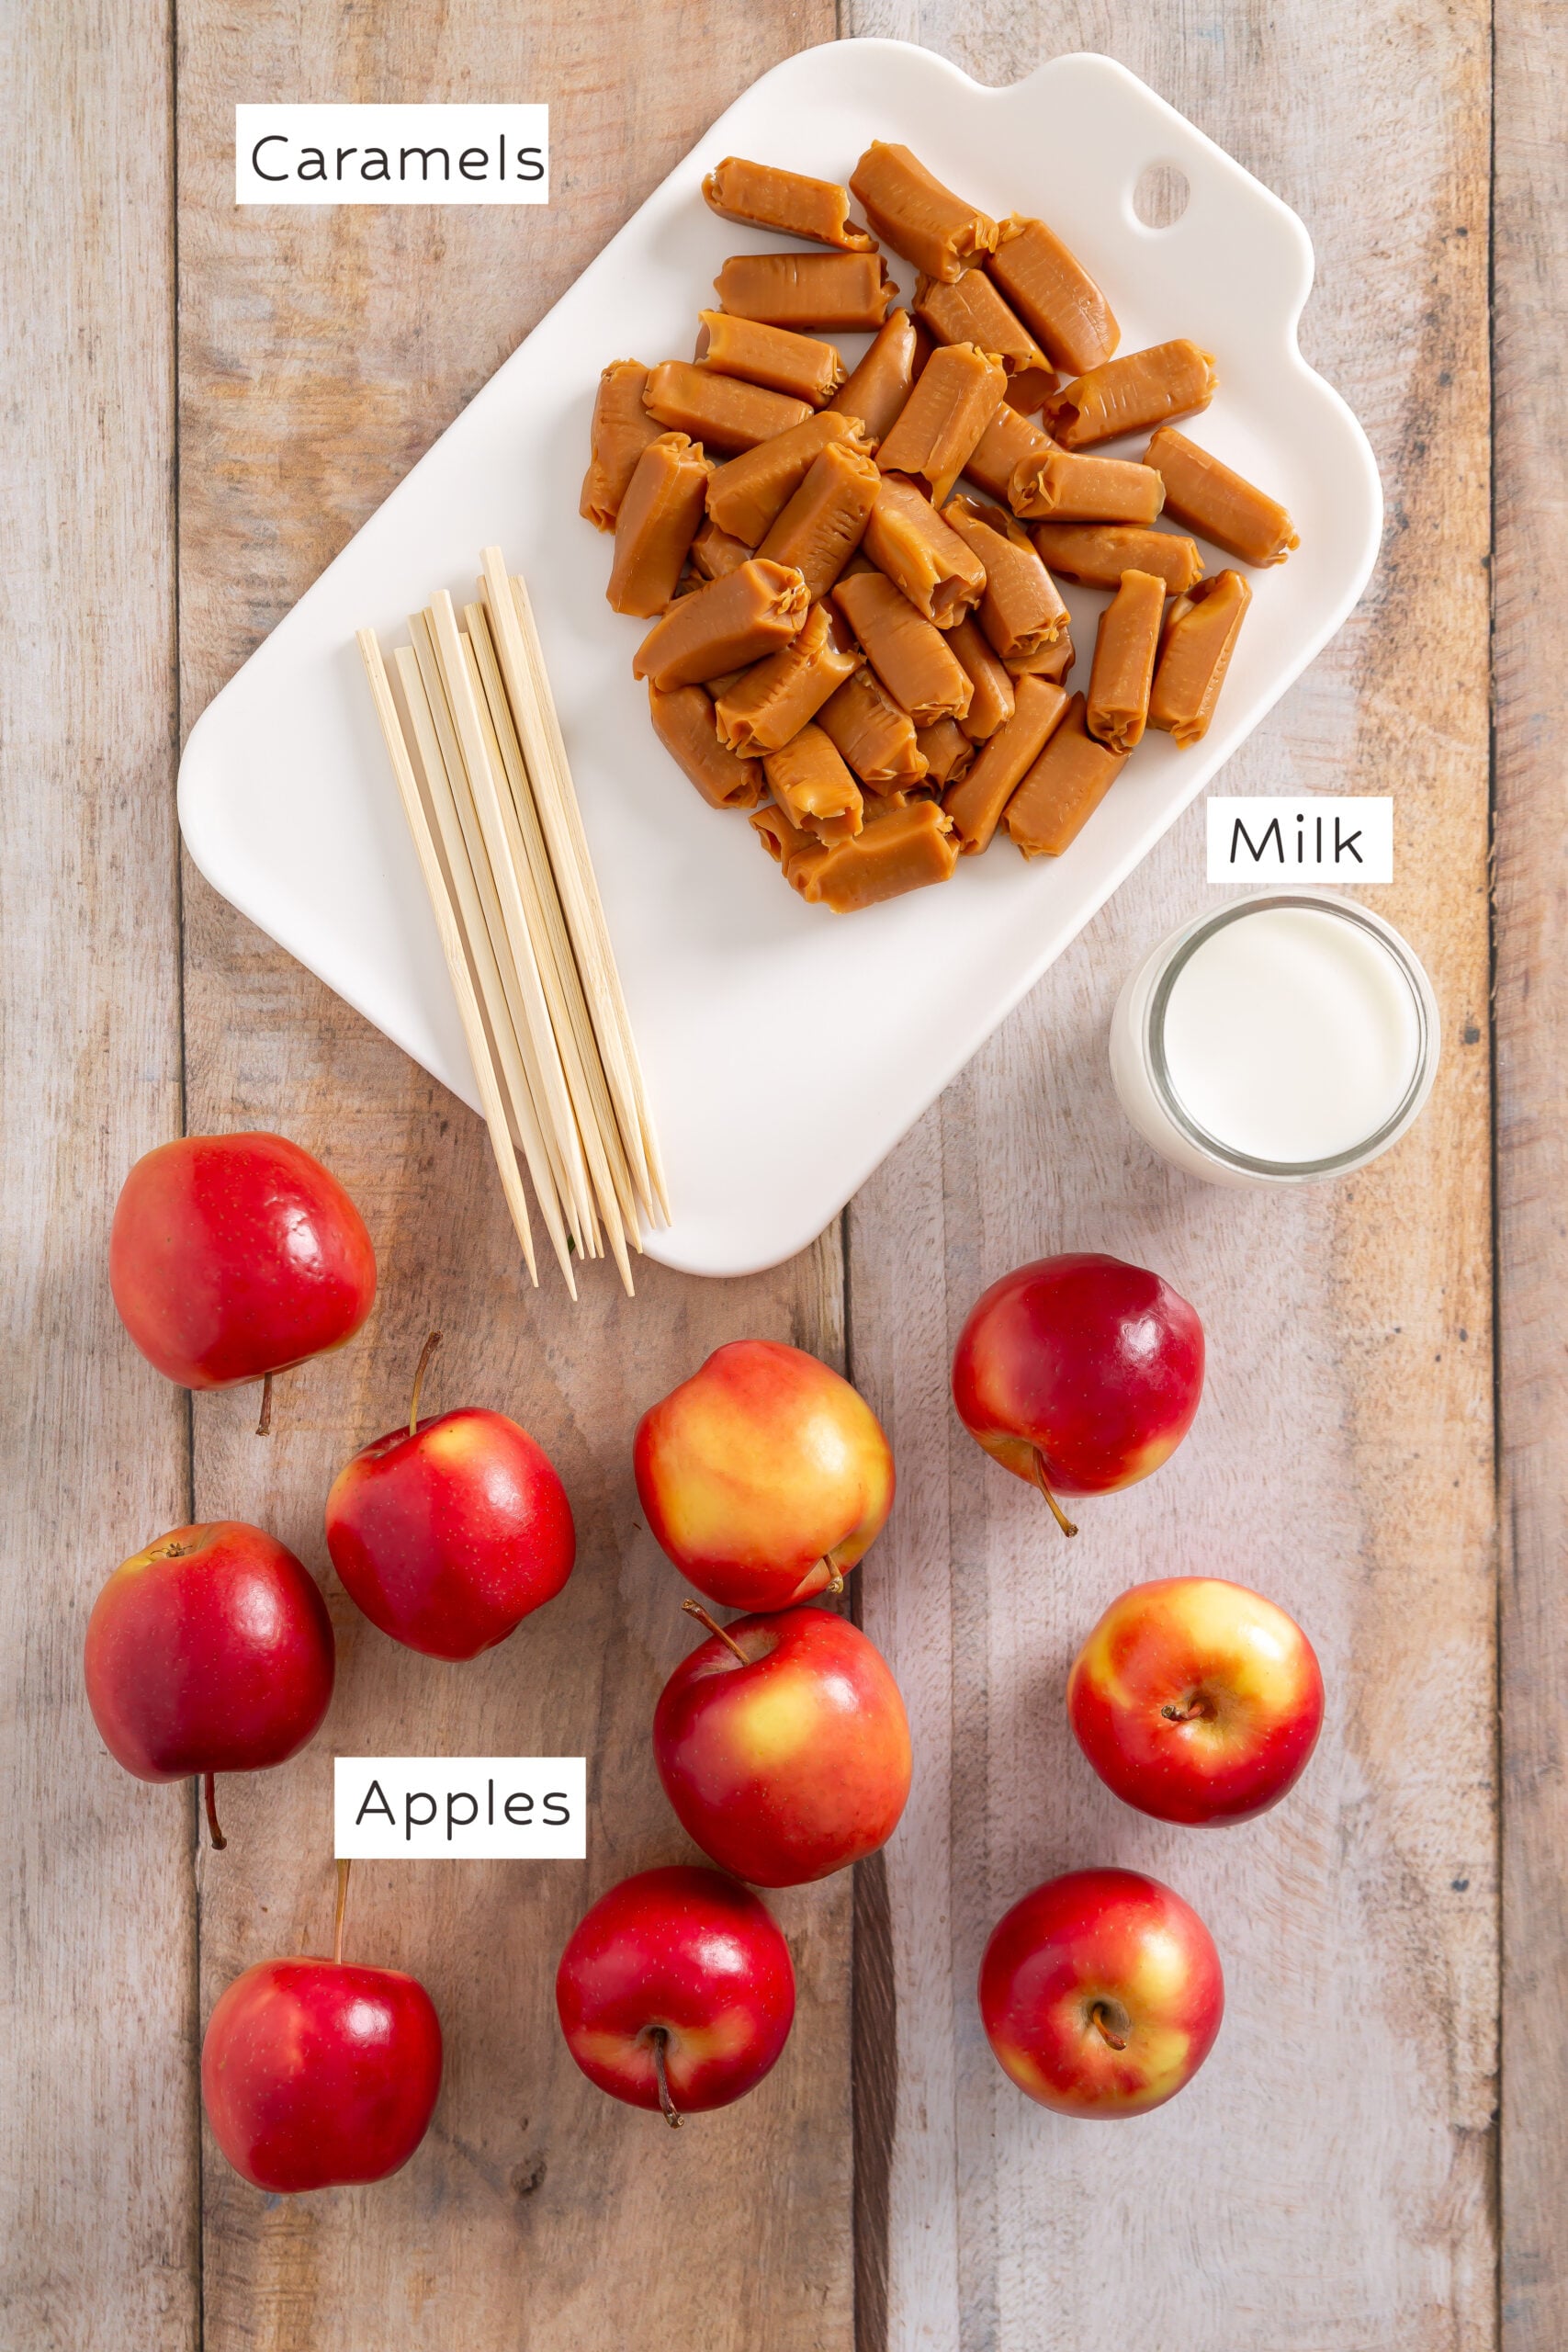
- 10 mini apples, such as Rockit apples
- 56 Werther's Original Chewy Caramels, unwrapped
- 1½ tablespoons whole milk
- Nonstick cooking spray, for the wax paper
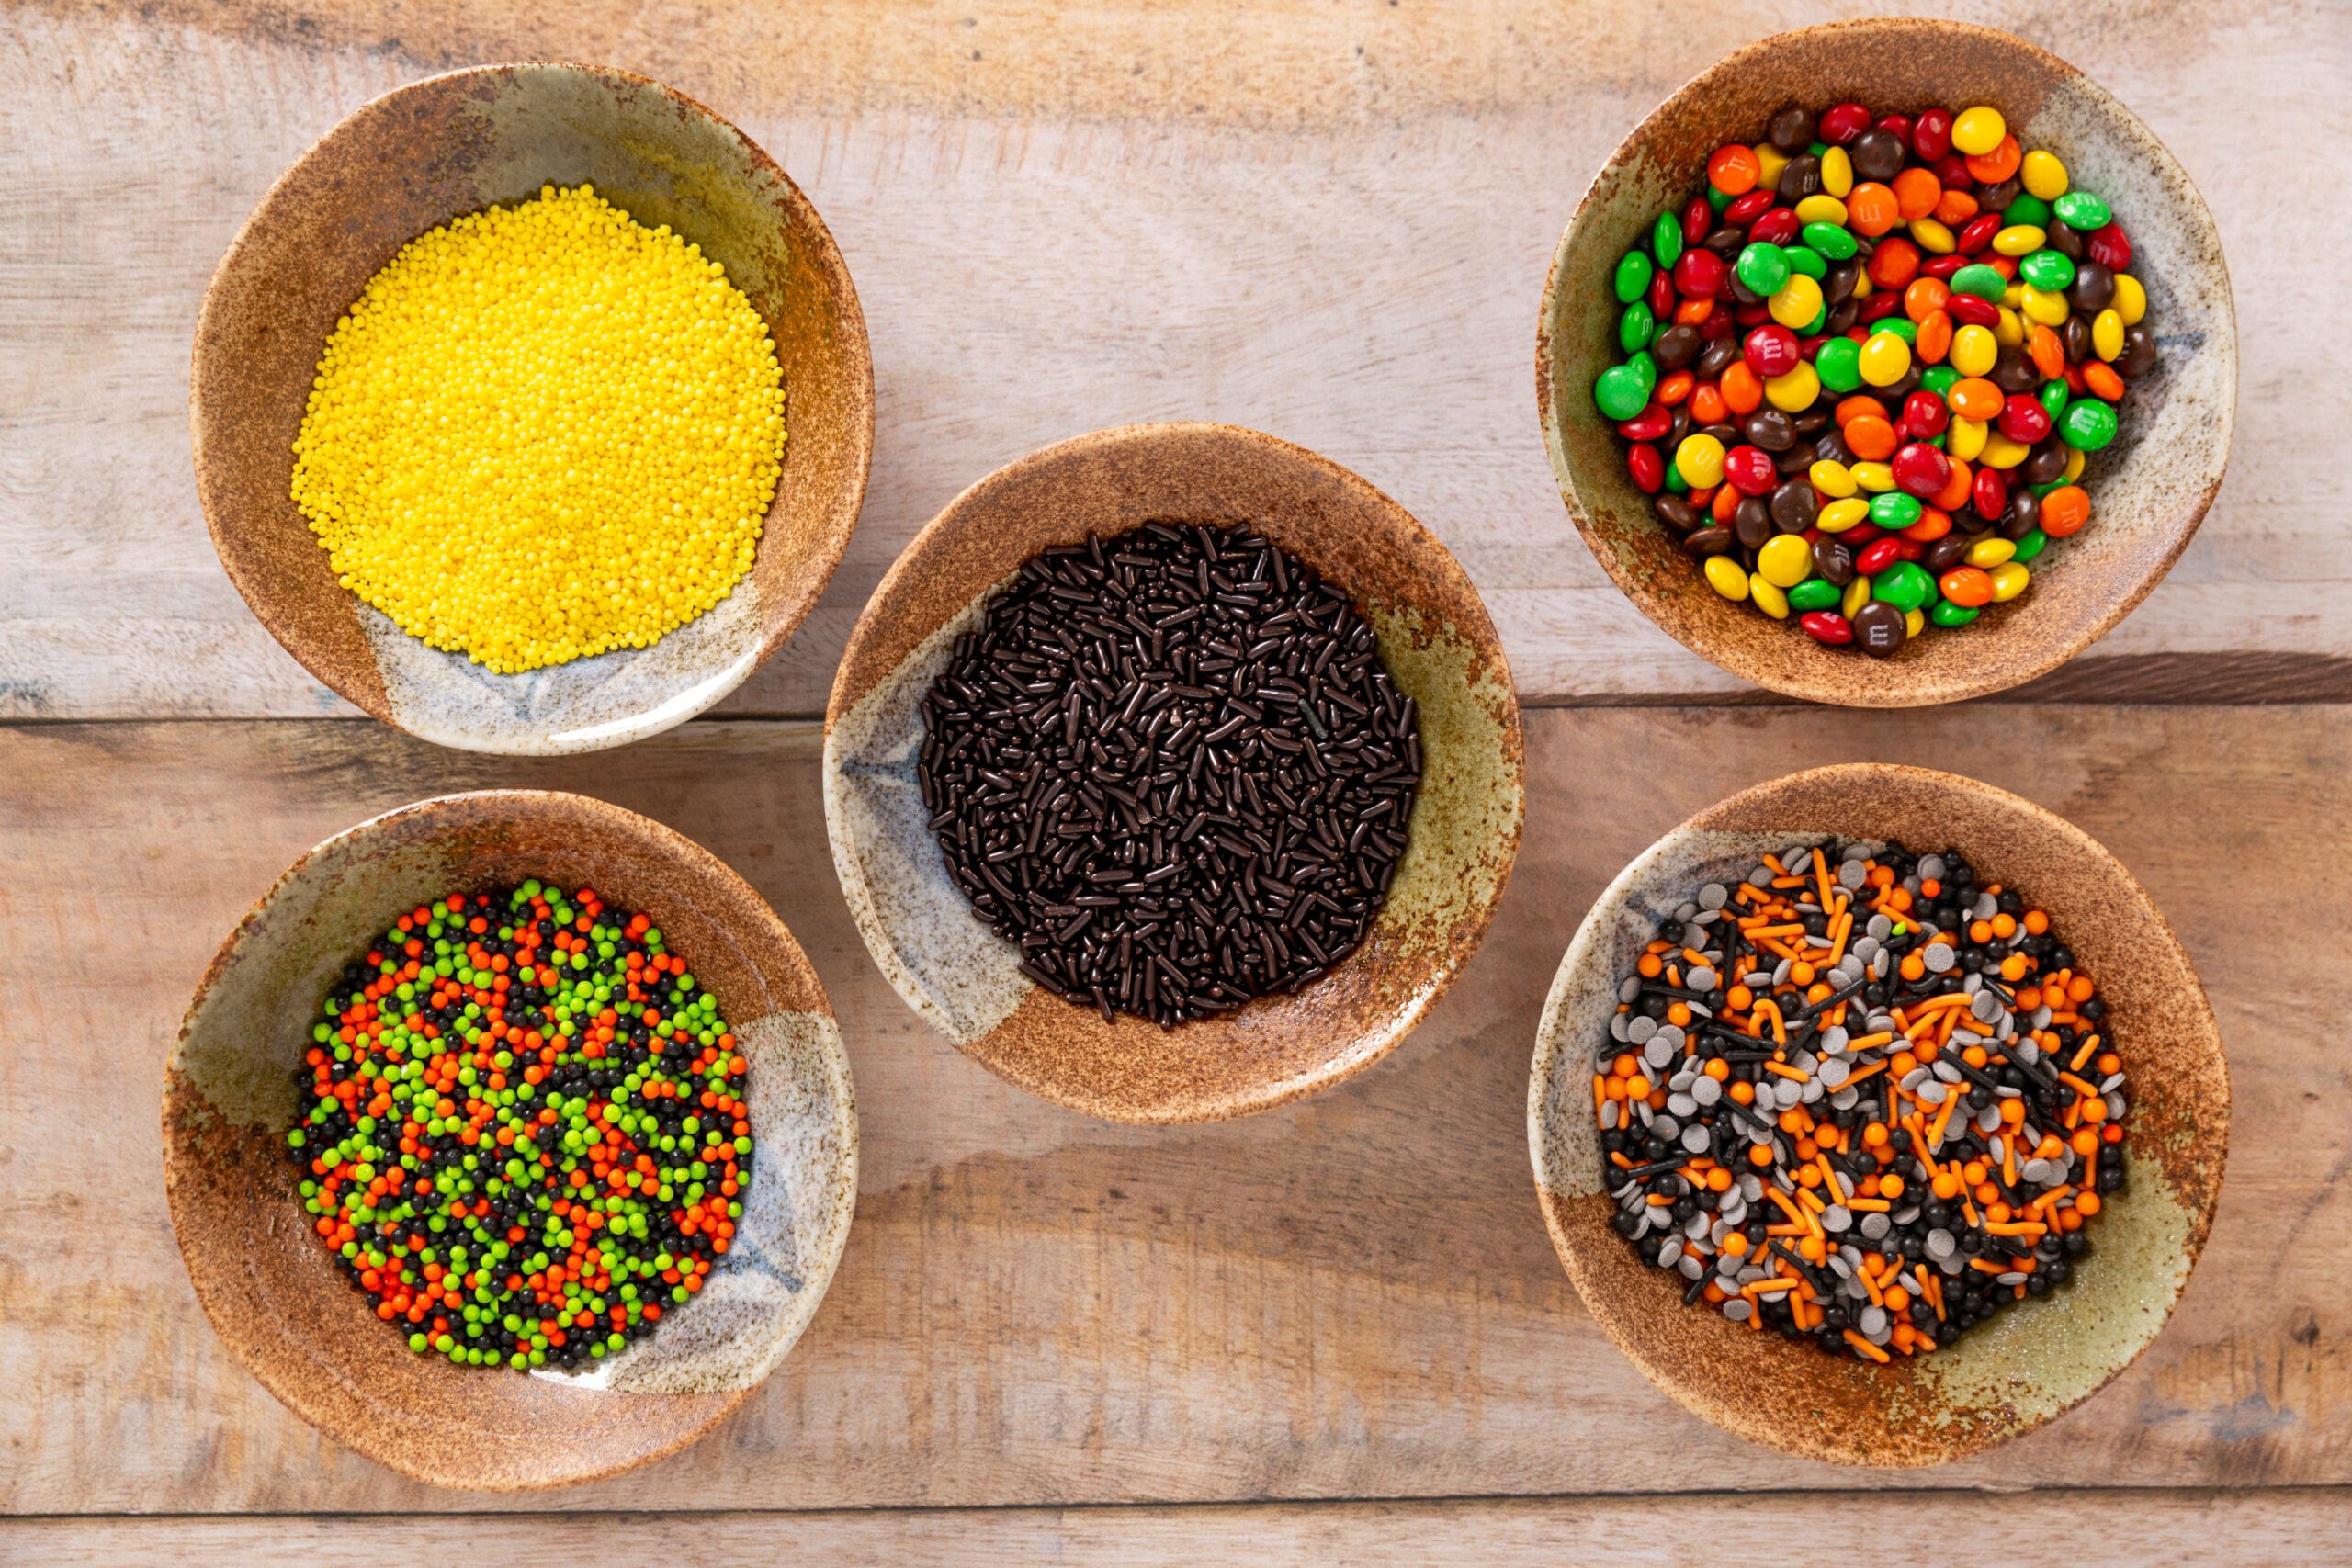
For decorating: Mini M&M's, yellow nonpareils, orange and chocolate sprinkles, and assorted fall-colored sprinkles, as desired.
Use the Chewy Caramels specified here. Substituting Werther's Baking Caramels can produce a softer coating that slides more easily. The generous caramel quantity creates enough depth to dip all 10 mini apples comfortably; some may remain in the bowl.
Equipment You'll Need
- Microwave-safe bowl: Holds the caramels and milk for melting. Choose one deep enough to tilt and create a pool for dipping.
- Silicone spatula or sturdy spoon: Stir the caramel between microwave intervals and scrape down the bowl for a smooth mixture.
- 10 wooden caramel-apple sticks: Provide a secure handle for dipping, decorating, and serving each apple.
- Clean produce brush: Scrubs the apples under running water to help remove surface residue that can interfere with caramel adhesion.
- Clean kitchen towel or paper towels: Dry the apples completely before dipping. A folded kitchen towel also helps steady them when inserting the sticks.
- Butter knife: Scrapes excess caramel from the bottom of each apple to reduce puddling.
- Wax paper: Cut into individual squares to give each dipped apple its own resting spot.
- Nonstick cooking spray: Lightly coats the wax-paper squares so the chilled caramel releases more easily.
- Small bowls or ramekins: Keep sprinkles and mini M&M's separated and within easy reach for decorating.
- Baking sheet or tray: Holds the prepared wax-paper squares and makes transferring the apples to the refrigerator easier.
- Small hammer or mallet, optional: Helps gently tap sticks into firm apples when needed. An adult should handle this step.
How to Make Mini Caramel Apples
1. Clean and dry. Remove the stems. Wash and firmly scrub the apples with a clean produce brush under running water. Dry thoroughly, allowing extra air-drying time if needed. The skins must be completely dry so the caramel can cling.
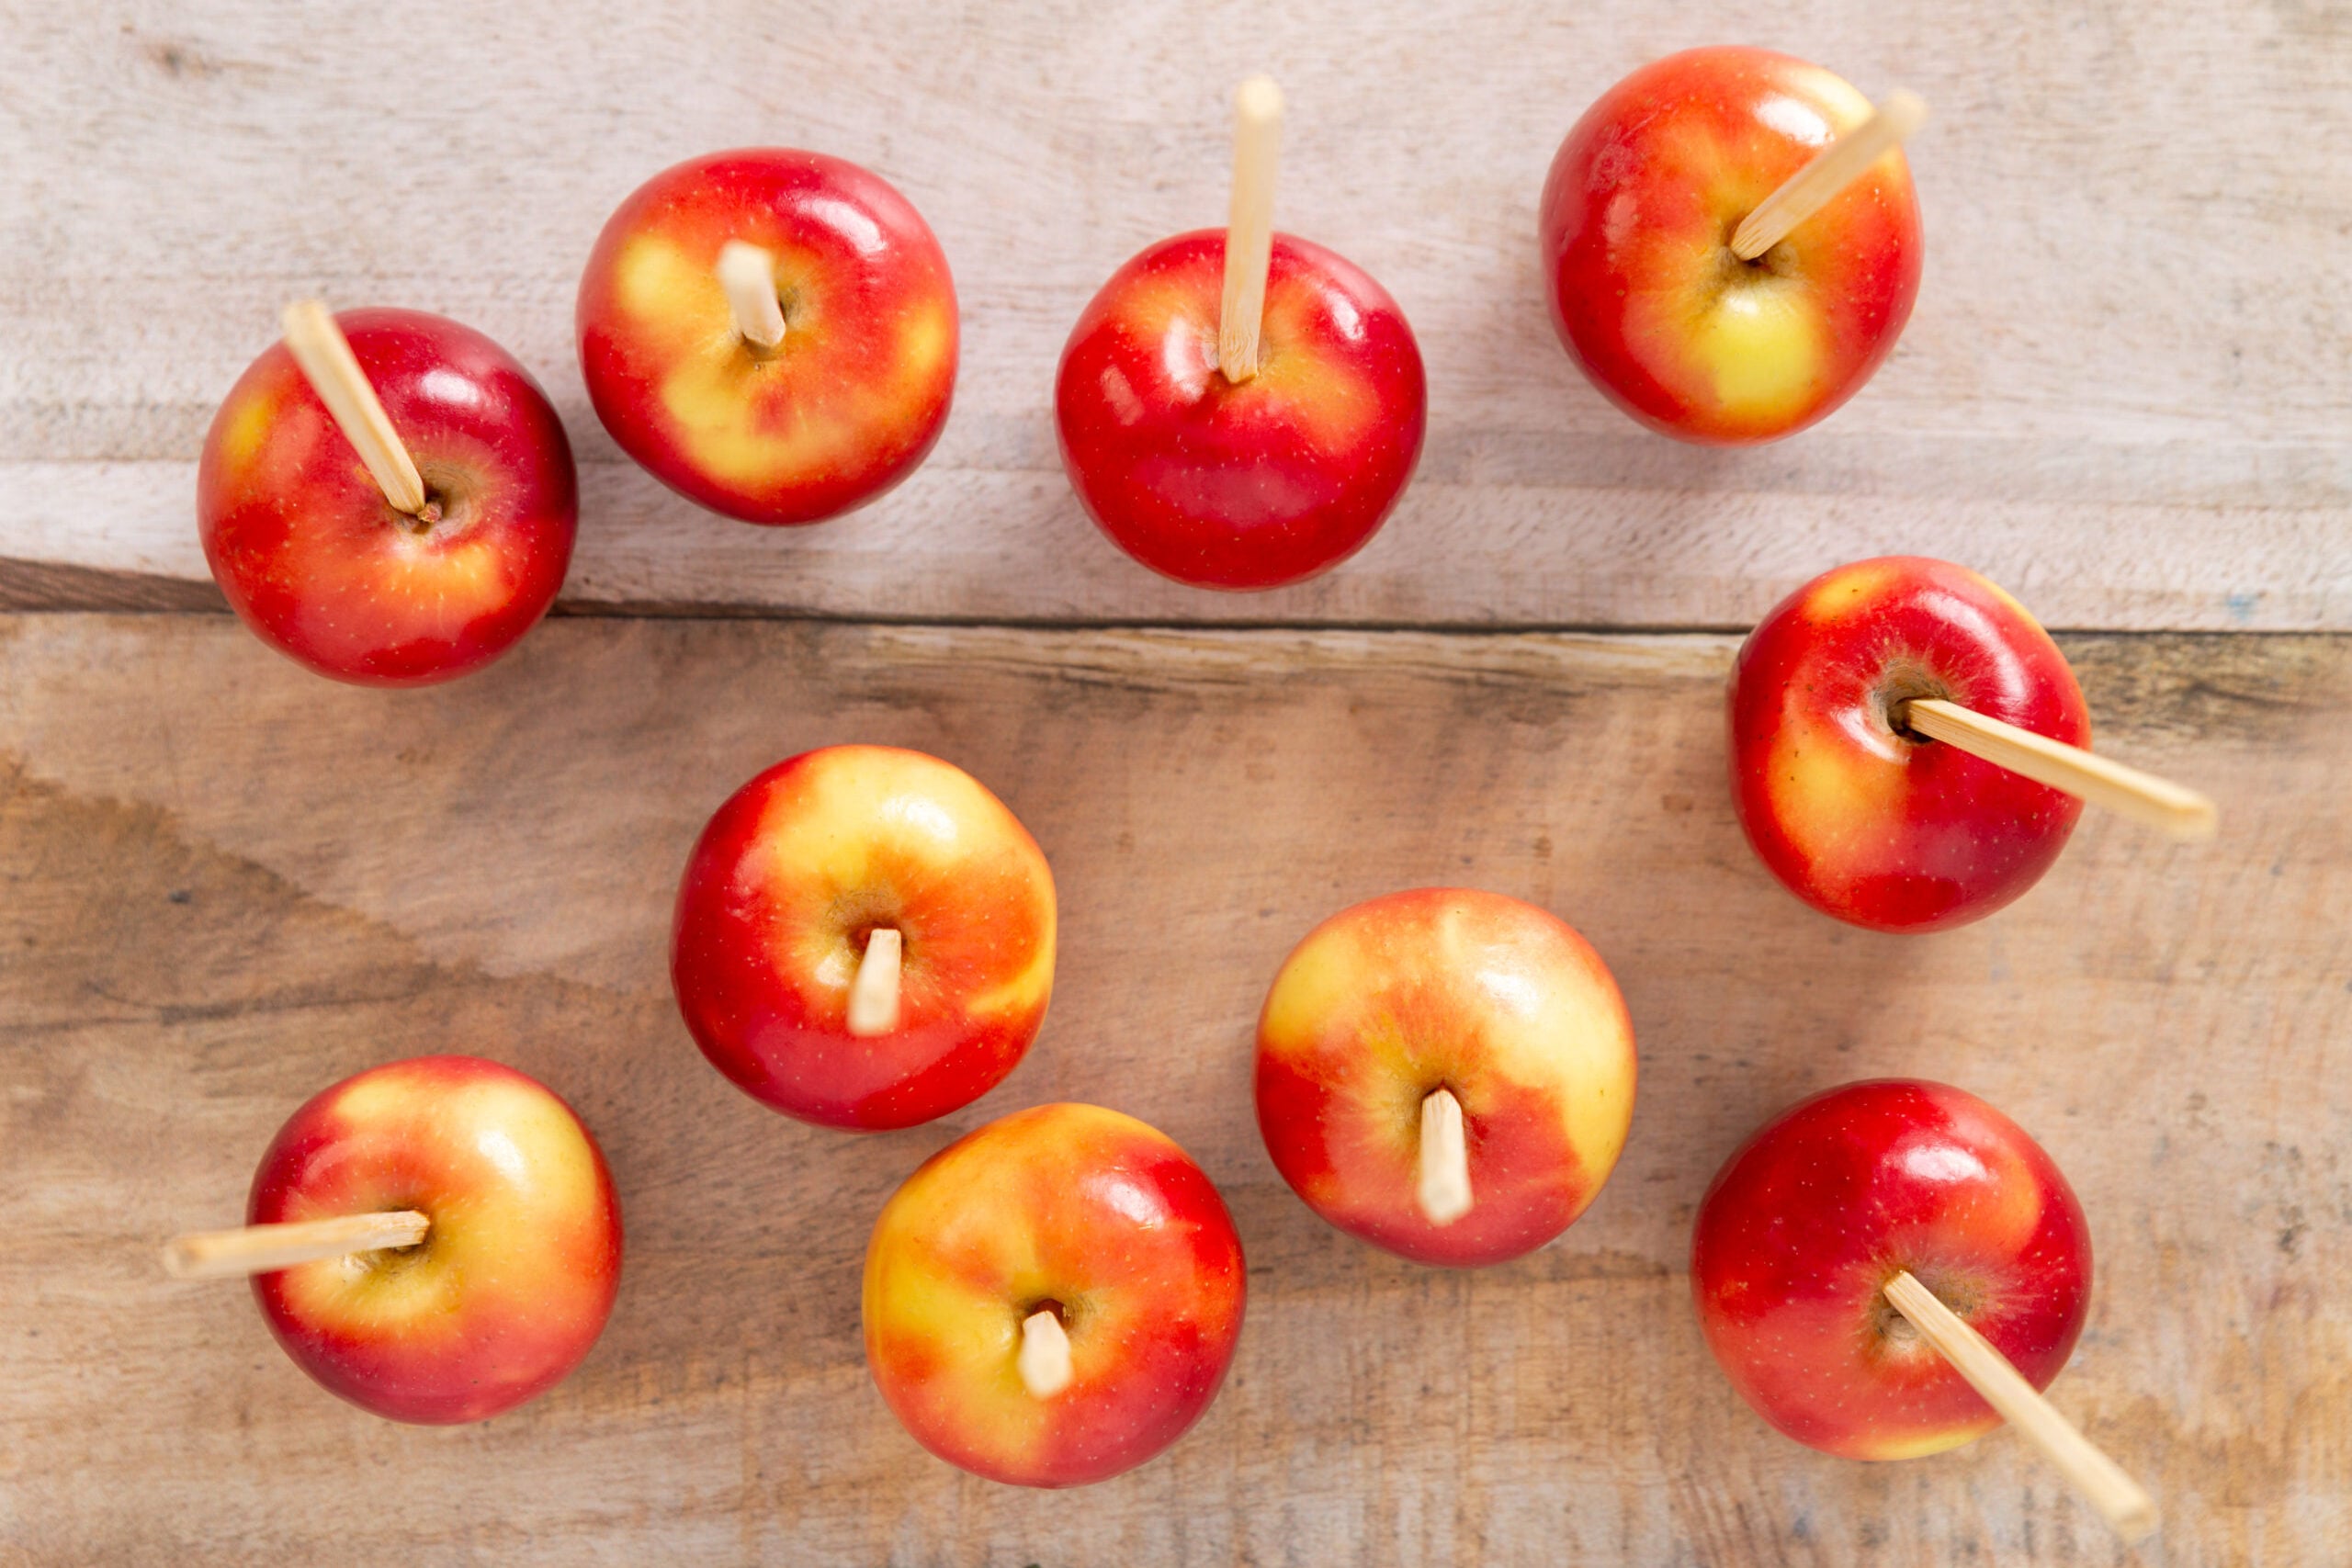
2. Insert the sticks and prepare the paper. An adult should insert a stick into each stem end. If necessary, secure the apple on a folded towel and gently tap the stick with a small mallet. Cut 10 wax-paper squares and lightly spray their centers with nonstick cooking spray. Set out your decorating supplies.
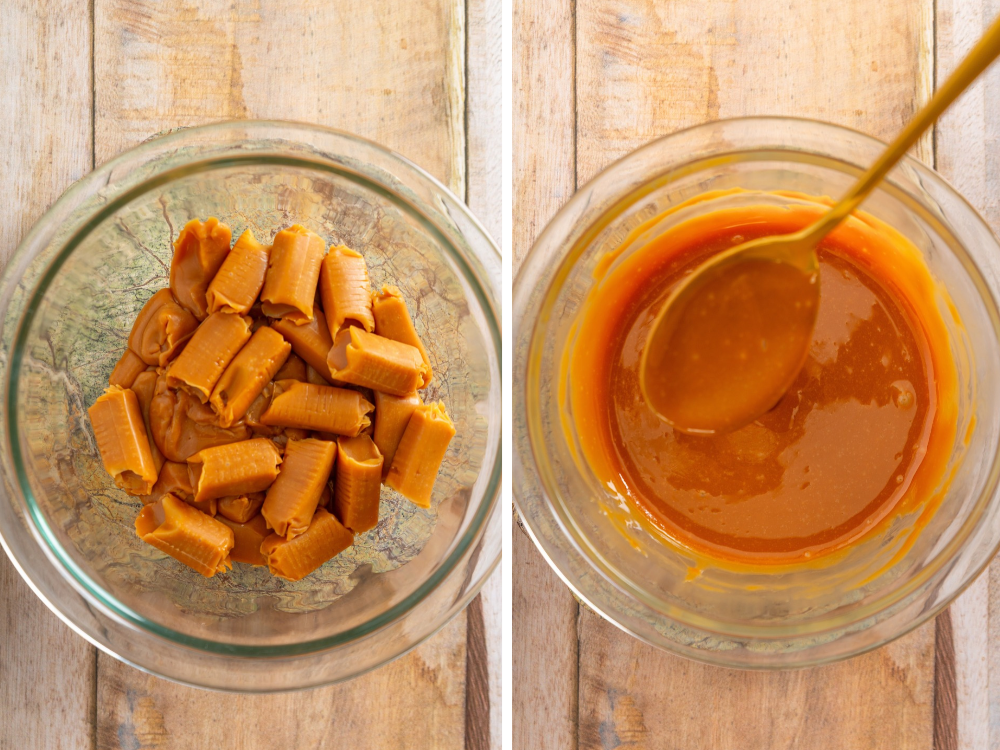
3. Melt the caramel. Combine the unwrapped caramels and milk in the microwave-safe bowl. Microwave on HIGH in 30-second intervals, stirring thoroughly after each, until smooth. Use shorter intervals near the end to avoid overheating. Allow about 1 minute 45 seconds to 2 minutes, depending on your microwave.
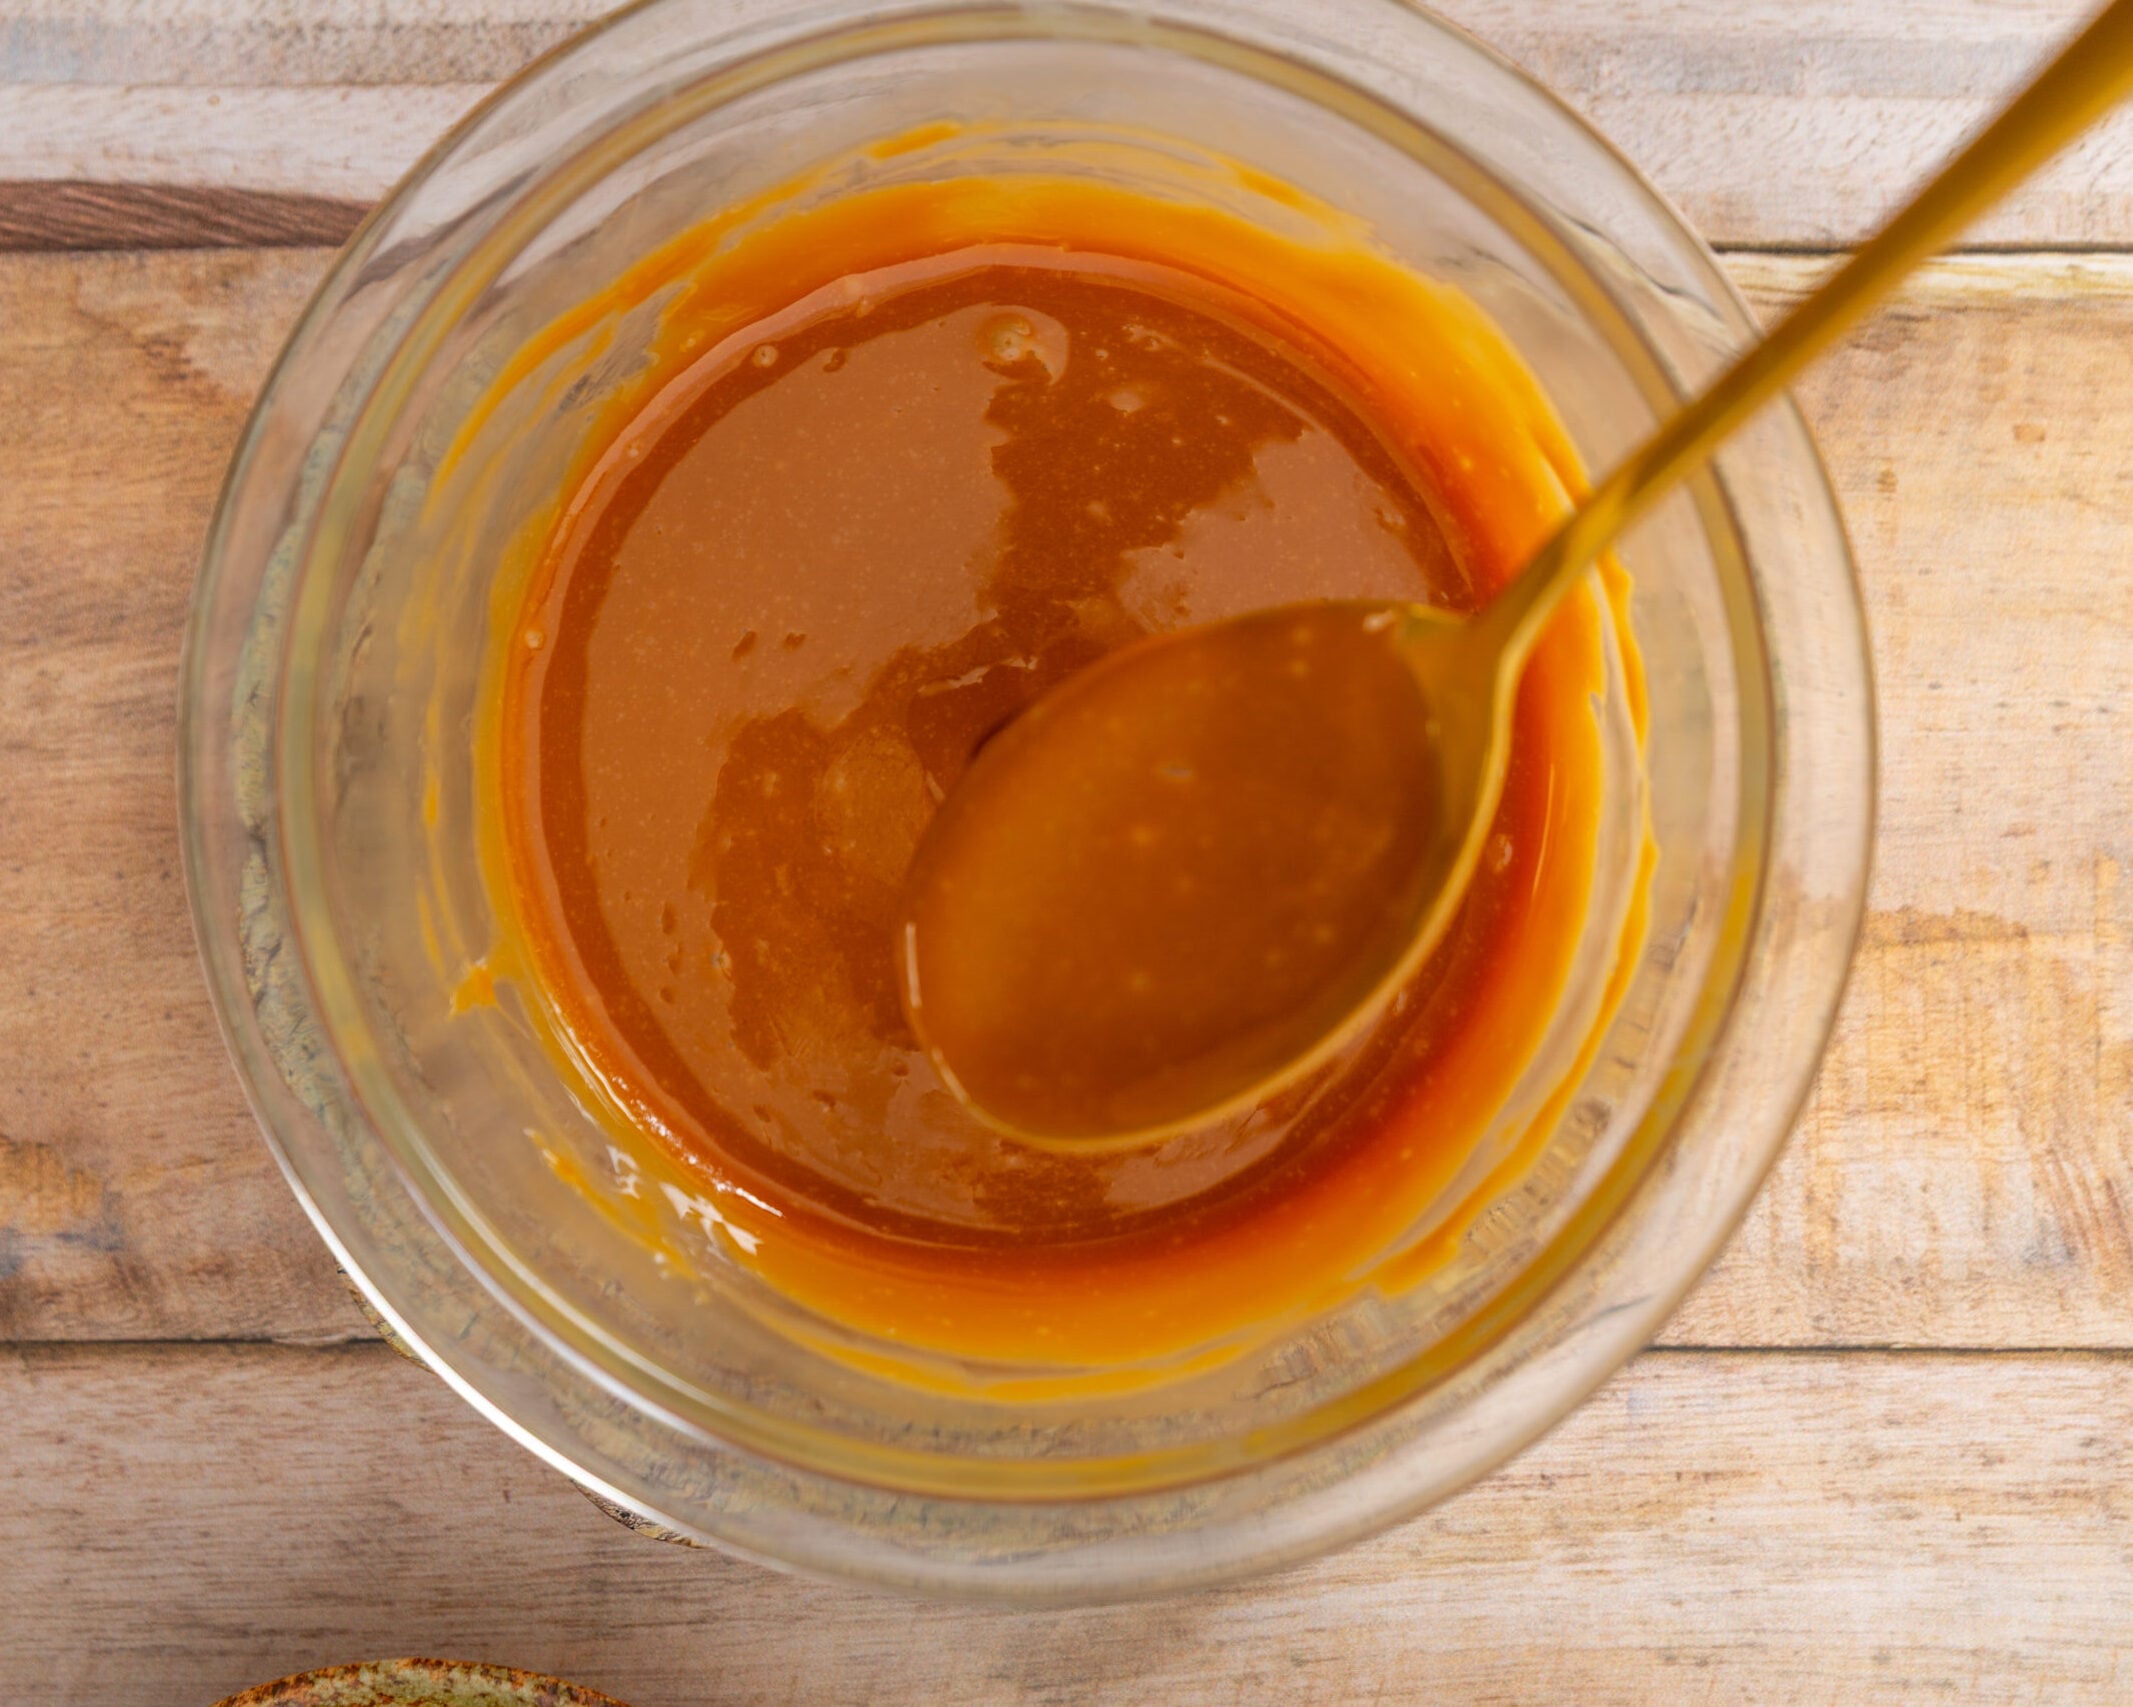
4. Let it thicken. Rest the caramel for 4-5 minutes. It should still flow, but coat an apple rather than immediately running off.
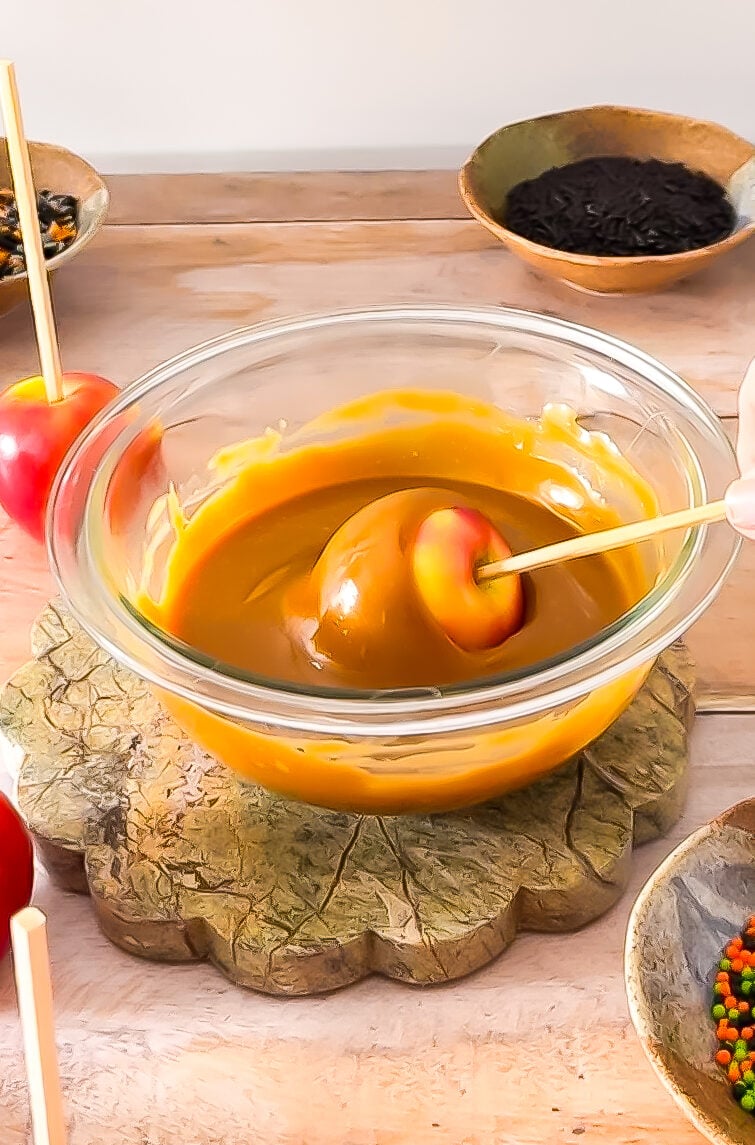
5. Dip and remove excess. Tilt the bowl to create a deeper pool. Holding the stick, dip and rotate an apple to coat it. Twirl over the bowl until heavy dripping stops, then scrape excess caramel from the bottom with a butter knife. Place on a prepared wax-paper square. Repeat, briefly reheating and stirring the caramel if it becomes too thick.
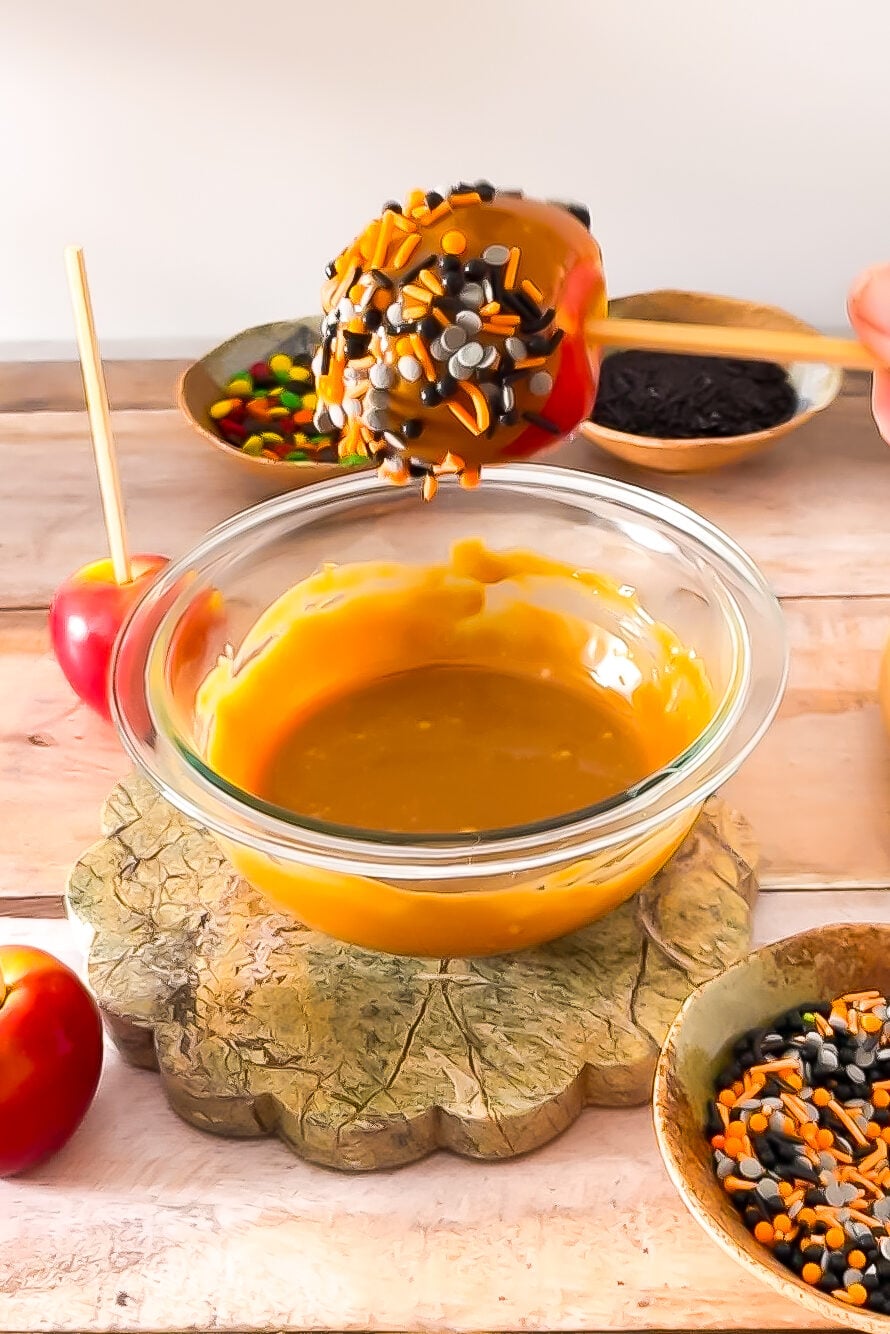
6. Chill briefly before decorating. Refrigerate the dipped apples while you arrange the toppings in bowls. Let the coating begin to firm while remaining tacky enough to hold decorations.
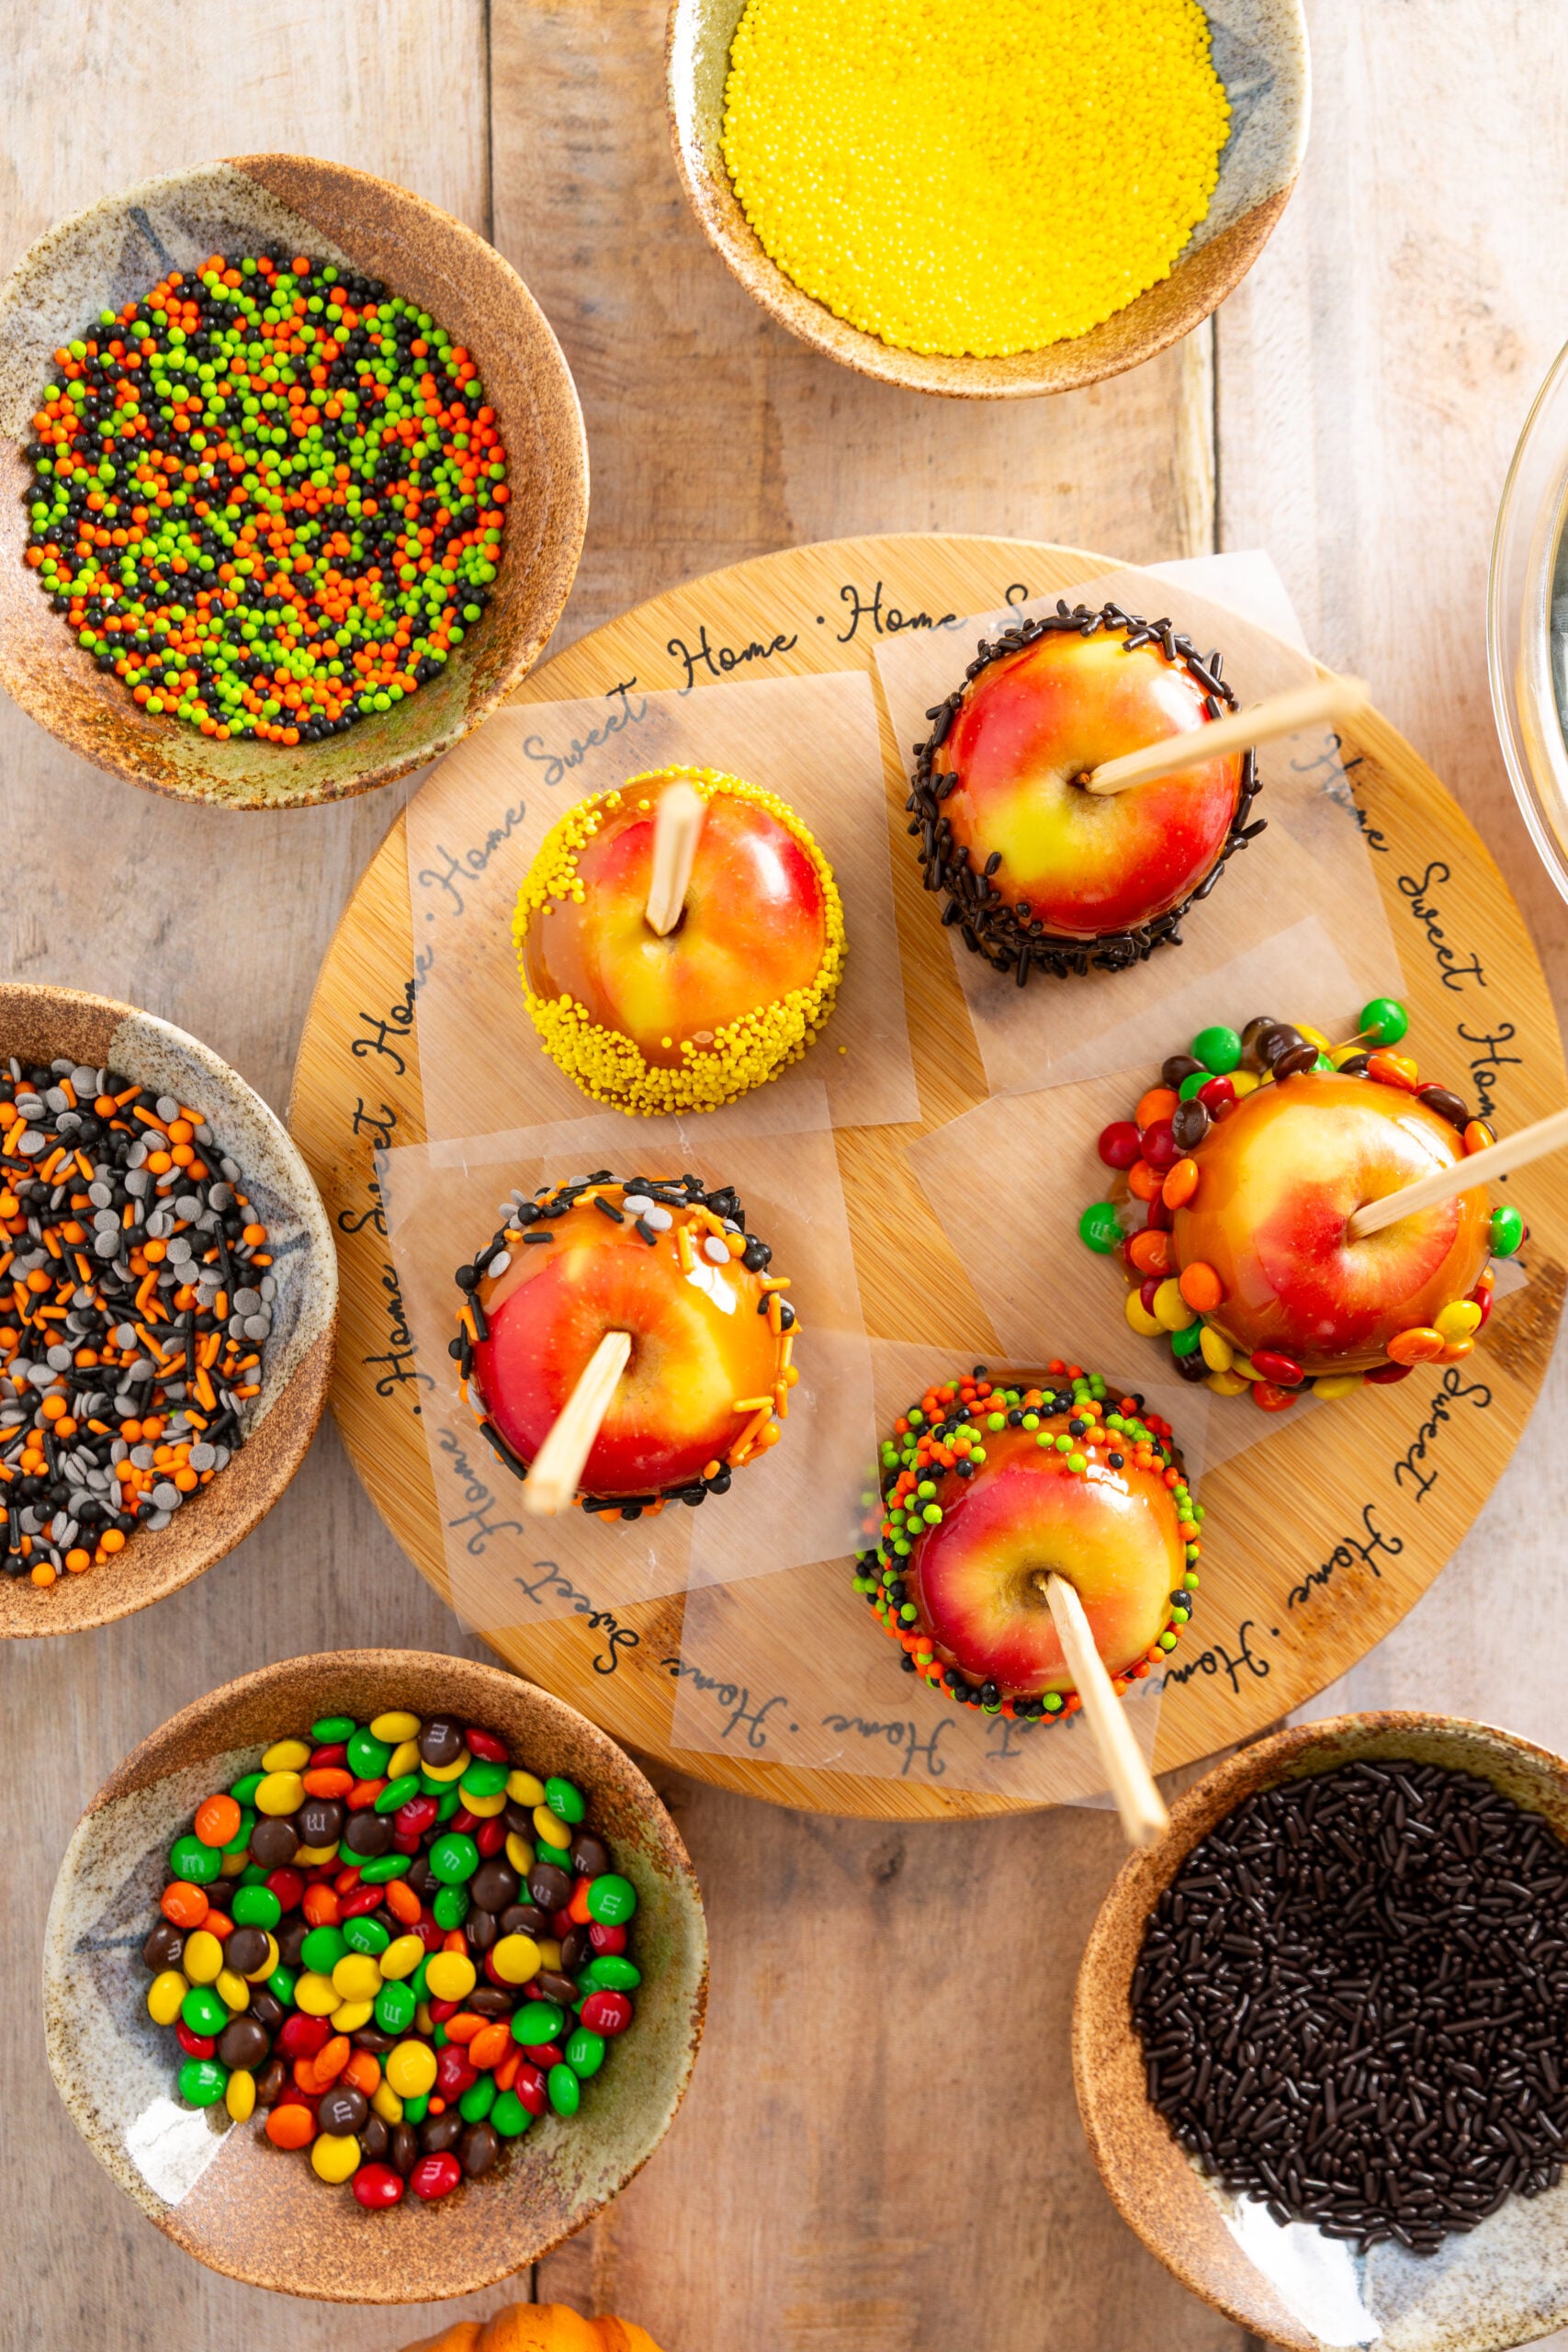
7. Decorate. Gently press or sprinkle decorations onto each apple. Press mini M&M's into the coating rather than piling them on. Dip the bottom into sprinkles to help reduce sticking.
8. Finish chilling. Refrigerate for at least 15 minutes, or until the caramel firms. Keep refrigerated until shortly before serving. Adults should handle the hot bowl, caramel, and dipping.
How to Keep Caramel from Sliding Off Apples

A clean, completely dry surface and slightly cooled caramel make the biggest difference. Stick with 1½ tablespoons milk; extra liquid can thin the coating. Twirl off excess caramel and scrape the bottoms before setting the apples down. A little settling around the base is normal, but large puddles suggest the caramel is too warm, too thin, or not adhering well.
Fall Decorating and Serving Ideas
Use orange and chocolate sprinkles with yellow nonpareils for a warm autumn color palette. Pumpkin-shaped sprinkles add a playful harvest touch, while mini M&M's bring a little chocolate to each bite. Removing the blue candies is optional; it simply keeps the colors closer to the season.
Arrange several designs on a platter just before serving, whether you are hosting a fall gathering or adding something fun to the Thanksgiving dessert table. Pair them with mugs of my homemade apple cider. Add ribbon to the sticks only after the apples are fully decorated and chilled.
Storage and Make Ahead Tips

Store the finished apples covered in the refrigerator and make them close to serving time for the best appearance. Caramel apples with inserted sticks need refrigeration for food safety, too. Serve chilled or let them stand briefly to soften the caramel. Avoid extended room-temperature display; condensation can make the coating wet and sticky.
Frequently Asked Questions

Can I use regular size apples?
Mini apples are best for the stated yield. Larger apples need more caramel per apple, so this batch may coat fewer than 10. Keep the milk quantity unchanged.
Why did my caramel apples stick to the wax paper?
Plain wax paper can stick firmly to caramel. Lightly spray each square with nonstick cooking spray before dipping, and let the apples chill until firm before lifting them.
Can kids help make these?

Yes, with decorating the cooled apples! Adults should insert the sticks, melt the caramel, and dip the apples. Keep the hot bowl away from the decorating area.
More Fall Treats to Try
- Baked Apple Cider Donuts: Soft baked donuts with a cinnamon-sugar finish.
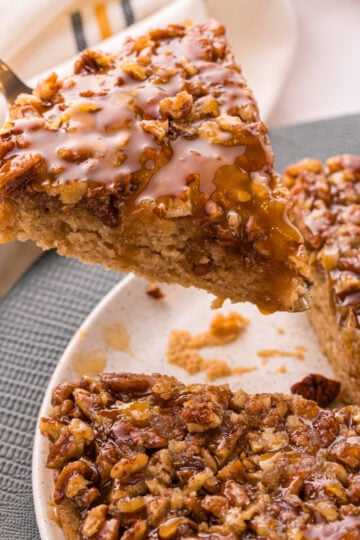
- Pecan Upside Down Cake: Tender spiced cake with a buttery brown sugar pecan topping.
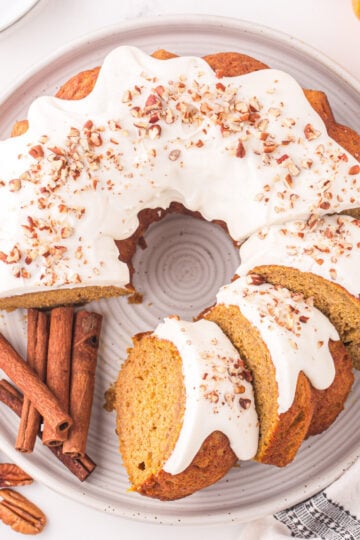
- Pumpkin Bundt Cake with Cream Cheese Frosting: A pumpkin spice cake with a creamy finishing touch.
Save this mini caramel apples recipe for your fall baking plans, and tag @hipmamasplace on Instagram so I can see your sprinkle creations!
This post may contain affiliate links. As an Amazon Associate, I earn from qualifying purchases.
Print
Easy Mini Caramel Apples for Fall
- Total Time: 45-50 minutes
- Yield: 10 mini caramel apples ( mini apple per serving) 1x
Description
Crisp mini apples coated in chewy caramel and decorated with colorful fall sprinkles and mini M&M’s. This microwave recipe includes tips for reducing caramel sliding and sticking.
Ingredients
10 mini apples, such as Rockit apples
56 Werther’s Original Chewy Caramels, unwrapped
1½ tablespoons whole milk
Nonstick cooking spray, for the wax paper
Decorations
Mini M&M’s, with blue candies removed if desired
Yellow nonpareils
Orange and chocolate sprinkles
Assorted Halloween sprinkles, such as orange pumpkins and green confetti dots
Instructions
Prepare the Apples
- Remove the stems from the apples. Wash each apple thoroughly under running water, rubbing the surface firmly with your hands. Because apples may have a waxy surface that can interfere with caramel adhesion, scrub each apple thoroughly with a clean produce brush while holding it under running water.
- Dry the apples extremely well with a clean kitchen towel or paper towels. Allow them to finish air-drying if necessary. The apple skins should be completely dry before dipping; residual water can prevent the caramel from adhering properly.
- Insert a wooden caramel-apple stick firmly into the stem end of each apple. If the sticks are difficult to insert by hand, place the apple securely on a folded kitchen towel and gently tap the end of the stick with a small hammer or mallet until it is firmly seated. Adults should handle this step.
- Cut 10 small squares of wax paper, making each one large enough to hold an apple. Lightly spray the center of each square with nonstick cooking spray. Do not skip the cooking spray; the finished caramel can stick firmly to plain wax paper.
Melt the Caramel
- Place the 56 unwrapped chewy caramels and 1½ tablespoons milk in a microwave-safe bowl.
- Microwave on HIGH for 30 seconds. Stir thoroughly.
- Continue microwaving in 30-second increments, stirring thoroughly after each interval, until the caramel is melted and smooth. If necessary, finish with shorter intervals to avoid overheating. In testing, the caramel required a total of 1 minute 45 seconds.
- Let the melted caramel stand at room temperature for 4–5 minutes before dipping the apples. This brief cooling period is important. The caramel should remain fluid enough for dipping but thicken slightly so it clings to the apples instead of immediately sliding downward.
Dip the Apples
- Hold an apple by the stick and tilt the bowl of caramel to create a deeper pool. Dip and rotate the apple until the desired amount of the surface is coated.
- Lift the apple over the bowl and twirl it vigorously to remove excess caramel. Continue rotating until the heavy dripping has stopped.
- Use a butter knife to scrape excess caramel from the bottom of the apple. This helps prevent an oversized puddle from forming around the base.
- Place the apple on one of the lightly greased wax-paper squares.
- Repeat with the remaining apples. If the caramel becomes too thick for easy dipping, microwave it briefly and stir until it returns to dipping consistency.
- Immediately place the dipped apples in the refrigerator while you arrange the decorations. This short chilling period helps the caramel begin to set and reduces slipping when the decorations are added.
Decorate
- Pour the different sprinkles and candies into separate small, shallow bowls.
- Remove the apples from the refrigerator. Working with one at a time, gently press, roll, or sprinkle the desired decorations onto the caramel. Make sure to press the bottom of the apple into the sprinkles to help prevent sticking. For heavier decorations such as mini M&M’s, gently press them into the caramel so they are securely attached.
- Return the decorated apples to the refrigerator for at least 15 minutes, or until the caramel has firmed.
- Keep refrigerated until shortly before serving.
Notes
Use chewy caramels. This recipe was tested successfully with Werther’s Original Chewy Caramels. Werther’s Baking Caramels produced a much softer coating during testing that slid down the apples after decorating.
Use plenty of caramel. Although some caramel-apple recipes use considerably less caramel, 56 chewy caramels provided enough depth for comfortably dipping 10 mini apples. Having a generous amount in the bowl makes coating the apples much easier.
Do not add extra milk unless necessary. This recipe uses only 1½ tablespoons. Too much liquid can produce a thinner caramel that is more likely to slide down the apples.
Cooling the caramel matters. Allowing the melted caramel to stand for 4–5 minutes before dipping gives it time to thicken slightly. Dipping immediately while the caramel is extremely hot and fluid can encourage slumping.
A little slump is normal. Homemade caramel apples do not need to have perfectly rigid coatings. A small amount of caramel settling around the bottom looks natural. Excessive puddling or decorations sliding significantly down the apple indicates that the caramel is too thin, too warm, or has not adhered well to the apple.
- Prep Time: 25 minutes
- Cook Time: 2 minutes + 15 minutes, cooling time
- Category: Desserts
- Method: Microwave
- Cuisine: American