
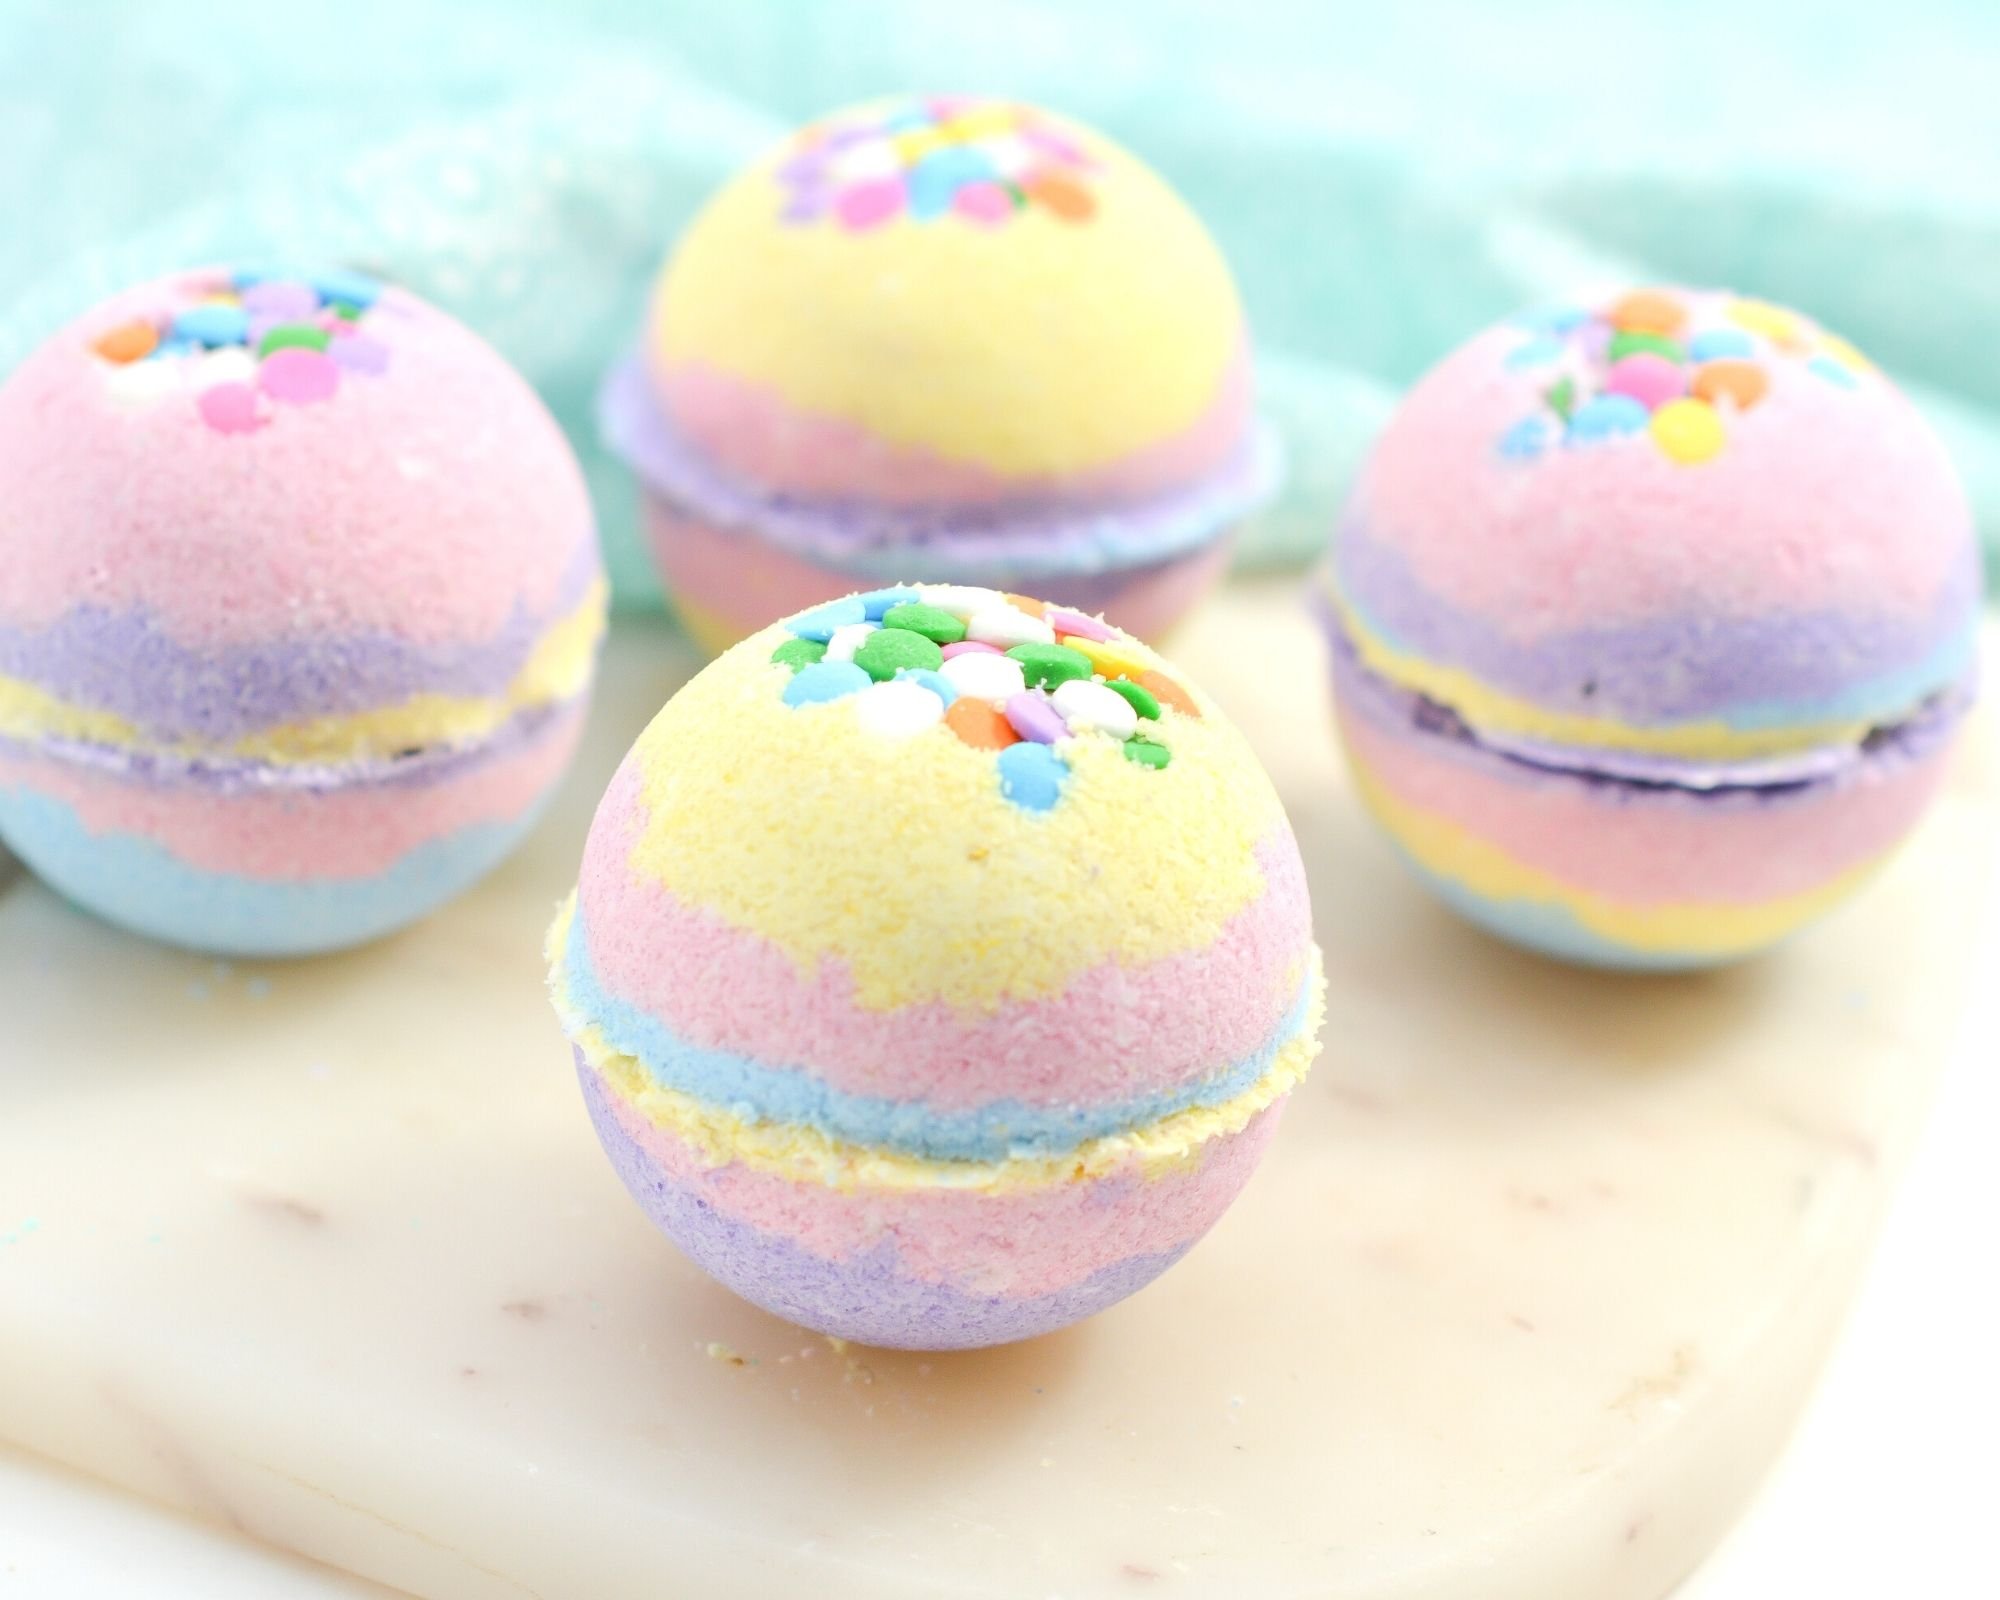
You'll love these pretty, yummy-smelling bath bombs. Follow the tutorial below to make your own homemade bath bombs and then make it a "spa day at home" for yourself!
Spring is a time to restart and refresh. Everything outside is waking up after a long winter and I feel like I am too!
In addition to the classic "spring cleaning" of my house, I also use spring as the perfect time to freshen up my personal skin care and beauty routine. I go through all my makeup and bath products and get rid of what doesn't work for me. Then, I assess what products I truly love and which ones really work for me. Spring is the perfect time for self-rejuvenation and to press the reset button on your personal life as well. Nature gets a spring refresh and you should too!
This year, I was really focusing on what self care routines make me the happiest. A relaxing bath is definitely something I love and consider to be a true treat. I am obsessed with unwinding in a warm bath with a fizzy bath bomb and candles all around… sounds pretty great, right? I strongly recommend giving it a try and fitting it into your personal routine.
Making some spring bath bombs is the perfect first step toward that luxurious bath and my homemade spring bath bombs are easy and fun to make. Make a batch of these wonderful bath bombs and you will be ready to relax and recharge all spring long!
Ingredients and Tools to Make Homemade Spring Bath Bombs
There are a few key ingredients that you need to make perfect bath bombs. You can find most of these ingredients in any craft store. I often grab things at Michaels, AC Moore and Hobby Lobby. You can also order everything online to be delivered straight to you! It doesn't get easier than that!

Let's talk a little bit about the tools you will need first:
- bath bomb mold- There are a million different shape bath bomb molds you can grab. I like the classic round mold because it is easy to use and will never go out of style!
- a large mixing bowl- a big bowl makes it easy to evenly mix all of the ingredients together without making a mess.
- 4 small mixing bowls- These will be used to divide and dye the bath bomb mix.
- spoons- You need several spoons to mix everything together!
Once you have the tools you need, start working on the ingredient list. Here is what I use to make this spring-themed homemade bath bombs recipe.
- baking soda- Baking soda is what will make the bath bombs fizz. It is also very soothing for skin and completely dissolves in water.
- Citric acid- Citric acid mixed with baking soda is what will make your bath bombs fizz. Citric acid comes from citrus fruits, corn or even sugar beets. It also dissolves in water and will help cleanse your skin along with making your bath fizzy and fun.
- cornstarch- Cornstarch helps bind the ingredients together. It also acts as a barrier between the citric acid and baking soda, making sure nothing starts to fizz before entering the bath!
- Epsom salt- Epsom salts have been shown to reduce stress, promote sleep and detoxify your body. I love adding this to bath bombs because of all the fantastic benefits.
- coconut oil- Using coconut oil not only binds the bath bomb but also makes your skin feel silky smooth. It is a fantastic moisturizer to add to your tub.
- essentail oils- Essential oils will make your bath bombs smell delicious and also promote wellness. Lavender oil will help calm anxiety while peppermint oil can help clear congestion. Choose your favorite essential oil based on smell and what it can do for you. I use ylang-ylang because it promotes healthy skin.
- Witch Hazel- Witch hazel helps the bath bomb stick together and turn into a solid ball. It also helps activate the fizziness. Witch hazel is great for soothing inflammation and making your skin more elastic and youthful.
- Mica mineral powders- Adding too much liquid to bath bombs will cause them to fizz before they are even tossed into the bath! Use mica mineral powders to color the bath bombs instead. They are powerful, brightly colored powders that are completely natural.
Do you have everything you need? Then you are ready to start making bath bombs! Let me tell you exactly how easy they are to make.
How to Make Homemade Bath Bombs
Looking at this homemade bath bombs recipe, it may seem like there are a lot of steps. I assure you that it is actually very easy. Here is a quick look at exactly what to do.
1. Mix the baking soda, citric acid, cornstarch and epsom salts.
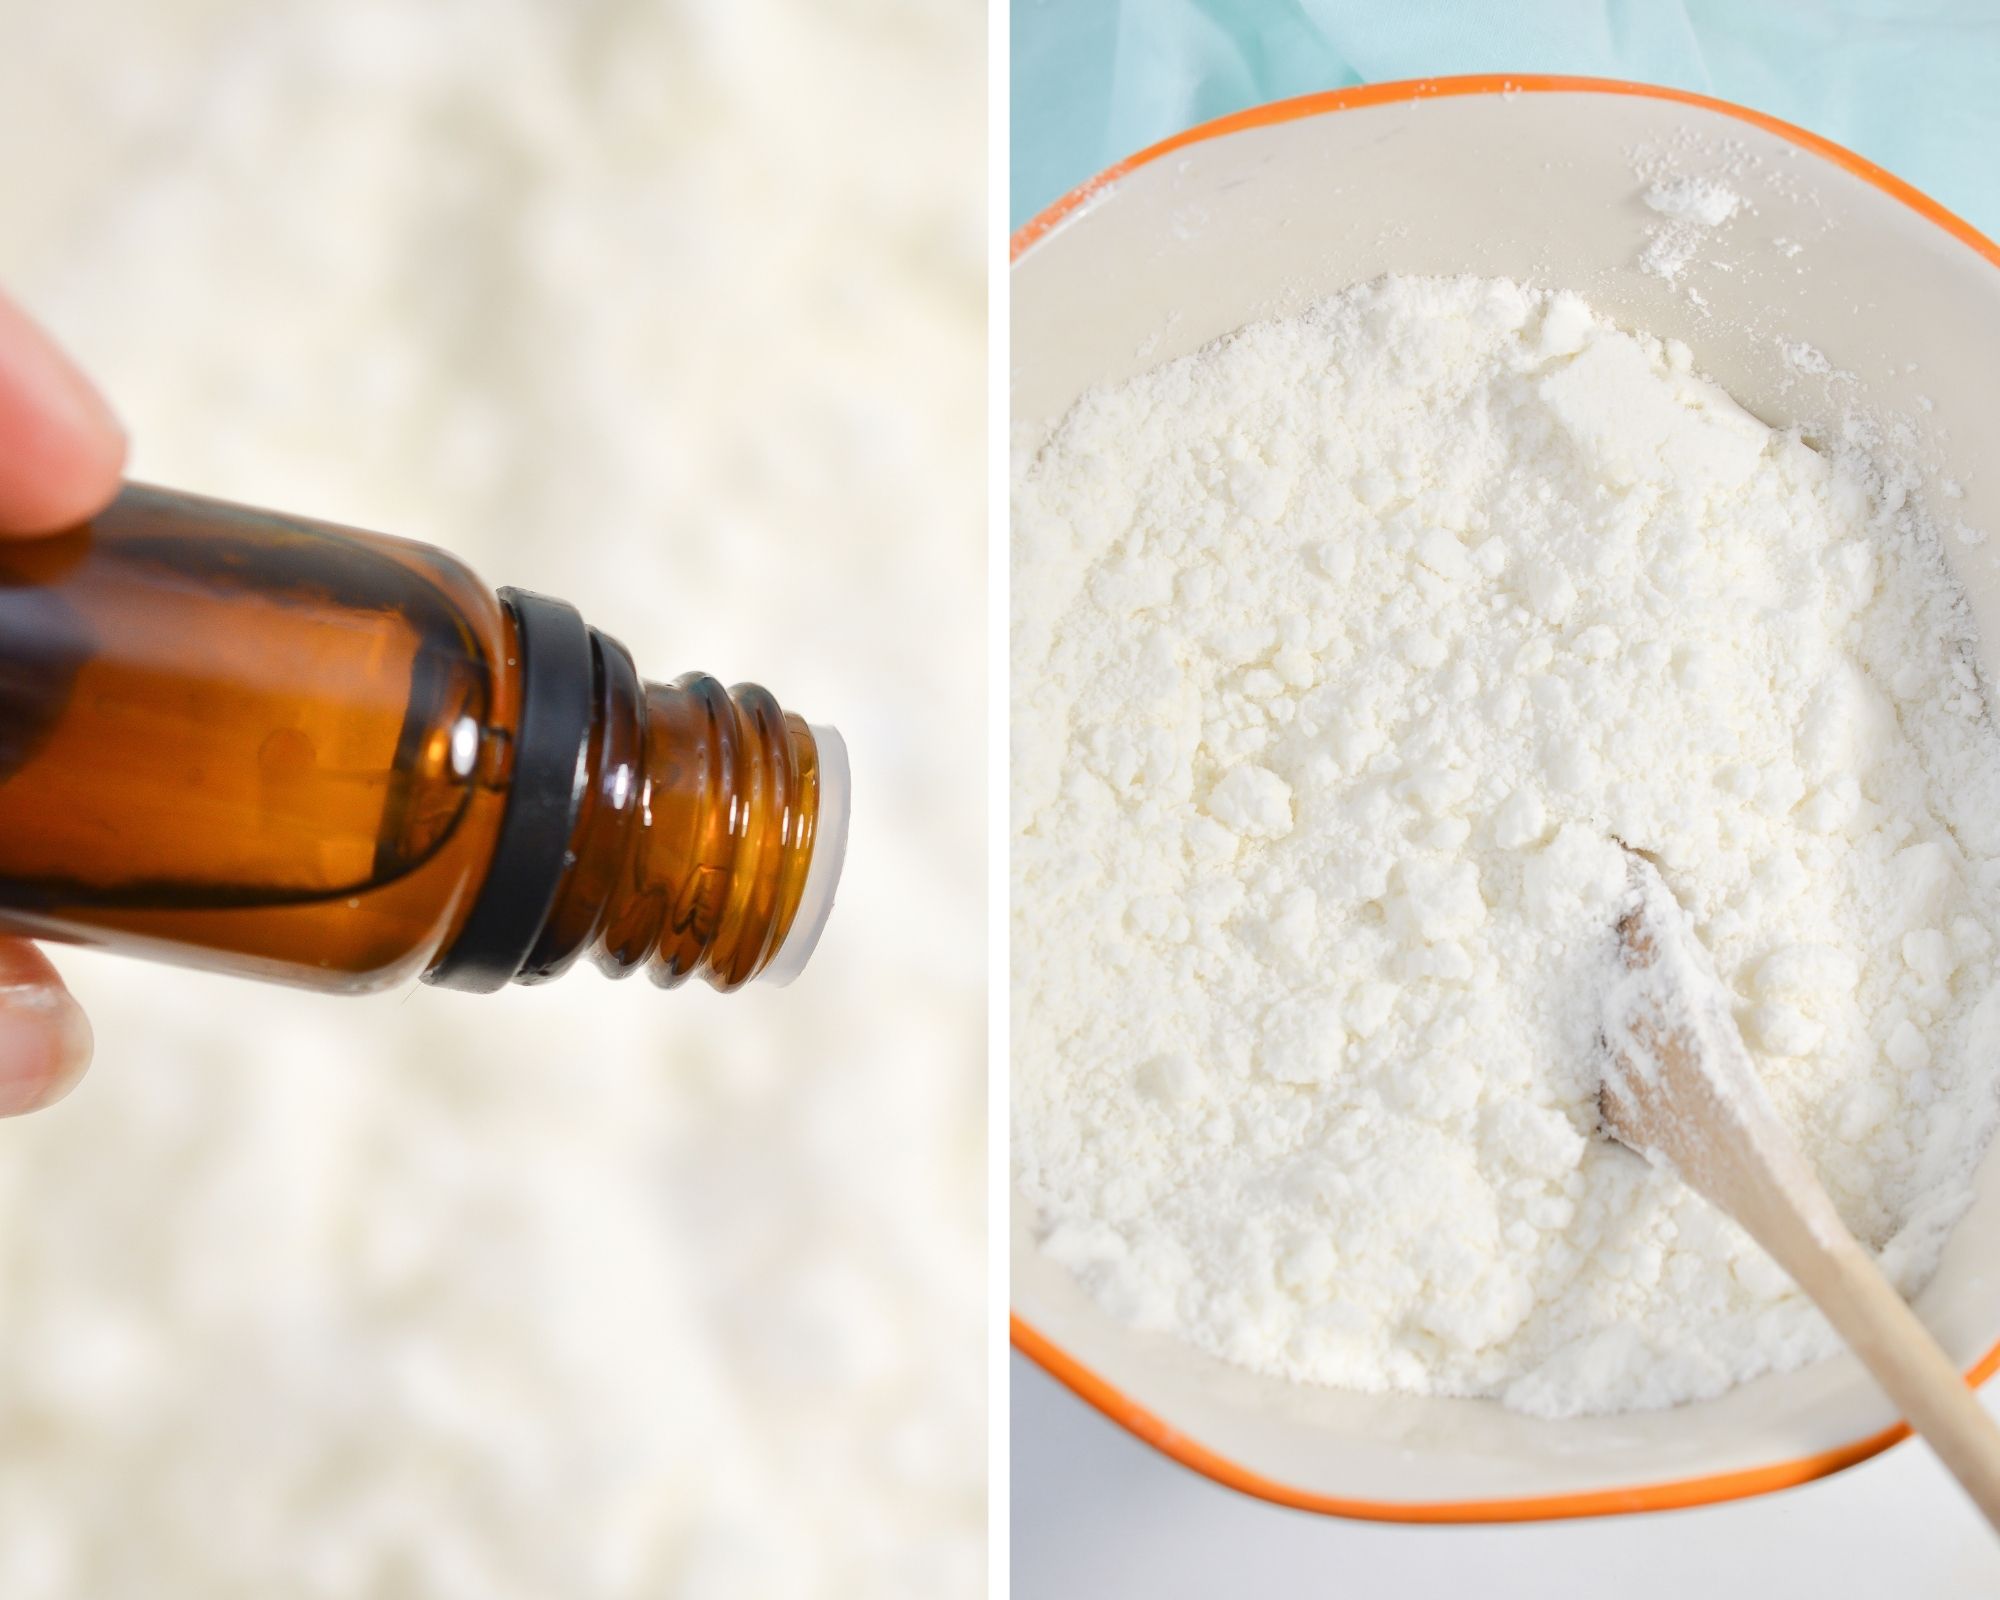
2. Mix in the coconut oil and essential oils and stir until well blended.
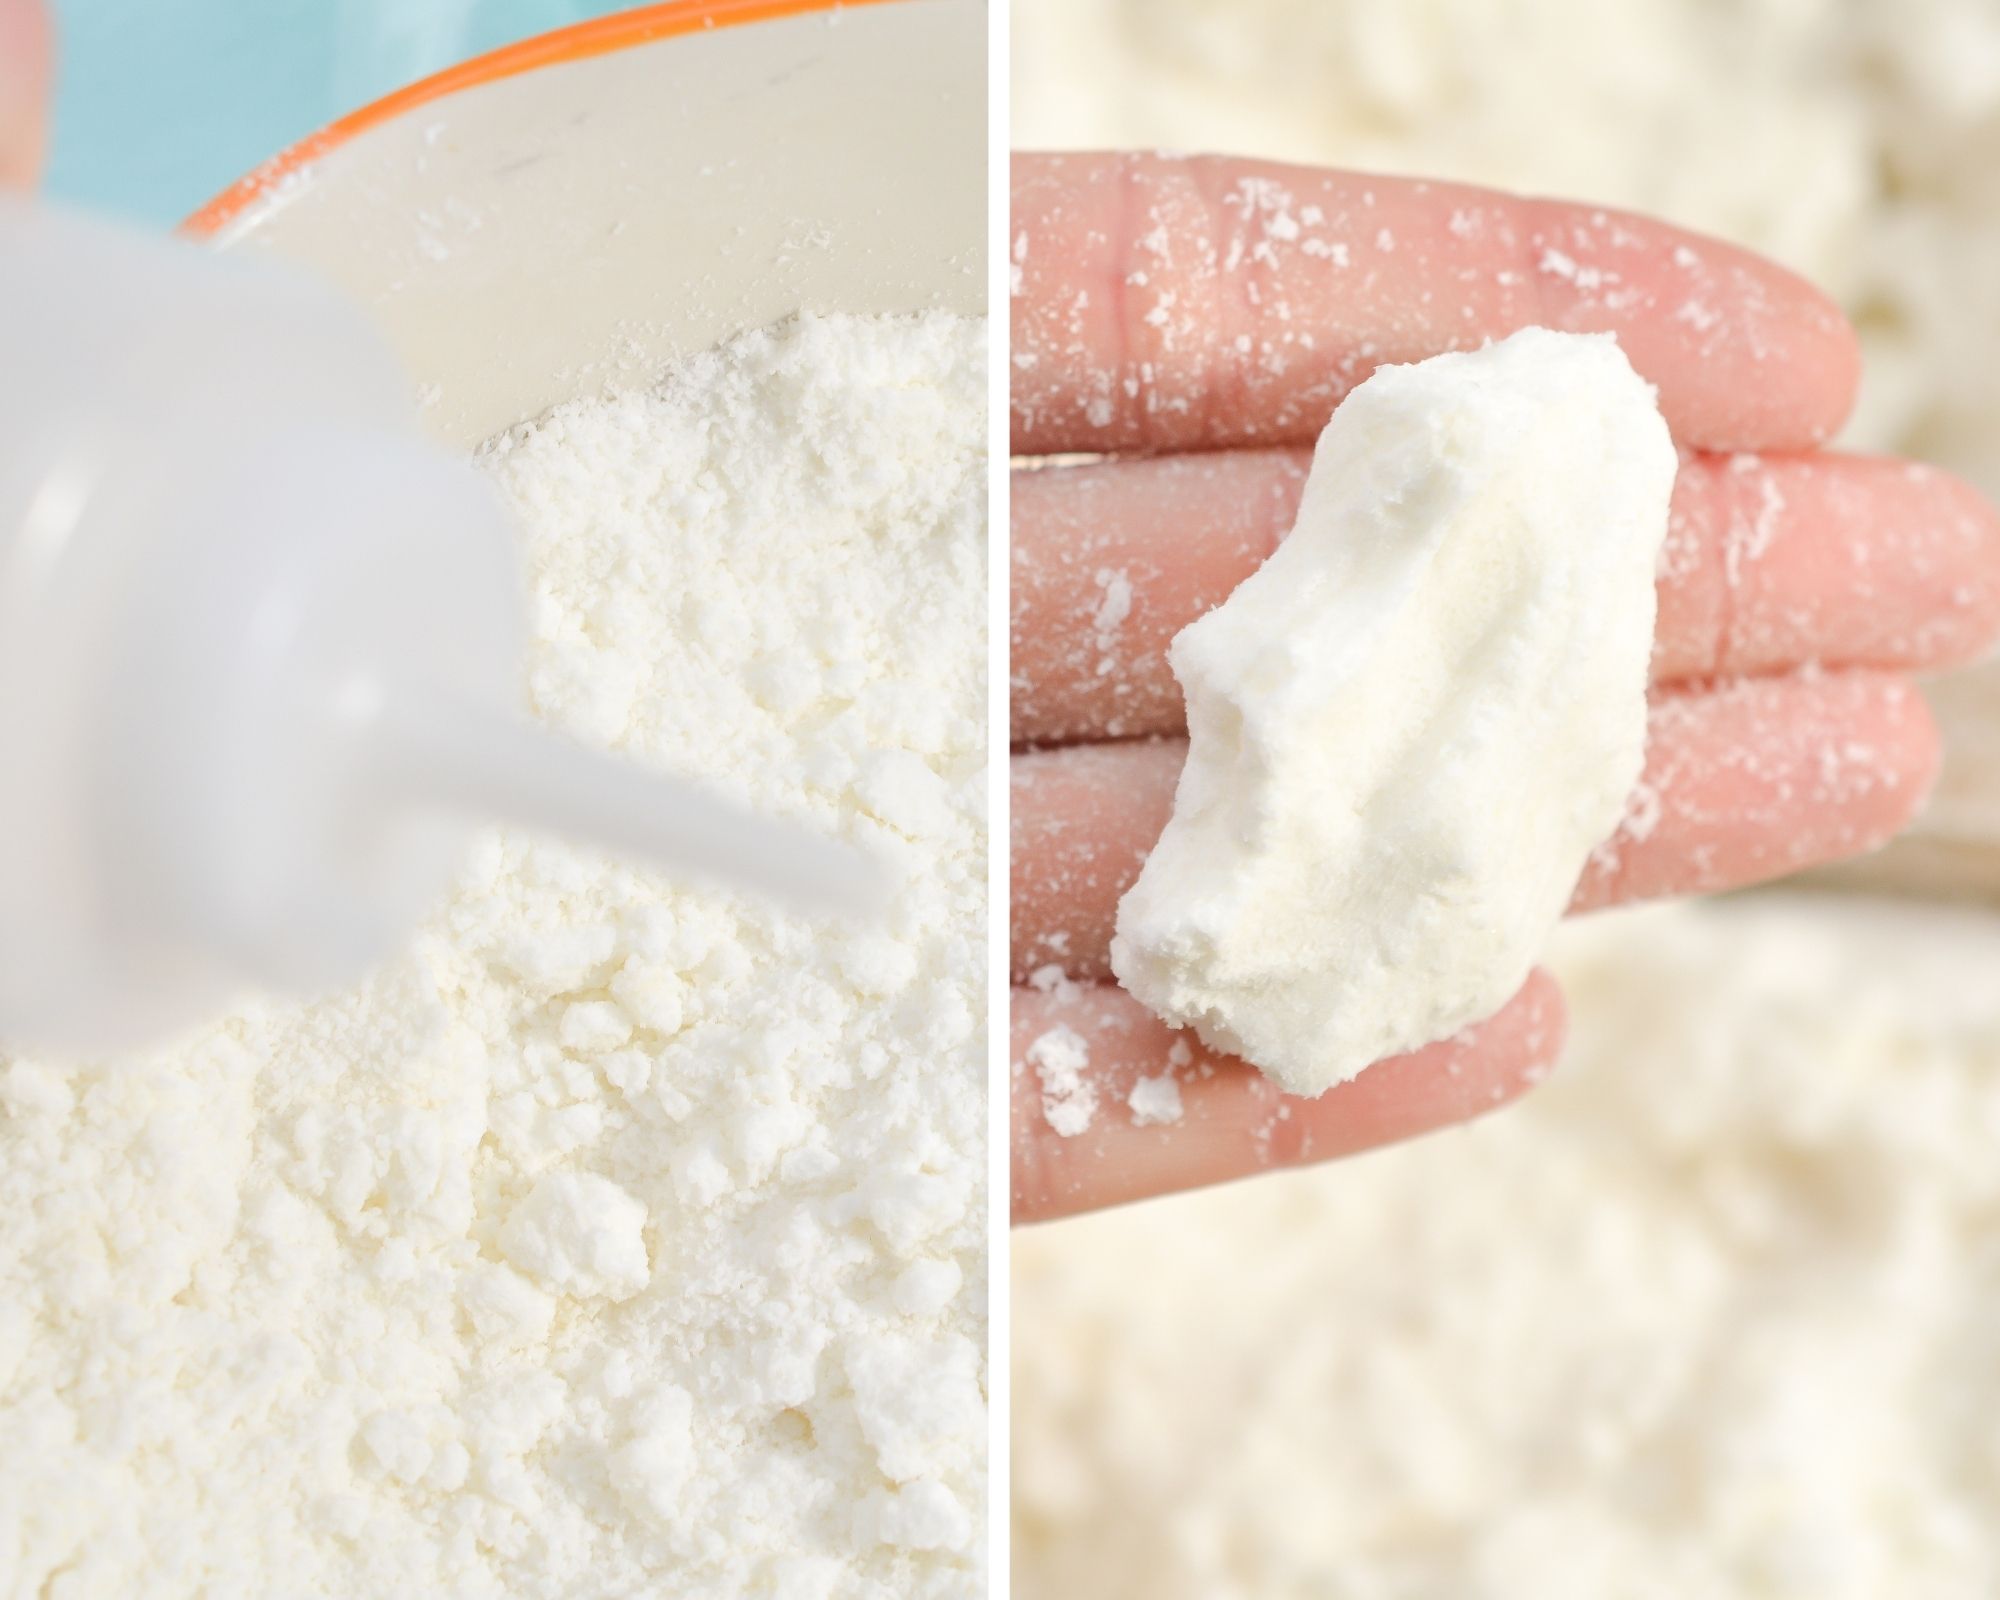
3. Use a spray bottle to add the witch hazel, spraying a little at a time and stirring until the mix clumps together in your hands like wet sand.

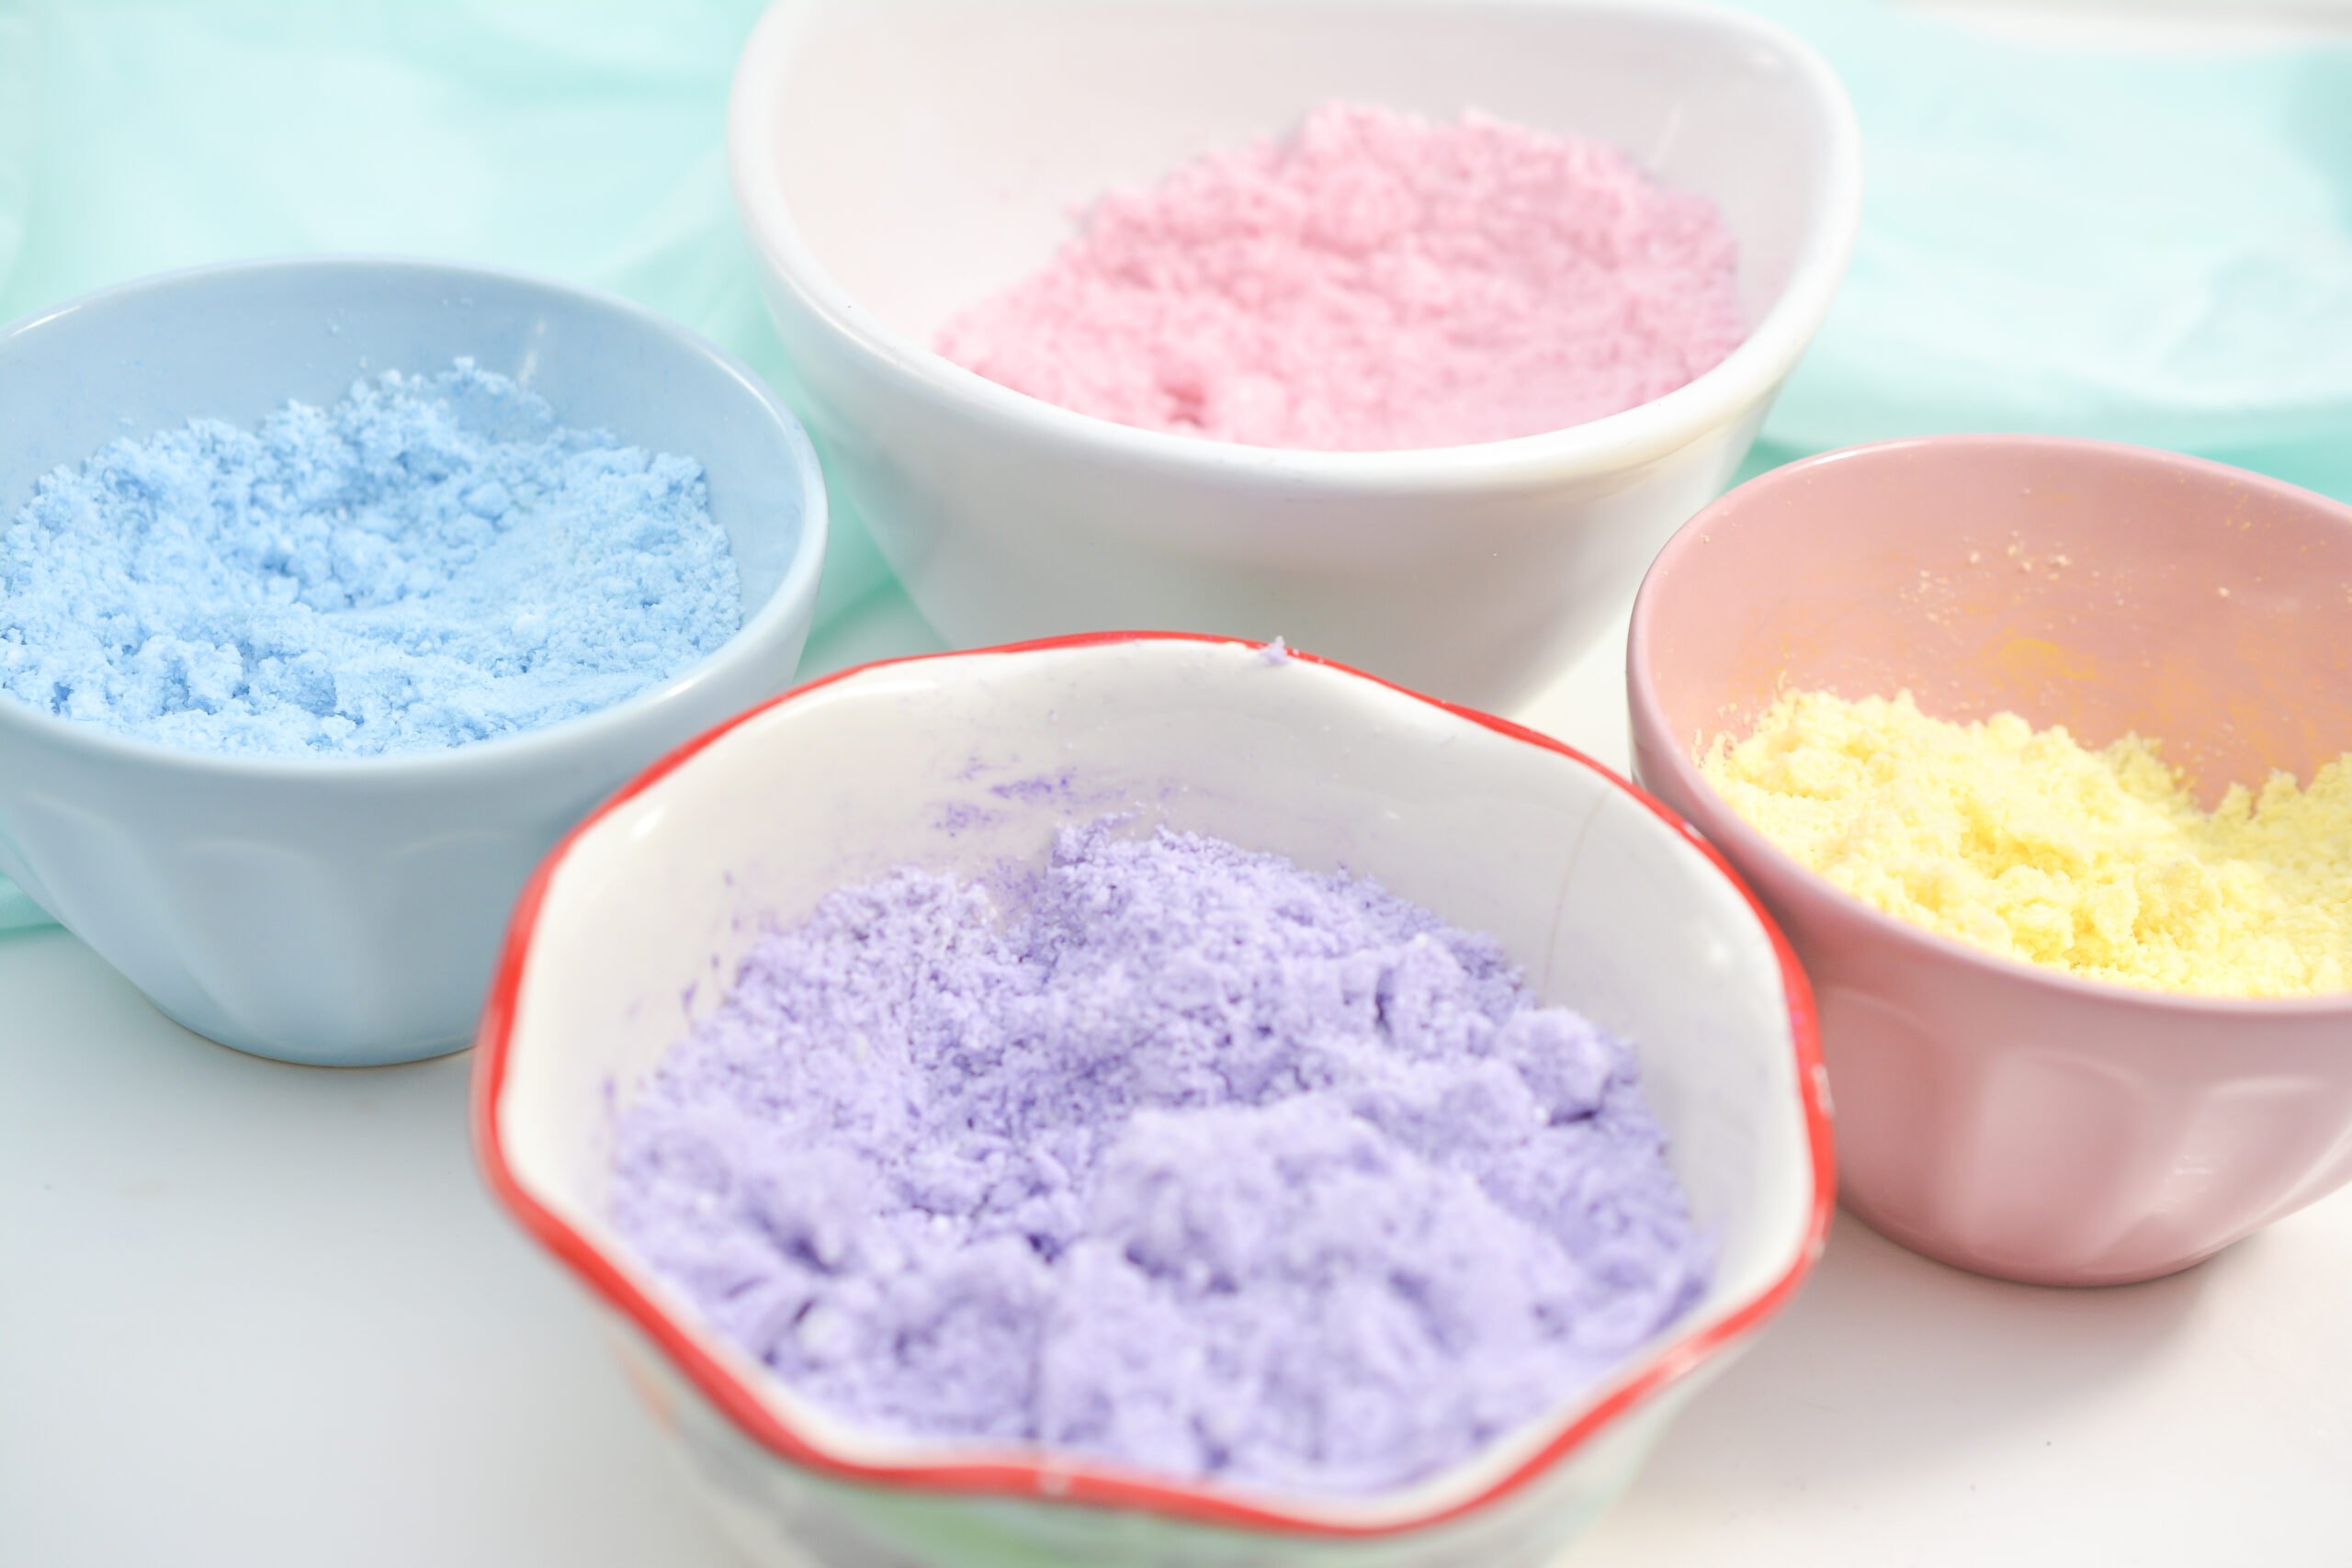
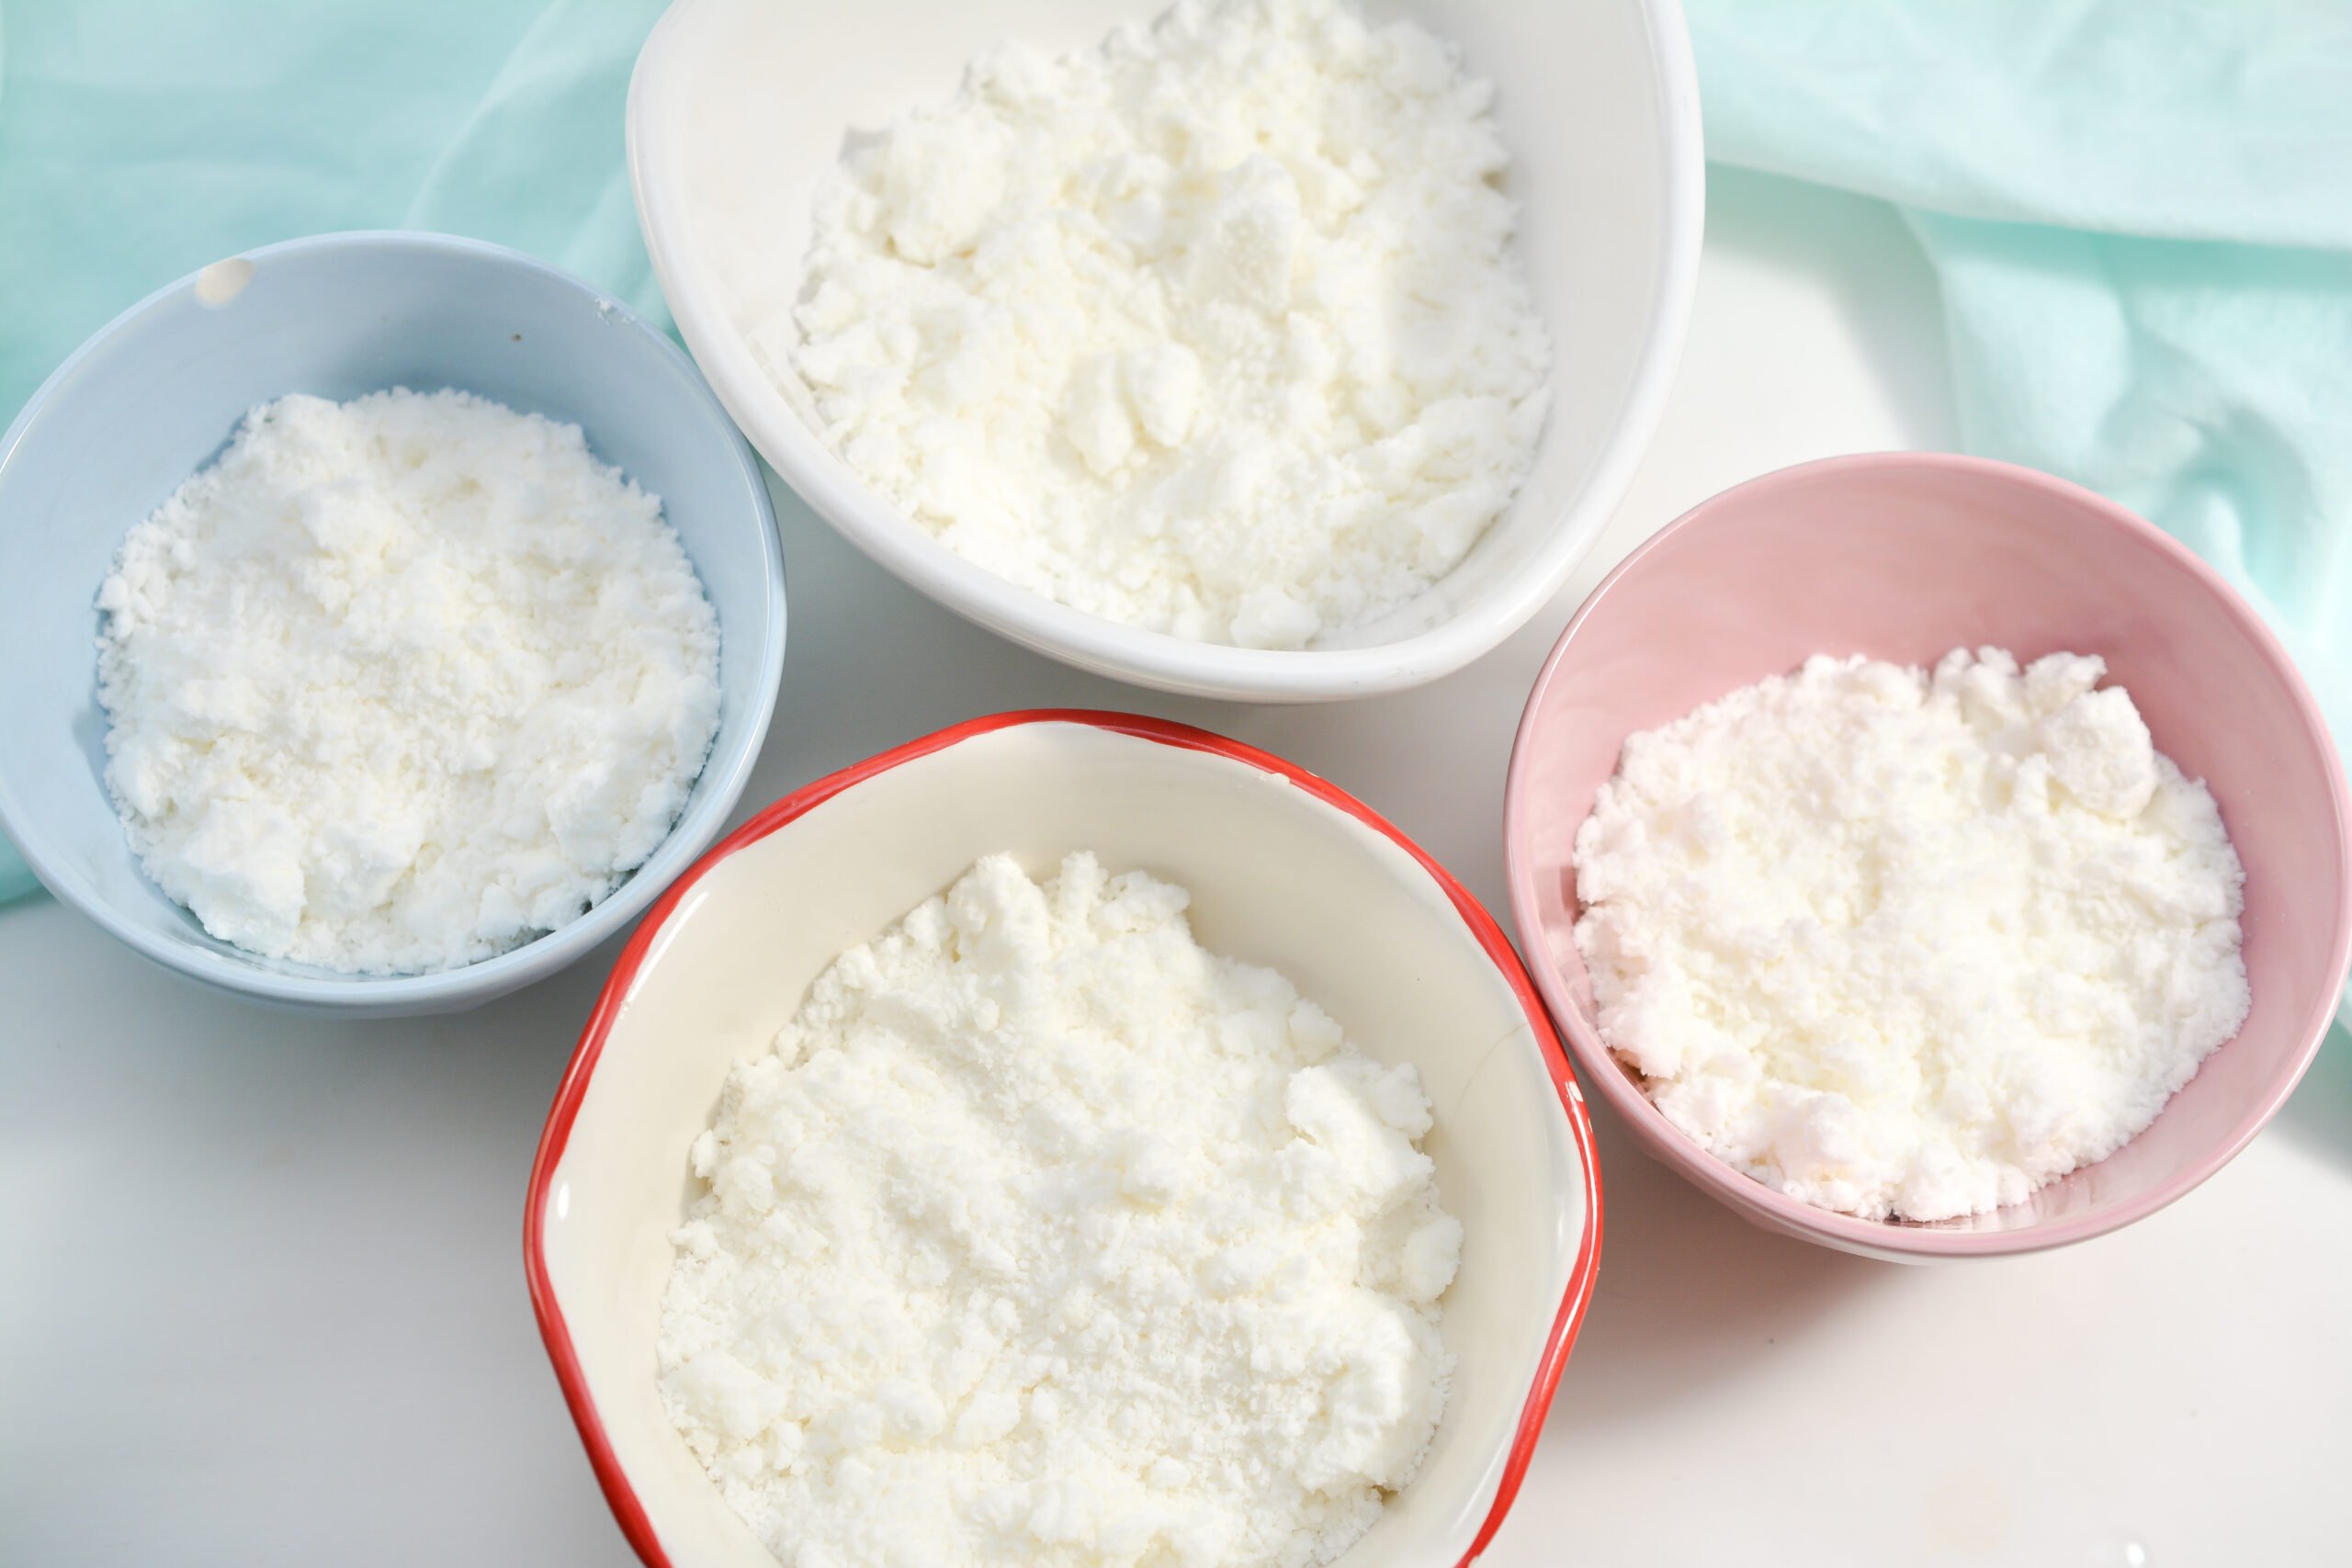
4. Divide the mix into four bowls then add the mica colors, making each bowl a different, pretty, spring color.
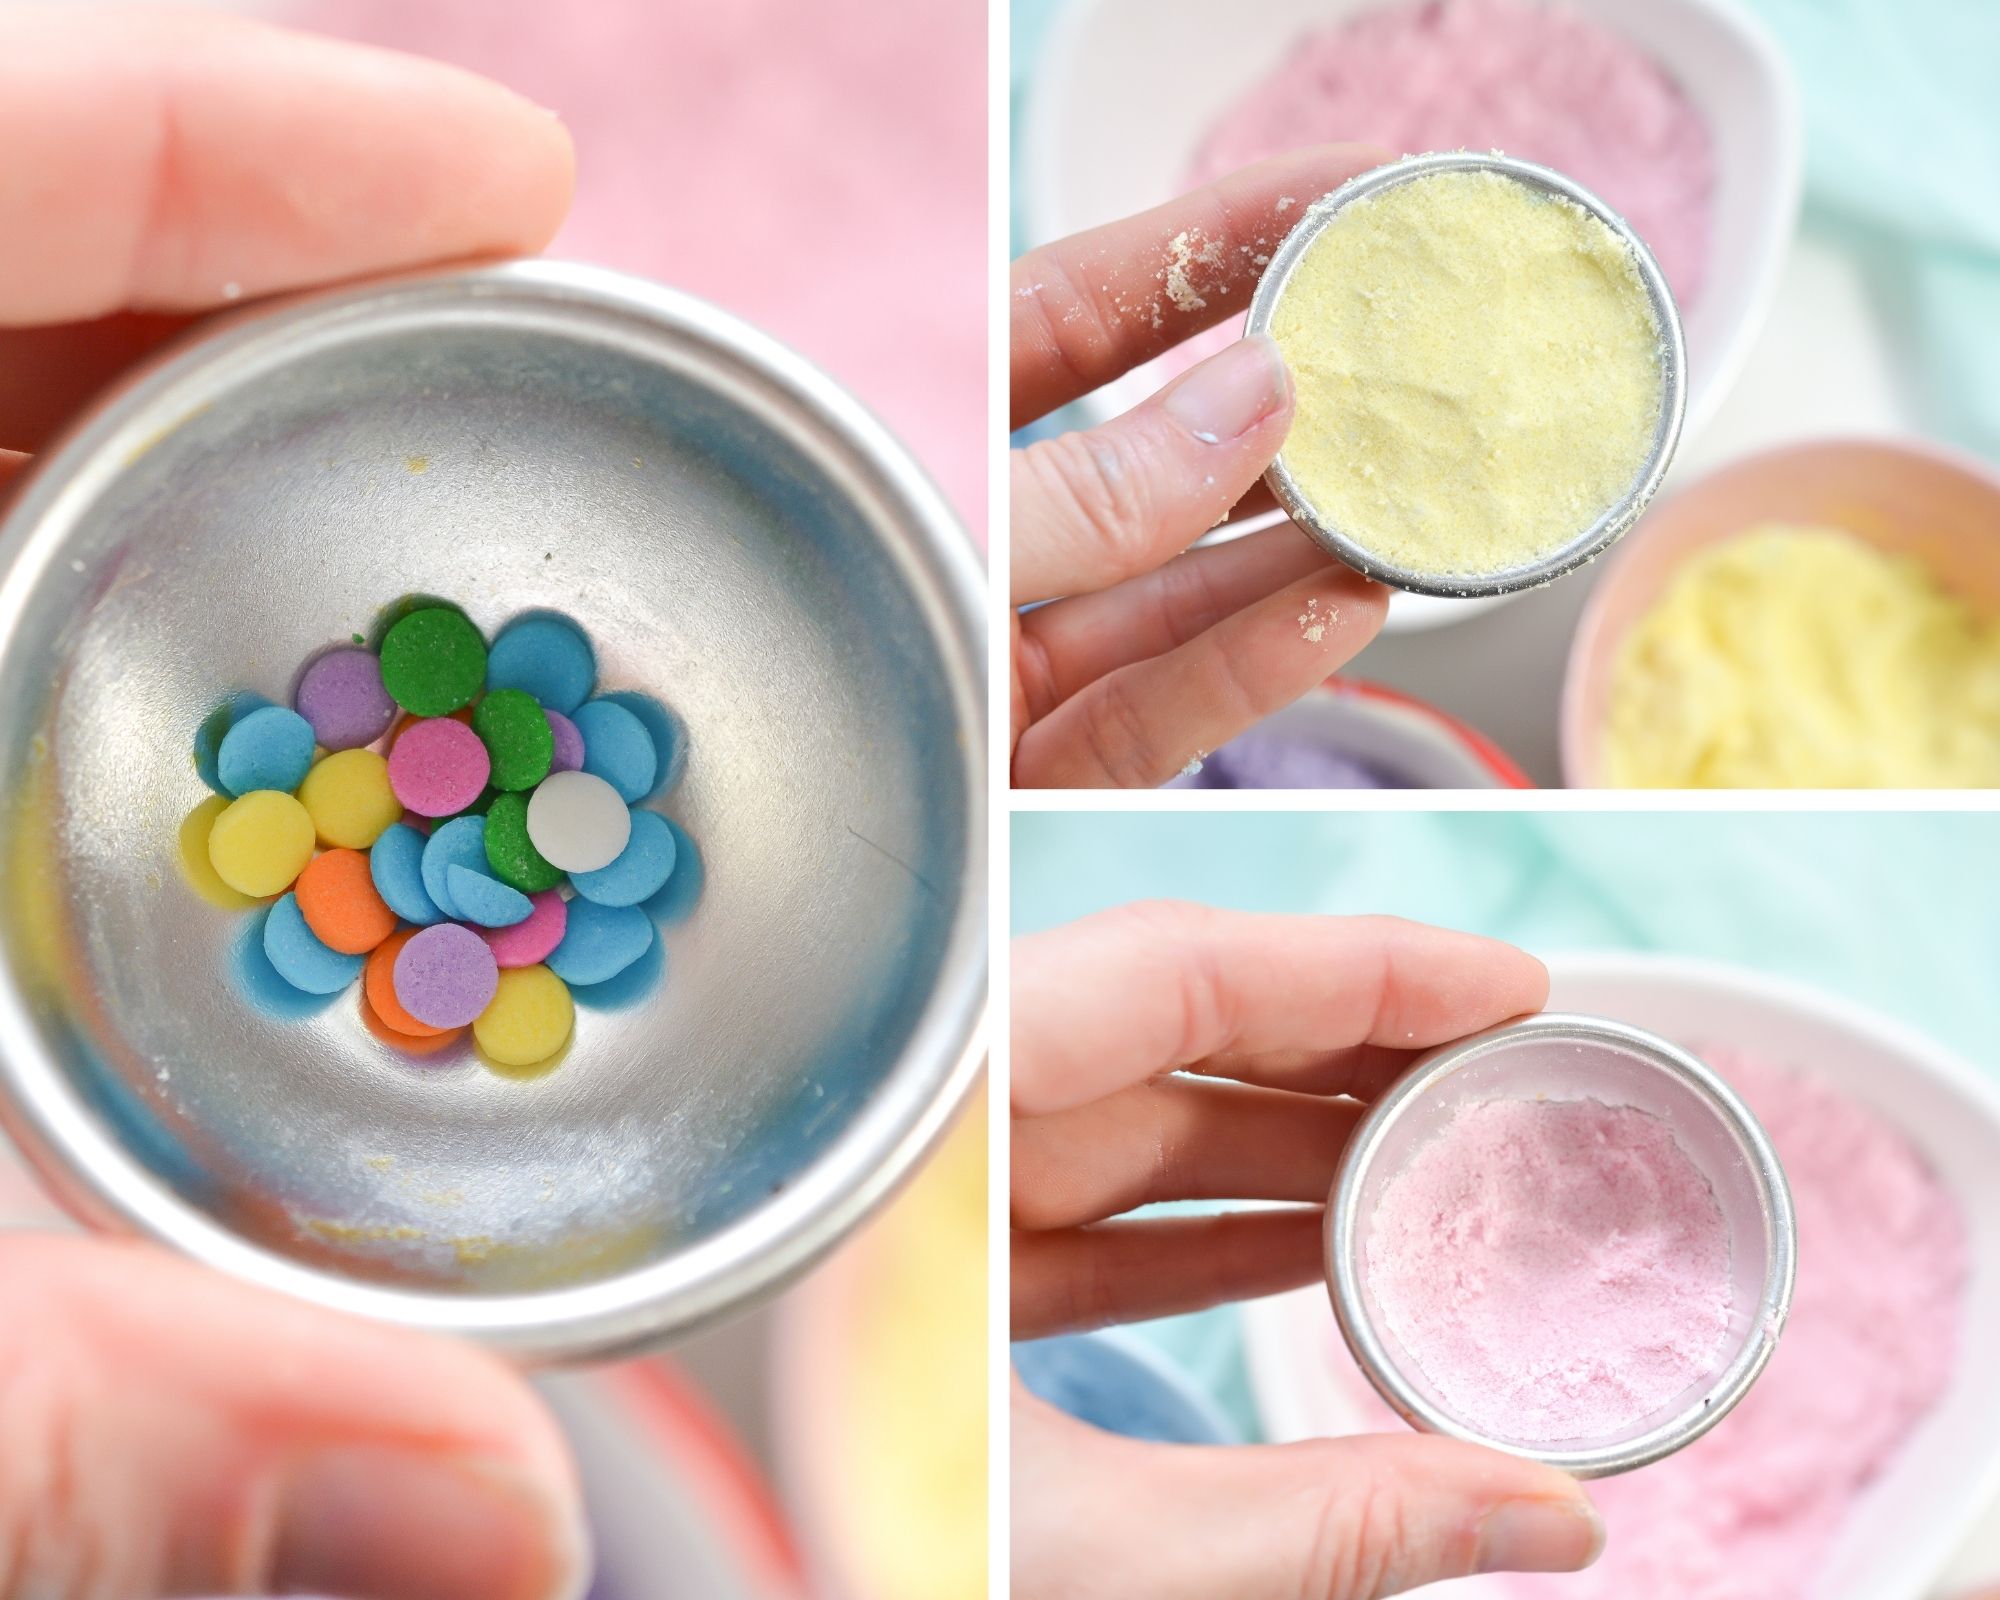
5. Add some sprinkles to the bottom of the bath bomb mold and then layer in the colored bath bombs, adding one color at a time and pressing the layer into the mold.
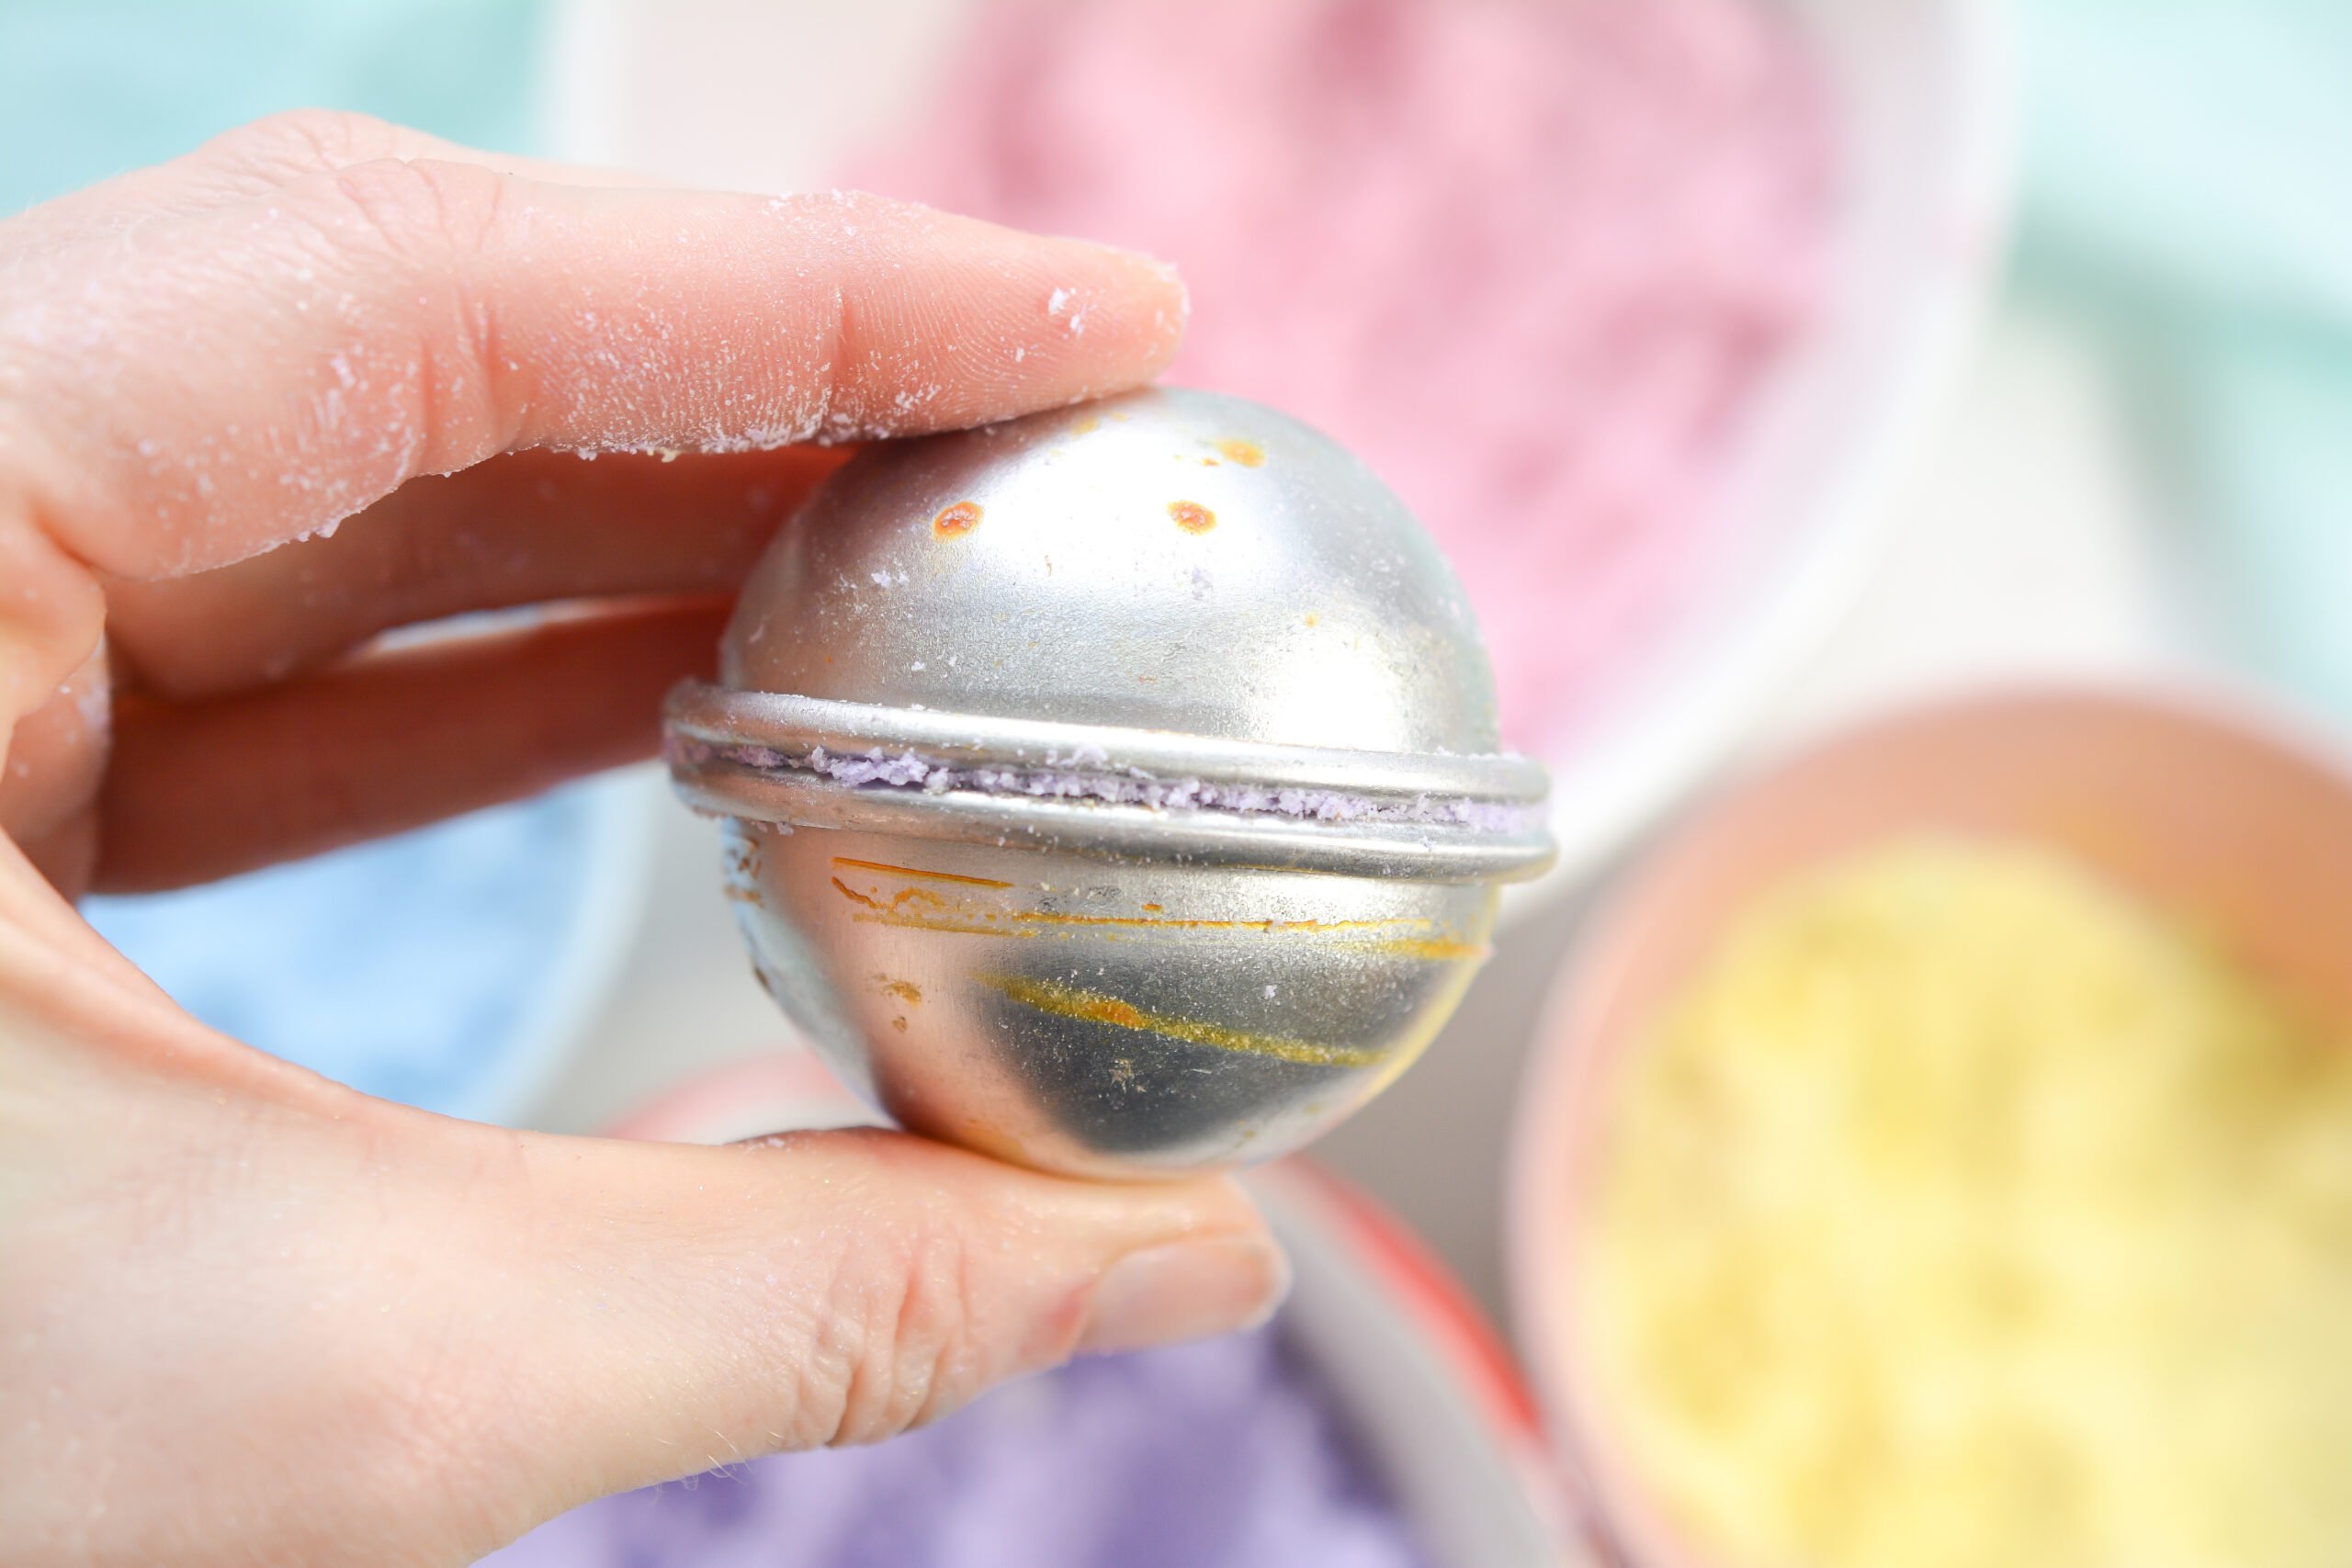
6. Press the two halves of the mold together and let sit overnight.
7. Once your bath bombs have solidified and set, you can store them in an airtight container.

These bath bomb beauties will last for for months! I like to wrap them individually in nice cellophane bags so they are ready to grab and give as last minute gifts. However, you are going to like them so much that you will want to keep them all for yourself!
What do you think of this homemade bath bombs recipe? Making bath bombs area not only a fun spring activity, but they can also help you feel revitalized when you toss one into your warm bath. So make these pretty, yummy smelling bath bombs and then set up a nice little mini spa for yourself. Spring is a great time to refocus on self-care so why not begin with a bath? You can even set up a mini spa day at home for yourself. It sounds like a fantastic idea! Enjoy!
Try my other homemade bath bombs recipes!
Unicorn Bath Bombs DIY
Mermaid Cupcake Bath Bombs DIY
Pumpkin Spice Fall Bath Bombs DIY
I hope you love this recipe for homemade spring bath bombs- be sure to give it a review below!
Also don't forget to follow Hip Mama's Place on Facebook, Instagram, Pinterest, and Twitter!
This post may contain affiliate links. Read my Disclosure Policy for more details.
Print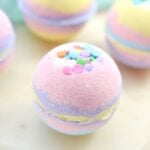
Spring Bath Bombs
Description
You'll love these pretty, yummy-smelling bath bombs. Follow the tutorial below to make your own homemade bath bombs and then make it a "spa day at home" for yourself!
Ingredients
round bath bombs molds
2 cups baking soda
1 cup Citric acid
1 cup cornstarch
½ cup Epsom salt
⅓ cup liquid coconut oil
20 Drops essential oil of your choosing (we used 20 of Ylang ylang and 20 of Geranium)
Witch hazel as needed
Mica Mineral powders in your choice of Spring colors
large mixing bowl
4 small mixing bowls
spoons
Spring/pastel colored or themed sprinkles
Instructions
- In a large mixing bowl, combine the baking soda, citric acid, cornstarch and epsom salt. Stir well to combine.
- Stir the liquid coconut oil into the dry ingredients until well combined.
- Disperse the essential oil drops over the surface of the mixture, and stir to combine well.
- Slowly add witch hazel as needed in very tiny amounts at a time. Stir in between adding each bit of witch hazel. You want to add just enough so that the mixture clumps together like barely wet sand when squeezed in your hands.
- Separate the mixture into 4 bowls.
- Add a different color of mica mineral powder to each bowl, and stir to combine well, coloring the entire mixture in each bowl.
- Place a bit of sprinkles into the bottom of one side of a round bath bomb mold.
- Alternate colors of the powder mixture into the top and bottom of each mold, packing it in tightly as you go. Slightly overfill each side of the bath bomb molds.
- Once finished filling, press the two ends of the filled bath bomb molds together tightly to secure them closed.
- Let the bath bombs sit overnight to set completely. Remove from the molds and use or store in an airtight container.
These homemade spring bath bombs are a cute way to welcome spring! Such pretty, vibrant colors and such a great alternative to store-bought products!
This looks so fun! What a great project to make with kids!
Thanks for sharing! Does it keep long?
This looks so good! What a great gift to make for friends or to enjoy yourself!
These are such a cute theme for bath bombs. They would be great for Easter basket fillers!
I love the color of these bath bombs! I am glad to make them at home with my daughters!
These are beautiful! It looks like a fun project to make some as gifts (and to keep!)
Bath bombs are one of my favorite items ever invented. They are so relaxing after a long day at work!
Those bath bombs look so pretty and I bet they really smell good. Thanks for sharing this how-to post
These are so pretty! Would be fun to make these with my daughter.
I love bath bombs. These are so pretty. You did a great job there. They look professionally made!!!
Love the fun colorings of these bath bombs! I've never thought to make my own before.
I am so pinning this post as I have to try and make these with my kids. We love crafting and this is super fun! Love the colors l;)
You have inspired me! I've been wanting to make some of these and now I have a great recipe to follow.
I have always wanted to try and make my own bath bombs! This is so perfect! Thanks for sharing this with us!
Oh wow, Im so excited to make these bath bombs! They look colorful and pretty.
Those bath bombs would also work well as gift items. Thanks for the tutorial.
Ohhh my goodness! At first glance, the shape and pastels made me think of macarons and I wanted to EAT them! These are so neat!
I love bath bombs and this sounds amazing.
I've never made a bath bomb, but would love to try.
oh my! these look so very pretty.. perfect for gifting as well
I’ve been wanting to make my own bath bombs. My daughters really enjoy them. I’ll have to make some and have them help me make them.
I love bath bombs. Might try to make my own somebody.
I've never made a bath bomb before. Didn't know you needed witch hazel. I just picked up a couple for my skincare routine.
I love bath bombs and so does my son. I’ll have to make him some. Thank you for sharing.
Omg, these are so cute! I need to try and make them 🙂
Wow! These are really amazing! I would really love to try and make this! Thanks for sharing this
I always want to make something like this. Love the smell of bath bombs, it would make my shower smell amazing.
I've always wanted to try making bath bombs. Looking forward to trying this recipe.
I love that these are so easy to make! I will have to make some soon.
I just love the colors of these bath bombs. I will have to make these soon.
Hhhmmm...I think it is one that I would love to try out. Anything that has coconut in it, has my heart immediately. Thanks for sharing your recipe.
This is great! I didn't know you could make bath bombs at home! I'll need to make it asap 😀
Those colors are adorable, plus the ingredients sound so soothing. Bath bombs are such a lovely gift to give!
My kids love bath Bombs but I didn't know we could make our own! Love this!
These are so cute and pretty! I wish I had more time for baths!
This look so fun! It is like a ball of celebration for your bathtime. So cute!
Wow, this is cool that we can make them at home. I will try this out and see if I can make them haha.
Oh wow! I always wanted to buy bath bombs for when I'm checking in at a hotel, but looks like I can make my own. Thanks!
What a good idea to make these bath bombs at home . This would be fun to do with my granddaughter too.
Those are so pretty! I love bath bombs and receiving a homemade ones would be so special.
These are cute! I never realized how easy it was to make these. My daughter would enjoy making these with me.
I have to make these! I love bath bombs and these sound amazing.